Meat Technique: Building Layers of Flavor in Chili Bases
Creating a rich, robust chili base starts with mastering the art of building layers of flavor in your meat. This technique is foundational for any chili aficionado looking to elevate their game. It all begins with selecting the right cut of meat—ground beef, pork, or a combination, each offering unique textures and tastes. The key is to develop deep, complex flavors through a series of steps that transform ordinary meat into a savory, aromatic foundation. First, you need to understand the importance of browning the meat properly to unlock its natural umami. Then, you layer in aromatics like onions and garlic, followed by spices and chilies to create a symphony of flavors. Each step is crucial to building a base that will stand out for its depth and complexity. Patience is your ally here; rushing the process can lead to a bland or overly greasy result. By carefully controlling heat, stirring occasionally, and allowing each ingredient to meld with the others, you can craft a chili base that’s rich, hearty, and full of character. This technique isn’t just about cooking; it’s about orchestrating a flavorful journey that will have your taste buds singing. From the initial sear to the final simmer, every moment counts in creating a chili base that’s anything but ordinary.
Notes
Building layers of flavor in your chili base is a science of patience and attention to detail. Browning the meat properly creates fond, those delicious caramelized bits that add depth. Aromatics like onions and garlic not only add sweetness and pungency but also help to balance the heat from chilies. Spices should be toasted briefly to release their essential oils, enhancing their aroma and flavor. Common mistakes include overcrowding the pan, which lowers the temperature and steams rather than browns the meat, and rushing the cooking process, which doesn’t allow flavors to develop properly. For safety, ensure your meat is cooked to an internal temperature of 160°F for beef. This chili base can be made ahead and stored in the refrigerator for up to 5 days or frozen for up to 3 months, giving the flavors even more time to develop.
Steps
- 1 Pat the meat dry with paper towels to ensure a good sear.
- 2 Heat a heavy-bottomed pot or Dutch oven over medium-high heat.
- 3 Add 2 tablespoons of vegetable oil to the pot.
- 4 Add the meat in batches to avoid overcrowding, and brown it well on all sides.
- 5 Remove the browned meat with a slotted spoon and set it aside.
- 6 Lower the heat to medium and add chopped onions, sautéing until translucent.
- 7 Add minced garlic and cook until fragrant, about 1 minute.
- 8 Stir in chili powder, cumin, and any other desired spices, toasting them for 30 seconds.
- 9 Return the browned meat to the pot and stir to combine with the aromatics and spices.
- 10 Add diced tomatoes, tomato paste, and broth to the pot, stirring to scrape up any browned bits.
- 11 Bring the mixture to a simmer, then lower the heat to maintain a gentle bubble.
- 12 Cover and let it cook for at least 1 hour, stirring occasionally.
- 13 Adjust seasoning with salt and pepper to taste.
- 14 Simmer uncovered for another 30 minutes to allow the flavors to meld and the liquid to reduce.
Ingredients to explore
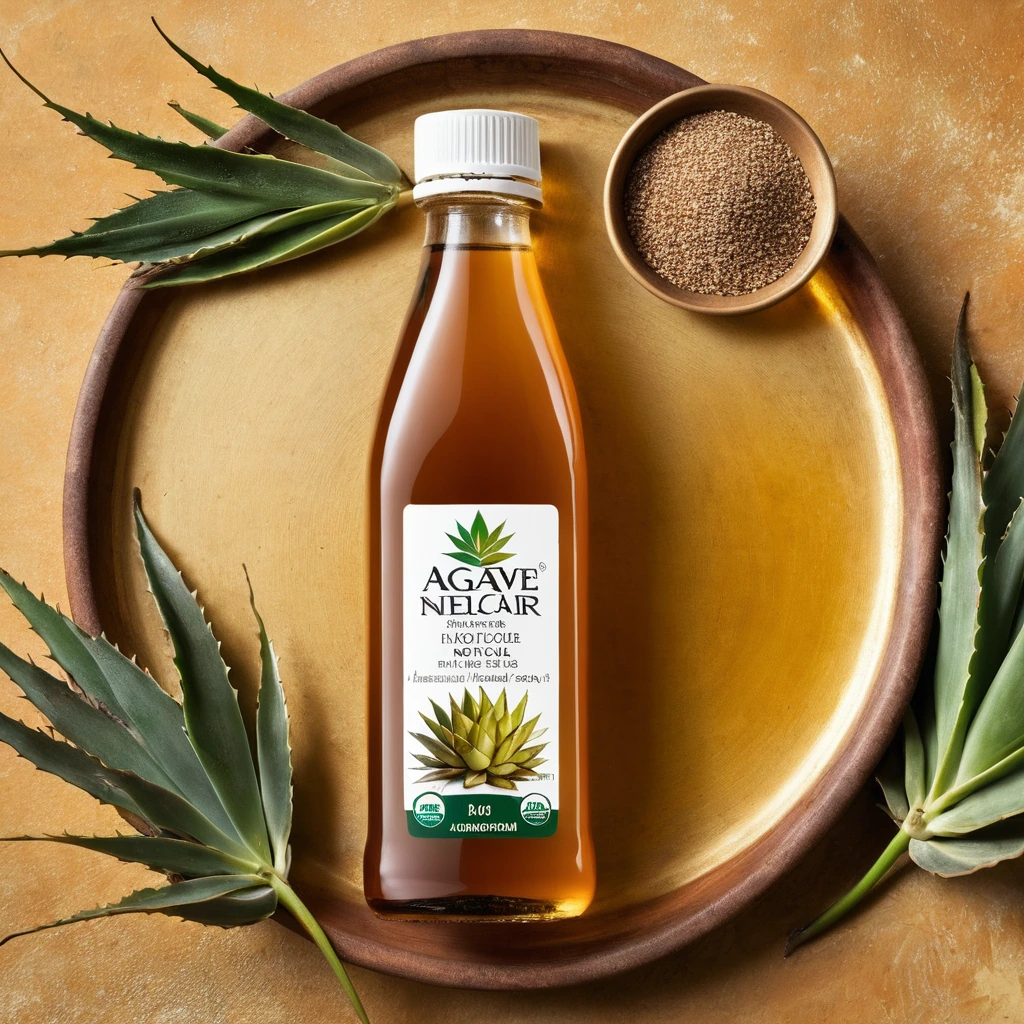
Agave Nectar
A golden, velvety sweetener derived from the agave plant, offering a subtly sweet flavor with a smooth, syrup-like texture.

All-Purpose Flour
All-purpose flour is a versatile wheat flour that contains a moderate level of protein and gluten, making it suitable for a wide range of baking and cooking needs.
Recipes to try

Sweet Chili Glazed Meatball Lettuce Wraps
Juicy meatballs cloaked in a sticky-sweet chili glaze, nestled in crisp lettuce cups for a flavor explosion with every bite.
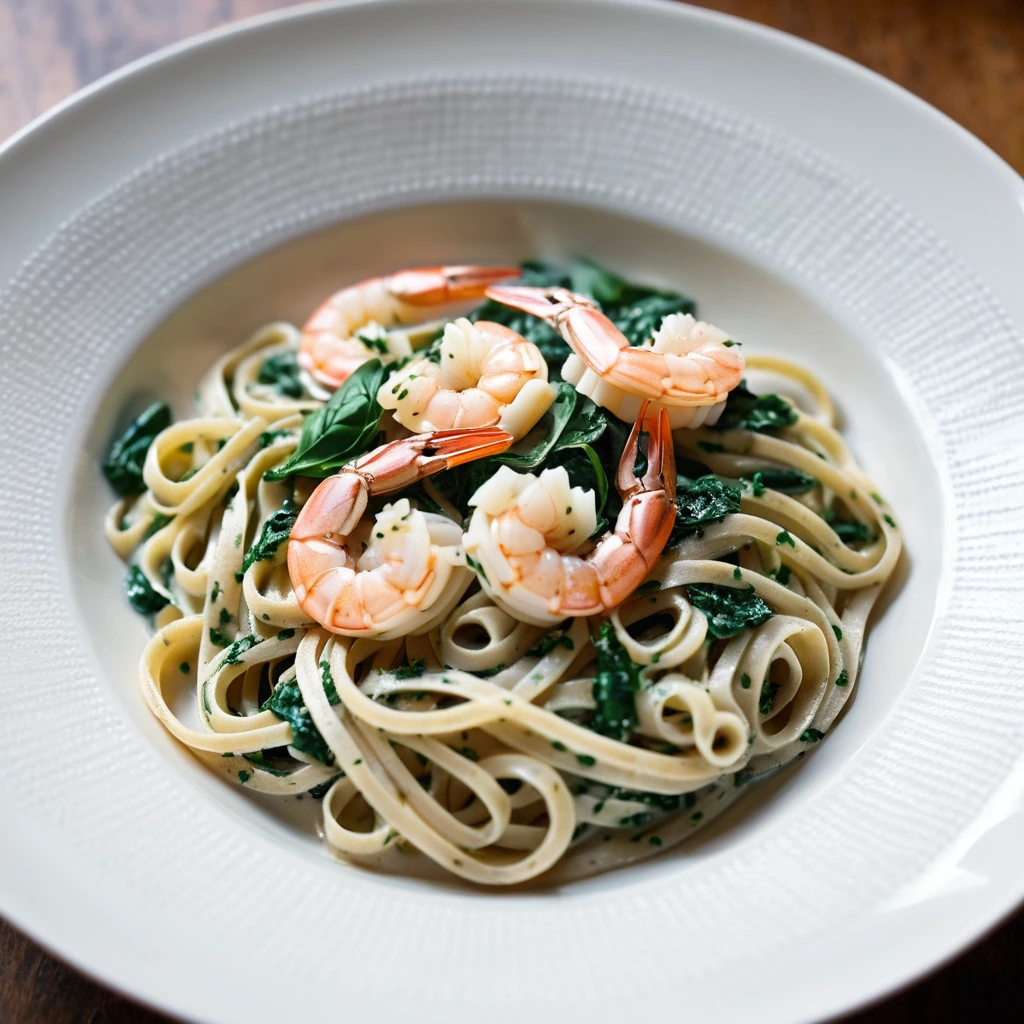
Shrimp and Spinach Linguine in White Wine Sauce
Succulent shrimp and fresh spinach mingle in a creamy white wine sauce, twirled into perfectly al dente linguine.