Meat & Poultry: Slicing Roasts for Sandwiches While Still Chilled
Slicing roasts for sandwiches while they are still chilled might seem counterintuitive, but it's a technique that ensures clean, uniform cuts perfect for stacking high on your favorite bread. When meat is chilled, it's firmer and easier to handle, reducing the risk of ragged edges and ensuring each slice is as visually appealing as it is delicious. This method is particularly useful for meats like beef brisket, pork shoulder, or turkey breast, where presentation can greatly enhance the dining experience. The key to mastering this technique lies in understanding how temperature affects the meat's structure and how to use your knife effectively to achieve the desired results. By following this guide, you'll learn how to slice chilled roasts with precision, creating mouth-watering sandwiches that rival those of any deli. We'll dive into why chilling is crucial, how to identify the grain, and the best way to slice against it for maximum tenderness. Whether you're preparing a family dinner or hosting a game-day party, this technique will elevate your sandwich-making skills to new heights.
Notes
Slicing roasts while chilled works because the cold firms up the fat and muscle fibers, making them easier to cut cleanly. This firmness minimizes the risk of the meat tearing or becoming misshapen. A common mistake is slicing with a dull knife, which can lead to uneven cuts and can even start to warm the meat from friction. Always ensure your knife is sharp before starting. Additionally, it’s important to slice against the grain for maximum tenderness. To identify the grain, look for the lines running through the meat and cut perpendicular to them. For storage, if you aren't using the slices immediately, wrap them tightly in plastic and refrigerate for up to 3 days. Reheat gently to avoid drying out the meat.
Steps
- 1 Remove the roast from the refrigerator and let it rest at room temperature for 10 minutes.
- 2 Place the roast on a clean cutting board.
- 3 Using a sharp chef's knife, trim any excess fat or connective tissue.
- 4 Identify the direction of the grain by looking at the muscle fibers.
- 5 Position the knife perpendicular to the grain.
- 6 Slice the roast into 1/4-inch thick slices, applying even pressure.
- 7 Turn the roast as needed to maintain slicing against the grain.
- 8 Stack the slices neatly on a serving platter or between parchment paper.
- 9 Cover the slices loosely with plastic wrap to prevent drying out.
- 10 Repeat until the entire roast is sliced.
- 11 For optimal freshness, use the slices within 2 hours if left at room temperature.
Ingredients to explore
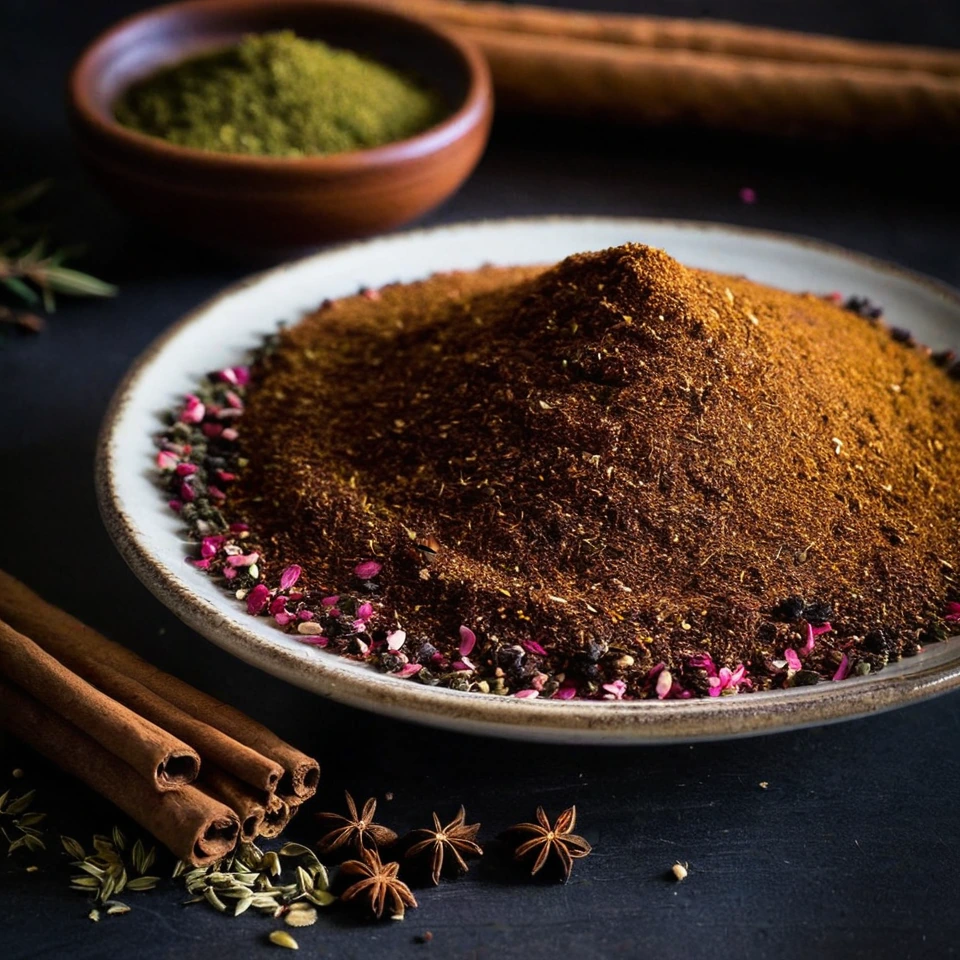
Advieh (Persian Spice Blend)
Advieh is a fragrant Persian spice blend that boasts a complex aroma of warm cinnamon, earthy cumin, and floral hints of rose and saffron. Its texture is finely ground, making it easy to incorporate into dishes. Originating from the rich culinary traditions of Iran, advieh adds depth and sophistication to both savory and sweet recipes. Its unique combination of spices reflects the historical spice trade routes that influenced Persian cuisine.
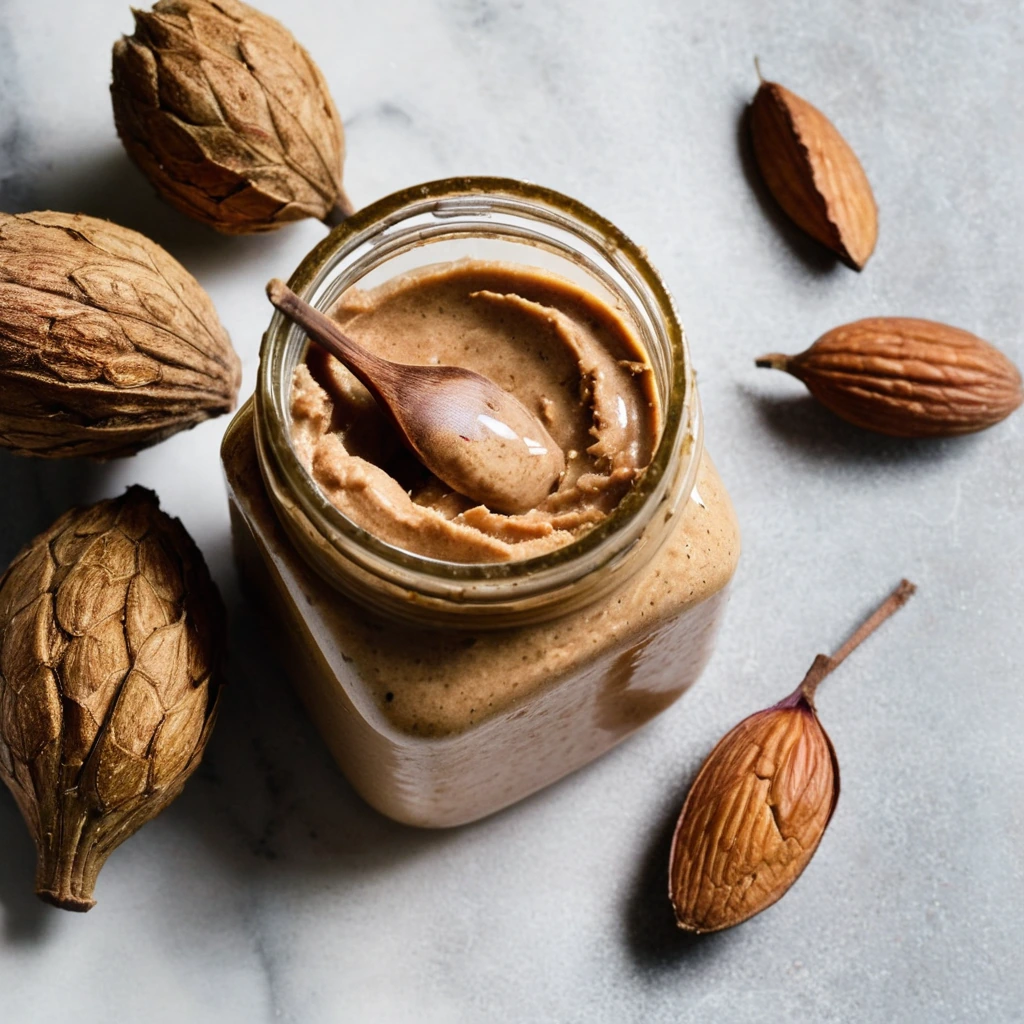
Almond Butter
A velvety, nutty spread crafted from finely ground almonds, offering a rich and satisfying flavor that's both comforting and indulgent.
Recipes to try

Spinach and Ricotta Stuffed Pizza Pockets
Golden, crispy pockets filled with a creamy ricotta and spinach blend that'll have you reaching for seconds.

Savory Breakfast Bowls with Quinoa and Eggs
A hearty bowl brimming with fluffy quinoa, perfectly poached eggs, and a sprinkle of fresh herbs for a zesty morning start.