Meal Prep: Pre-Cooking Grains for Fast Meals
Pre-cooking grains is a game-changer for busy home cooks who crave nutritious, homemade meals without the daily grind. This technique allows you to batch cook staples like rice, quinoa, and farro ahead of time, ensuring a base for countless dishes is always at hand. It's all about harnessing a little foresight to create a pantry brimming with potential. Understanding the nuances of different grains—their cook times, water ratios, and ideal textures—is key to mastering this method. Whether you're planning a week of healthy lunches or prepping for a dinner party, pre-cooked grains can transform your cooking routine. Let’s dive into the why and how of this essential meal prep technique. First, let’s talk about texture. Each grain has its own personality: quinoa is fluffy and slightly crunchy, while rice is tender and yielding. Pre-cooking allows you to achieve the perfect texture, so your grains are ready to shine in salads, bowls, or as a comforting side. Timing is another critical factor. Cooking grains in bulk saves time and energy, streamlining your meal prep process. Moreover, having pre-cooked grains on hand means you’re less likely to resort to takeout when hunger strikes. Storage is straightforward, but knowing the right techniques ensures your grains stay fresh and flavorful. Finally, pre-cooking opens up a world of creativity in the kitchen, allowing you to mix and match grains with various proteins, vegetables, and sauces for endless meal possibilities.
Notes
Pre-cooking grains works by hydrating and cooking them thoroughly, then storing them safely for later use. The resting period after cooking allows for even moisture distribution and optimal texture. A common mistake is overcooking, which can make grains mushy; always check doneness a few minutes before the suggested time. To prevent spoilage, ensure your grains are completely cooled before refrigerating or freezing. Make-ahead meals benefit immensely from this technique, as it reduces daily cooking time and decision fatigue. Remember, reheating with moisture is key to maintaining texture and preventing dryness.
Steps
- 1 Choose your grain: rice, quinoa, farro, etc.
- 2 Measure the correct water-to-grain ratio (typically 2:1 for rice, 1.5:1 for quinoa).
- 3 Rinse grains if required (quinoa especially benefits from a good rinse).
- 4 Bring water to a boil in a medium saucepan.
- 5 Add the grain, stir once, and return to a boil.
- 6 Reduce heat to low, cover, and simmer until tender (check package instructions for specific times).
- 7 Let the grain rest, covered, for 5–10 minutes off the heat.
- 8 Fluff with a fork and allow to cool to room temperature.
- 9 Portion into airtight containers.
- 10 Label containers with the date and type of grain.
- 11 Store in the refrigerator for up to 5 days or freeze for up to 3 months.
- 12 Reheat gently in a saucepan with a splash of water or microwave with a damp paper towel to retain moisture.
- 13 Use pre-cooked grains as a base for salads, bowls, or sides.
Ingredients to explore
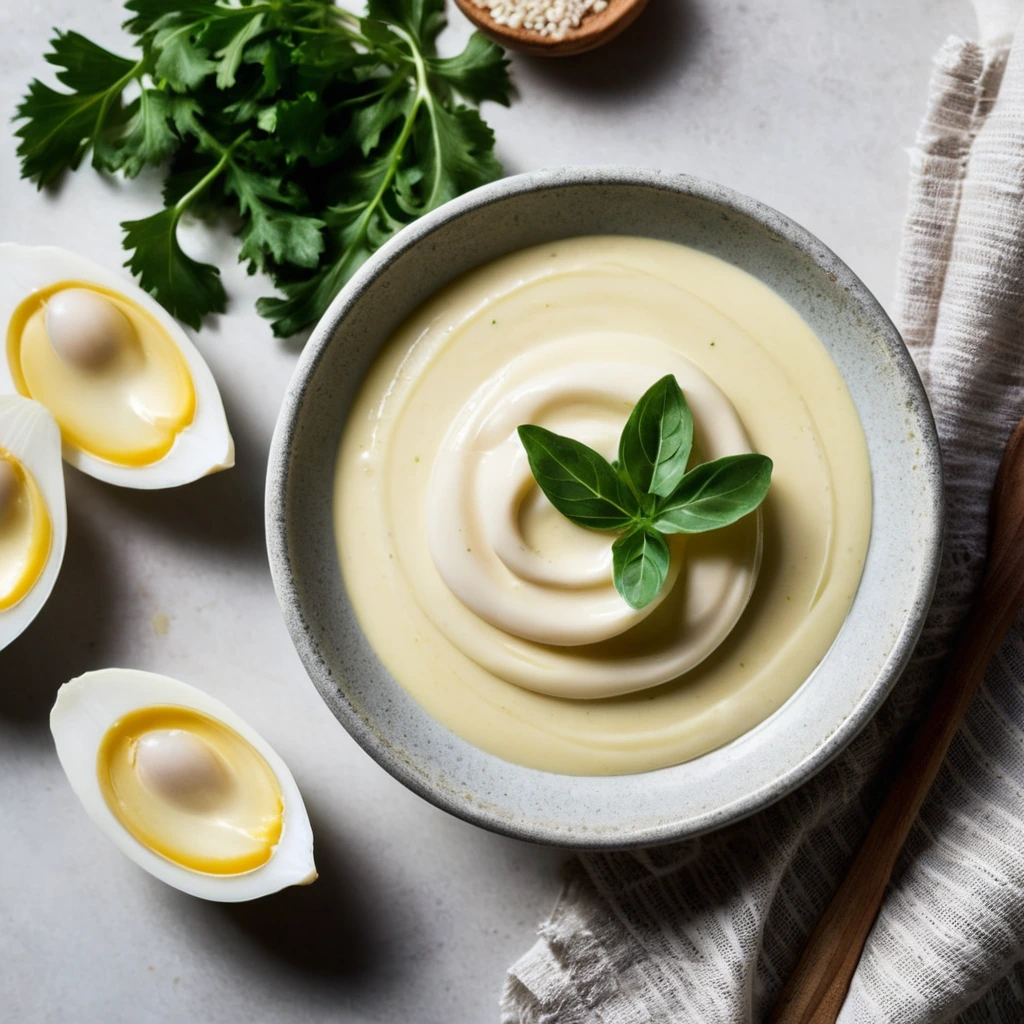
Aioli
A luscious, velvety emulsion of garlic and olive oil, aioli is a rich and aromatic sauce that dances on the palate with its creamy texture and bold, pungent flavor.
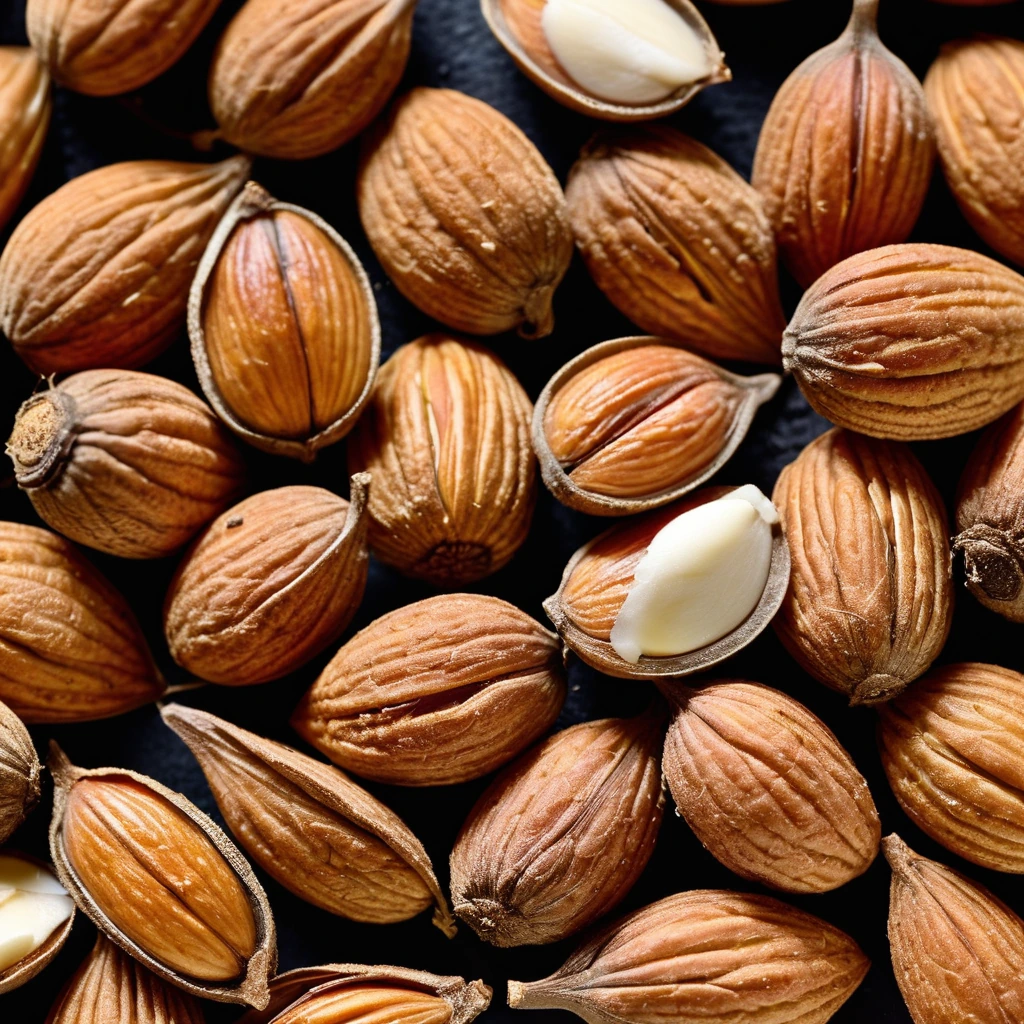
Almond Extract
A fragrant, golden elixir that captures the essence of freshly ground almonds, almond extract is a pantry staple that brings a rich, nutty aroma to your culinary creations.
Recipes to try
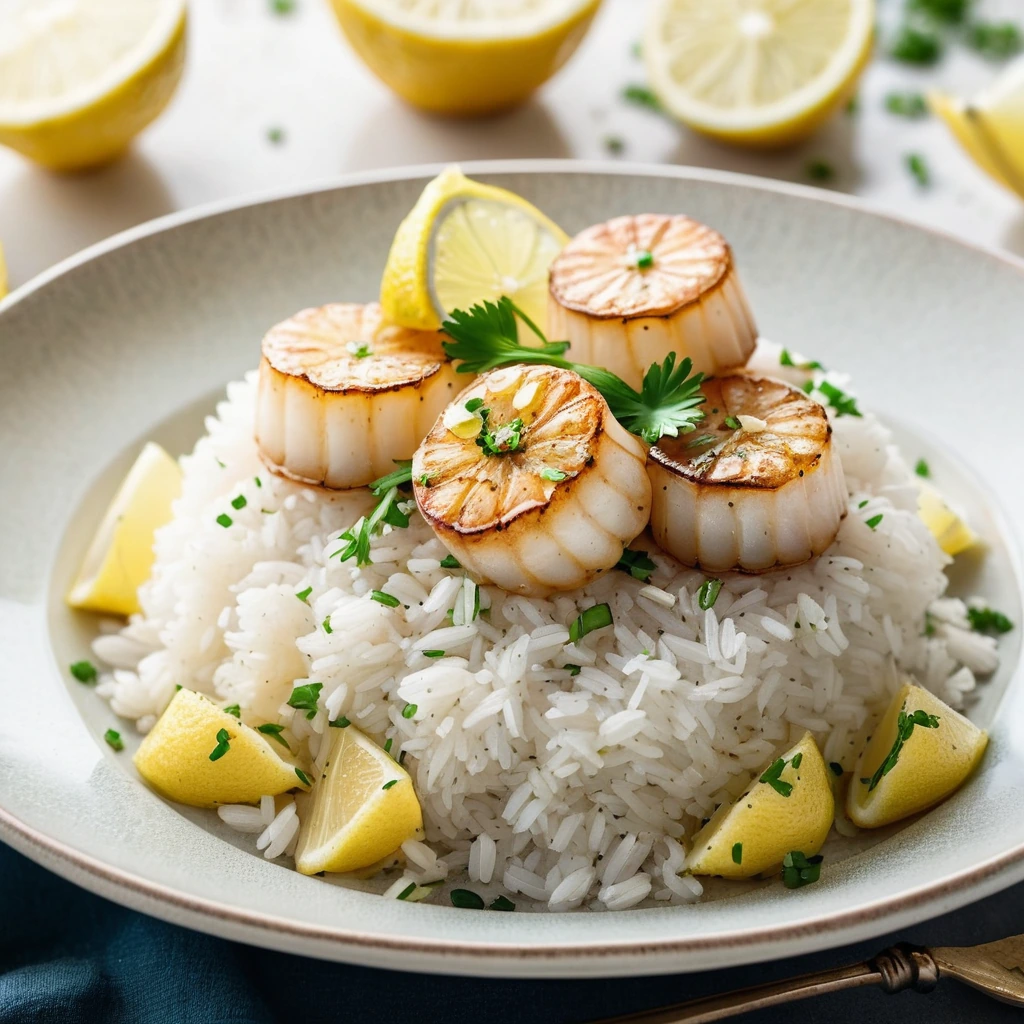
Lemon Garlic Butter Scallops over Rice
Tender scallops kissed with lemon and garlicky butter, served over fluffy white rice for a luxurious yet simple dinner.
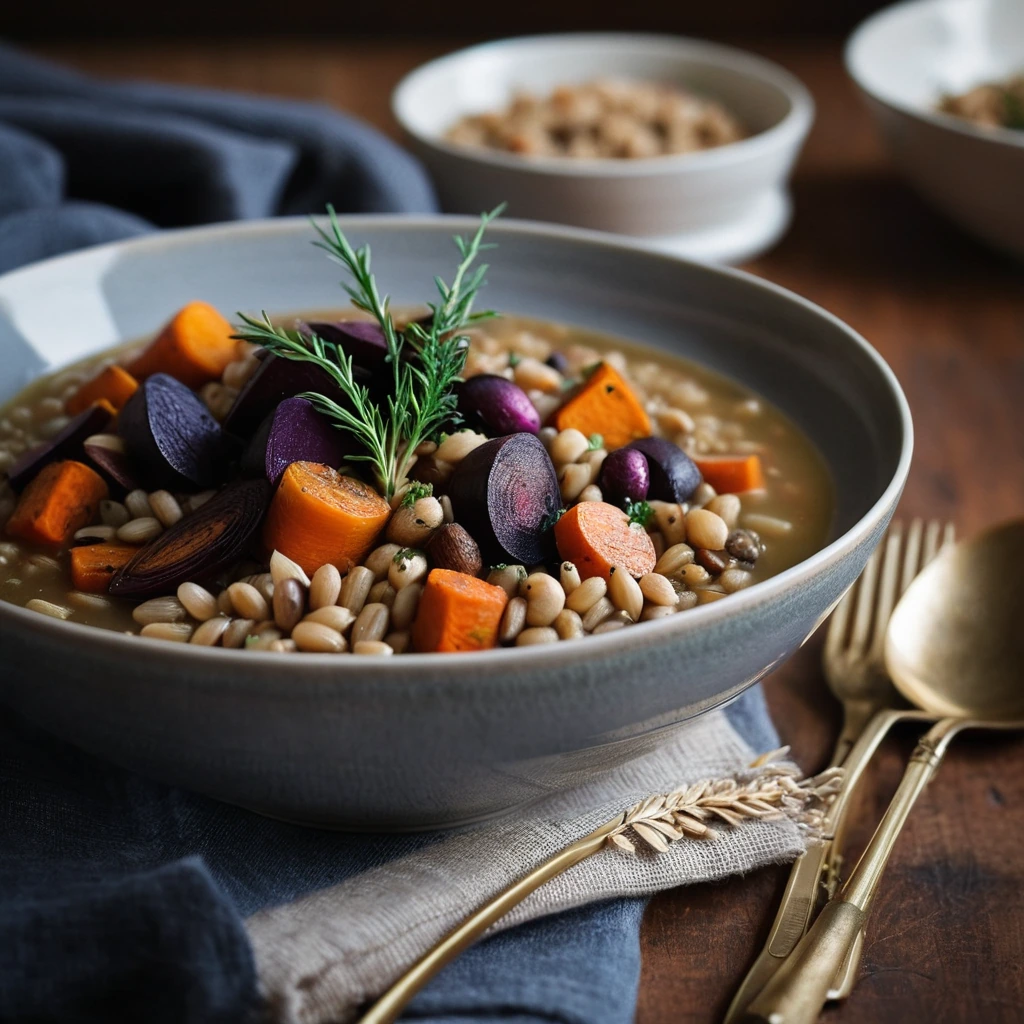
Roasted Root Vegetable and Barley Stew
Hearty and deeply flavorful, this stew marries caramelized root veggies with chewy barley for a comforting bowlful of warmth.