Knife Technique: Cleanly Cutting Layer Cakes Without Crumbs
Achieving clean, crumb-free slices of layer cake is both an art and a science. It requires precision, patience, and the right tools. The key is to minimize the cake's exposure to air and pressure, which can cause crumbling. Start by ensuring your cake is fully chilled before cutting. A chilled cake is firmer and less likely to fall apart. Use a long, serrated knife, which is ideal for slicing through delicate layers without compressing the cake. Regularly clean the knife between cuts to prevent crumbs from transferring to subsequent slices. The angle and motion of your knife are crucial; employ a gentle sawing motion rather than pressing down. This technique preserves the cake's structure and yields neat, professional-looking slices every time. Additionally, consider using dental floss for particularly fragile cakes, as it can glide through without disturbing the layers. Finally, presentation is key; use a clean plate or cake stand to showcase your beautifully cut slices.
Notes
This technique works because chilling firms up the cake, making it easier to slice without crumbling. The serrated knife is designed to cut through soft textures without compressing them, unlike a straight-edged knife. Cleaning the knife between cuts prevents crumbs from contaminating future slices. Using dental floss is an alternative method for extremely delicate cakes, as it distributes pressure evenly and doesn't tear the cake. Common mistakes include using a dull knife, cutting too quickly, or pressing down too hard. Always prioritize safety by handling sharp knives carefully and keeping fingers clear of the blade. For storage, ensure cake slices are covered and refrigerated to maintain freshness.
Steps
- 1 Chill the cake in the refrigerator for at least 1 hour before cutting.
- 2 Select a long serrated knife with a blade length appropriate for your cake size.
- 3 Wipe the knife clean and dry before each cut.
- 4 Hold the knife at a slight angle to the cake, ensuring the serrations face downward.
- 5 Begin with a gentle sawing motion, using even pressure from the wrist.
- 6 Avoid pressing down hard; let the serrations do the work.
- 7 After each cut, clean the knife with a damp cloth to remove crumbs.
- 8 For particularly delicate cakes, consider using unwaxed dental floss instead of a knife.
- 9 Pull the floss gently and evenly across the cake for a clean cut.
- 10 Place each slice on a clean plate or cake stand immediately after cutting.
- 11 Keep remaining cake covered while cutting to prevent drying out.
- 12 Serve immediately or return slices to the refrigerator until ready to serve.
Ingredients to explore

Andouille Sausage
Andouille sausage is a coarse-grained, smoked pork sausage with a rich history rooted in French cuisine, particularly from the Alsace region. It was adapted in Louisiana, where it became a staple in Cajun and Creole cooking. The sausage is known for its robust, smoky flavor with hints of garlic, pepper, and other spices, creating a spicy and savory profile. Its texture is firm yet slightly chewy, making it a hearty addition to dishes. When cooked, andouille sausage maintains its shape well and infuses dishes with its distinctive smoky essence, enhancing stews, soups, and rice dishes.
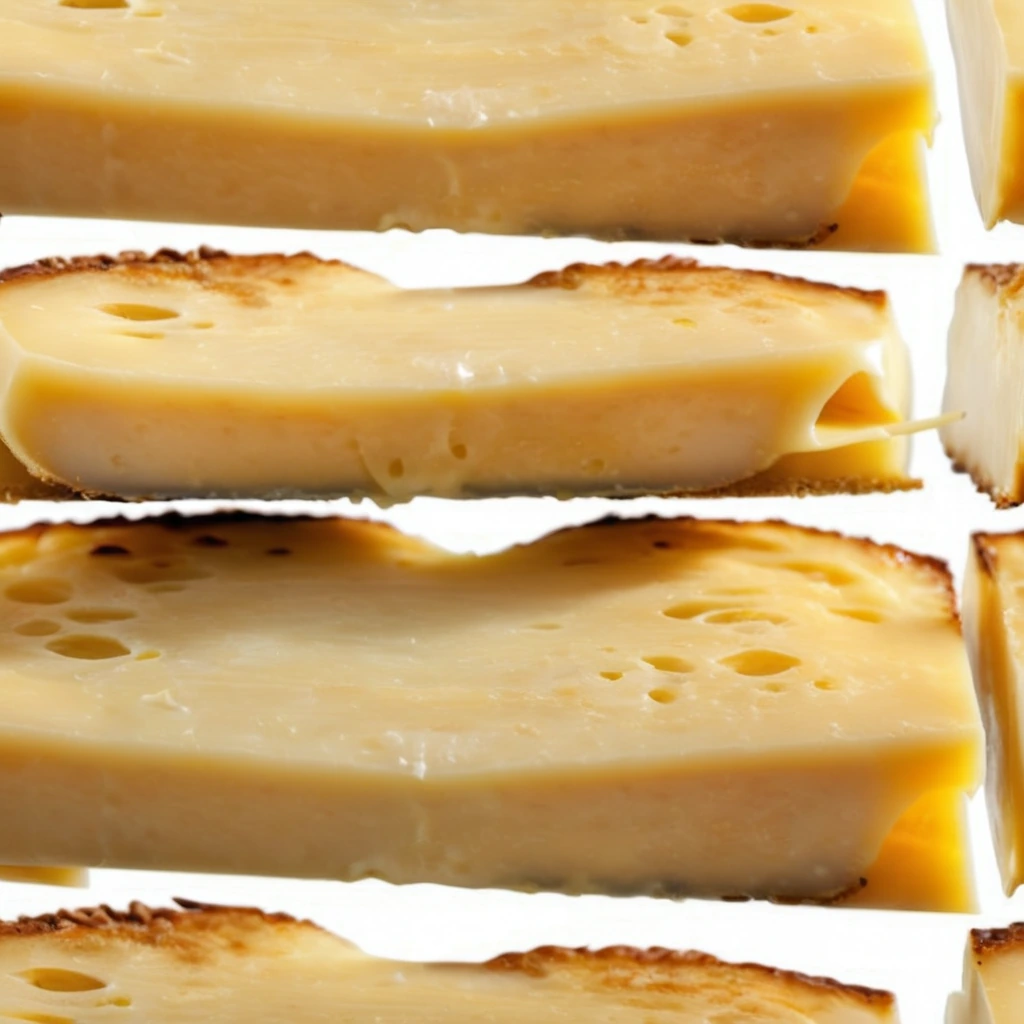
American Cheese Slices
Those iconic, perfectly pliable slices of creamy, mild American cheese. Each slice boasts a smooth, melt-in-your-mouth texture that brings comfort to any dish.
Recipes to try
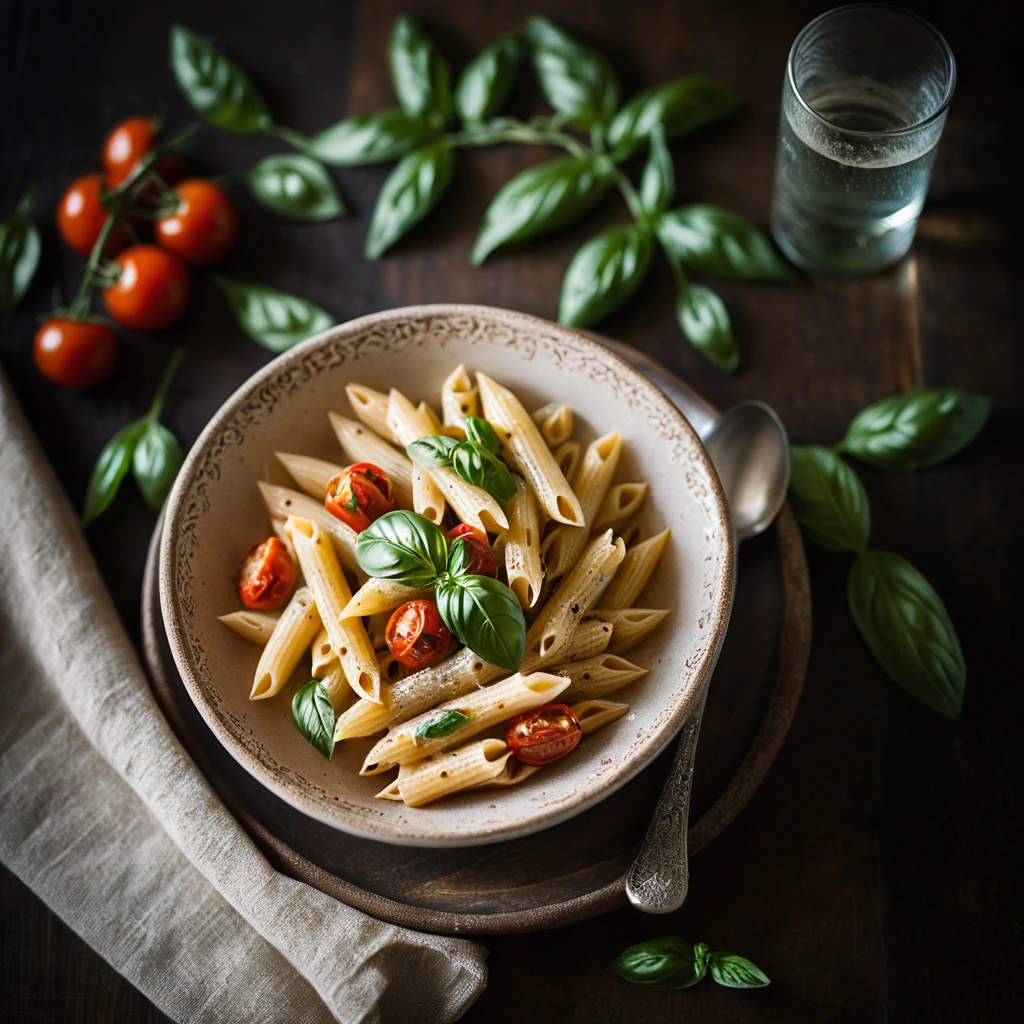
Roasted Tomato and Basil Cream Penne
Sun-kissed roasted tomatoes meld with creamy sauce and fresh basil for a penne that's both comforting and vibrant.
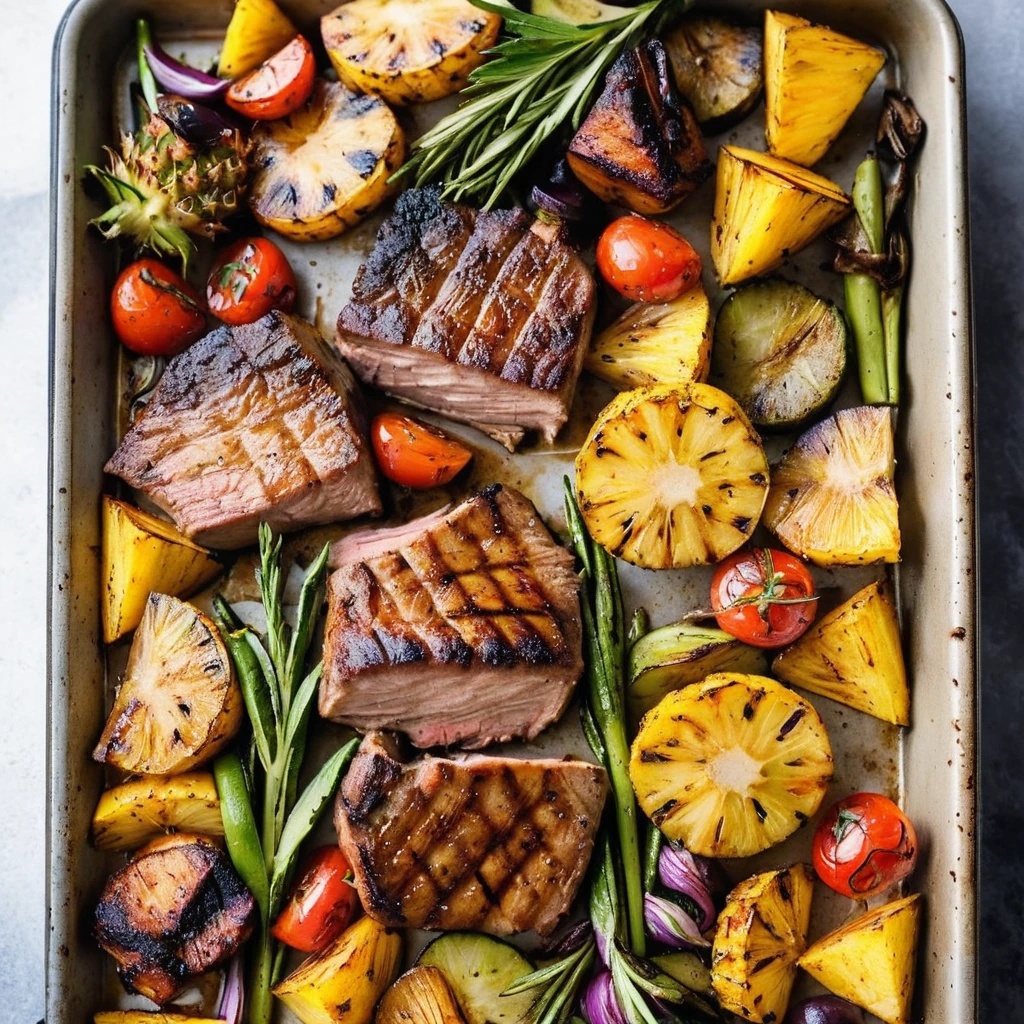
Pork and Pineapple BBQ Sheet Pan Supper
Sweet, tangy, and smoky flavors mingle in this fuss-free sheet pan supper that'll have you licking your plate clean.