Knife Skills: Carving a Prime Rib
Carving a prime rib is an art that transforms a roasted masterpiece into elegant slices that showcase its juicy tenderness. This technique requires precision and patience to ensure each slice is uniform and succulent. A prime rib, also known as a standing rib roast, is a cut of beef renowned for its rich flavor and marbling. To carve it properly, one must understand the anatomy of the roast and the tools needed for the task. A sharp chef’s knife is essential, as is a carving fork to stabilize the meat while slicing. The goal is to work with the grain rather than against it, ensuring that each piece maintains its integrity and texture. This guide will walk you through selecting the right knife, preparing your carving station, and executing precise cuts that will impress your guests and elevate your home cooking game.
Notes
The resting period is crucial as it allows the juices to redistribute throughout the meat, ensuring each slice is moist and flavorful. Using a sharp knife is non-negotiable; a dull blade can tear the meat rather than slice it cleanly. Common mistakes include slicing against the grain, which can result in tough, stringy pieces. To avoid this, always cut in the direction of the muscle fibers. Safety is paramount; ensure your carving surface is stable and your knife is handled with care. Leftover prime rib can be stored in an airtight container in the refrigerator for up to three days or frozen for longer storage.
Steps
- 1 Remove the prime rib from the oven and let it rest for 20 minutes.
- 2 Place the roast on a cutting board with the fat side up.
- 3 Insert the carving fork into the thickest part of the roast to stabilize it.
- 4 Hold a sharp chef’s knife with a comfortable grip.
- 5 Slice downwards, starting from the top of the roast, following the natural contours.
- 6 Cut parallel to the bone to create even slices about 1/4 to 1/2 inch thick.
- 7 Work methodically from one end to the other, adjusting your angle as needed.
- 8 Transfer each slice to a serving platter as you go.
- 9 For thicker portions, make wider cuts, ensuring each piece has some fat for flavor.
- 10 Keep slices warm by tenting the platter with foil if not serving immediately.
Ingredients to explore
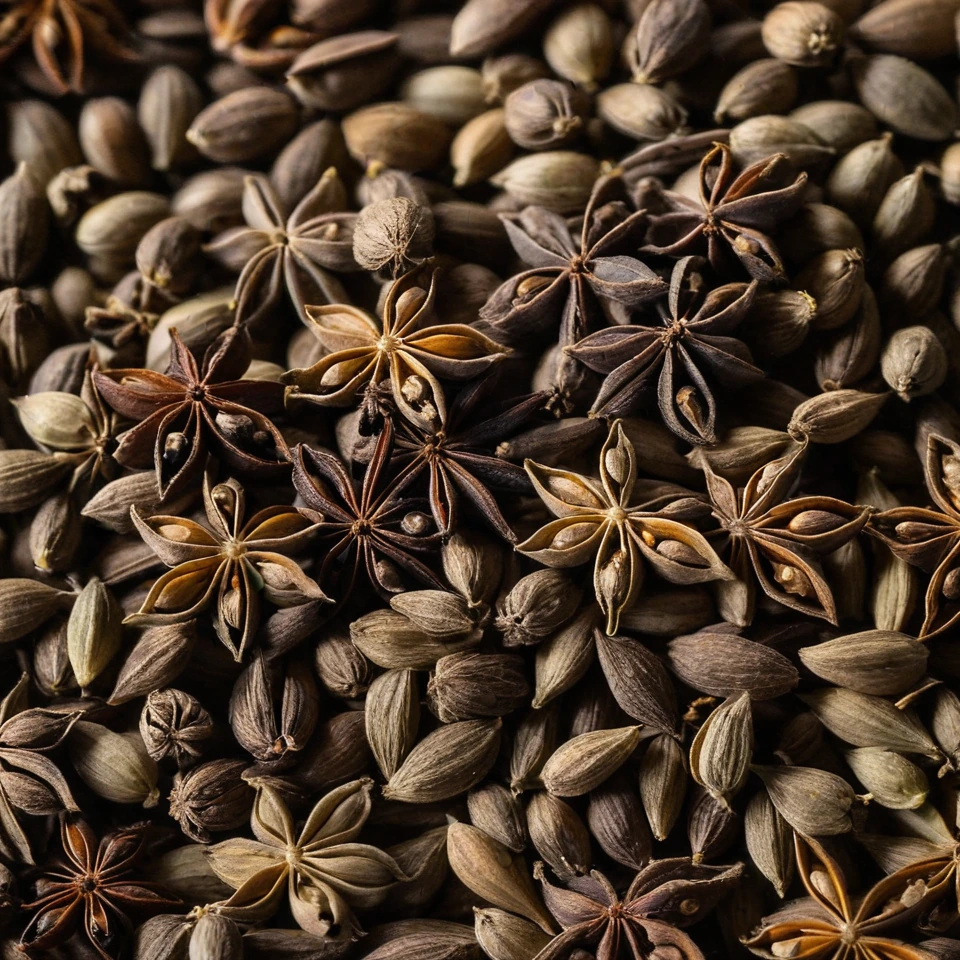
Anise Seeds
Anise seeds are small, oval seeds with a sweet, licorice-like flavor. They are commonly used in both sweet and savory dishes, offering a warm, aromatic taste.
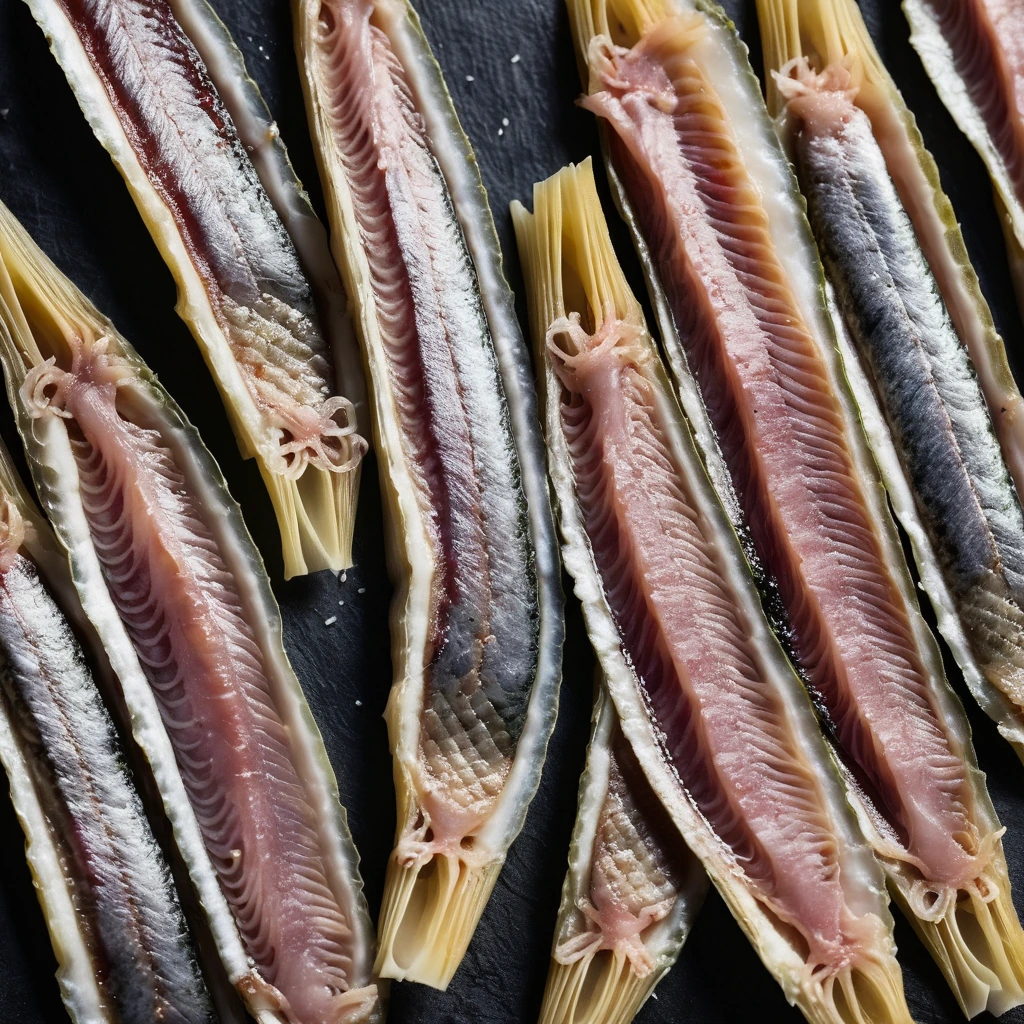
Anchovy Fillets
Silvery and succulent, anchovy fillets are a briny treasure from the sea. Their rich, umami flavor adds depth to dishes, making them a beloved ingredient in kitchens worldwide.
Recipes to try

S’mores Cookie Bars with Marshmallow Swirl
Chocolatey, gooey, and utterly irresistible – these S’mores Cookie Bars are a campfire classic reimagined into a decadent dessert.

Sausage, Pepper, and Onion Hoagies
Juicy Italian sausages nestled in soft hoagie rolls with a sweet and smoky medley of peppers and onions.