Heat Management Technique: Using Carryover Heat to Melt Cheese
The art of melting cheese to perfection is a delicate dance of heat and patience. Understanding carryover heat can elevate your cheese-melting game, ensuring a smooth, creamy result without the dreaded rubbery texture. Carryover heat refers to the residual cooking that occurs after a dish is removed from the heat source. This technique harnesses that residual warmth to gently melt cheese, preventing it from overheating and becoming grainy or separating. Whether you're crafting the perfect grilled cheese, topping off a casserole, or preparing a gooey cheese dip, mastering this technique is essential. The key is to preheat your dish to just below the melting point of the cheese, then let the carryover heat do the rest. This method not only preserves the cheese's integrity but also allows for a more even melt. By understanding the science behind this, you can confidently approach any cheese-melting challenge. Different cheeses have different melting points, so selecting the right cheese for your dish is crucial. Semi-hard cheeses like cheddar and mozzarella work particularly well with this technique due to their higher fat content. This guide will walk you through the steps to achieve perfectly melted cheese using carryover heat, providing tips to troubleshoot common issues and ensure success every time.
Notes
Carryover heat works because food continues to cook from residual warmth even after it's removed from the heat source. This is due to the transfer of heat from the hotter parts of the dish to the cooler parts, including the cheese. To avoid common mistakes, ensure your cheese isn't overcrowded, as this can lead to uneven melting. Additionally, avoid stirring the cheese immediately after removing it from the heat, as this can cause it to become stringy or separate. For storage, melted cheese dishes are best enjoyed fresh but can be refrigerated in an airtight container for up to 3 days. Reheating should be done gently to avoid altering the texture. Safety-wise, always use oven mitts when handling hot dishes to prevent burns.
Steps
- 1 Preheat oven to 350°F.
- 2 Prepare your dish with cheese just before it's done cooking.
- 3 Remove dish from oven when cheese appears almost melted.
- 4 Cover dish with a lid or foil tent to trap heat.
- 5 Let sit for 5 minutes to allow carryover heat to melt cheese fully.
- 6 Check cheese consistency; it should be smooth and creamy.
- 7 If cheese isn't melted, return to oven for 1-2 minutes.
- 8 Serve immediately after confirming desired melt has been achieved.
Ingredients to explore
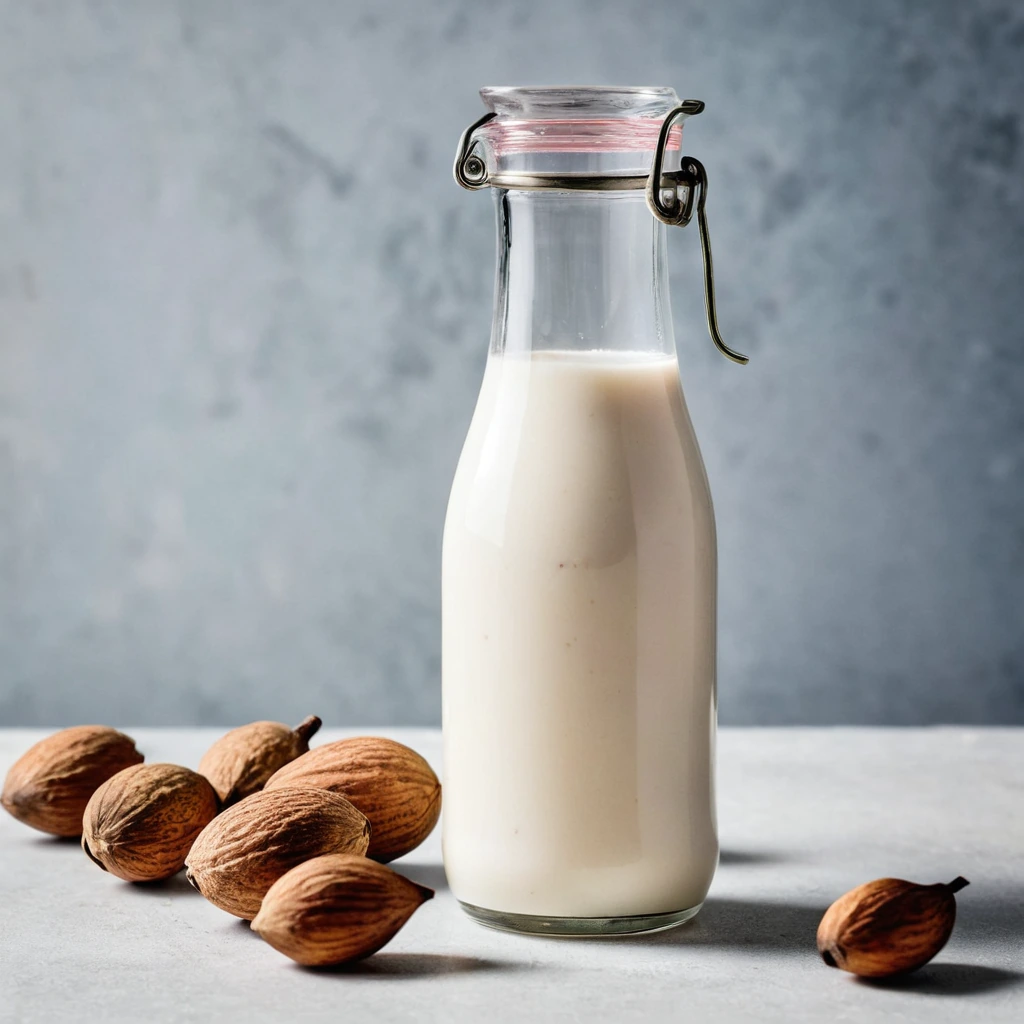
Almond Milk
Almond milk is a plant-based milk alternative made from ground almonds and water. Originating from traditional recipes in medieval Europe and the Middle East, it has gained widespread popularity in modern times as a dairy-free option. Almond milk has a subtly nutty flavor with a mild sweetness, and its aroma is reminiscent of fresh almonds. Its texture is smooth and creamy, though typically lighter than dairy milk. In cooking, almond milk behaves well in both savory and sweet applications, though it does not brown or caramelize like dairy milk. It is often used in cereals, smoothies, and baking, where its delicate flavor complements rather than overpowers other ingredients.

Anaheim Peppers
Anaheim peppers are a mild chili pepper variety named after Anaheim, California, where they were first cultivated commercially. Originating from the New Mexico region, these peppers are celebrated for their versatility and gentle heat. They possess a flavor that is mildly sweet with a subtle tang, and a pleasant vegetal note reminiscent of green bell peppers, but with a hint of spice. Their texture is firm and crisp when fresh, becoming tender and slightly smoky when roasted or cooked. In cooking, Anaheim peppers behave well across a range of techniques, from grilling and roasting to stuffing and sautéing, contributing a nuanced depth without overwhelming other ingredients with heat.
Recipes to try
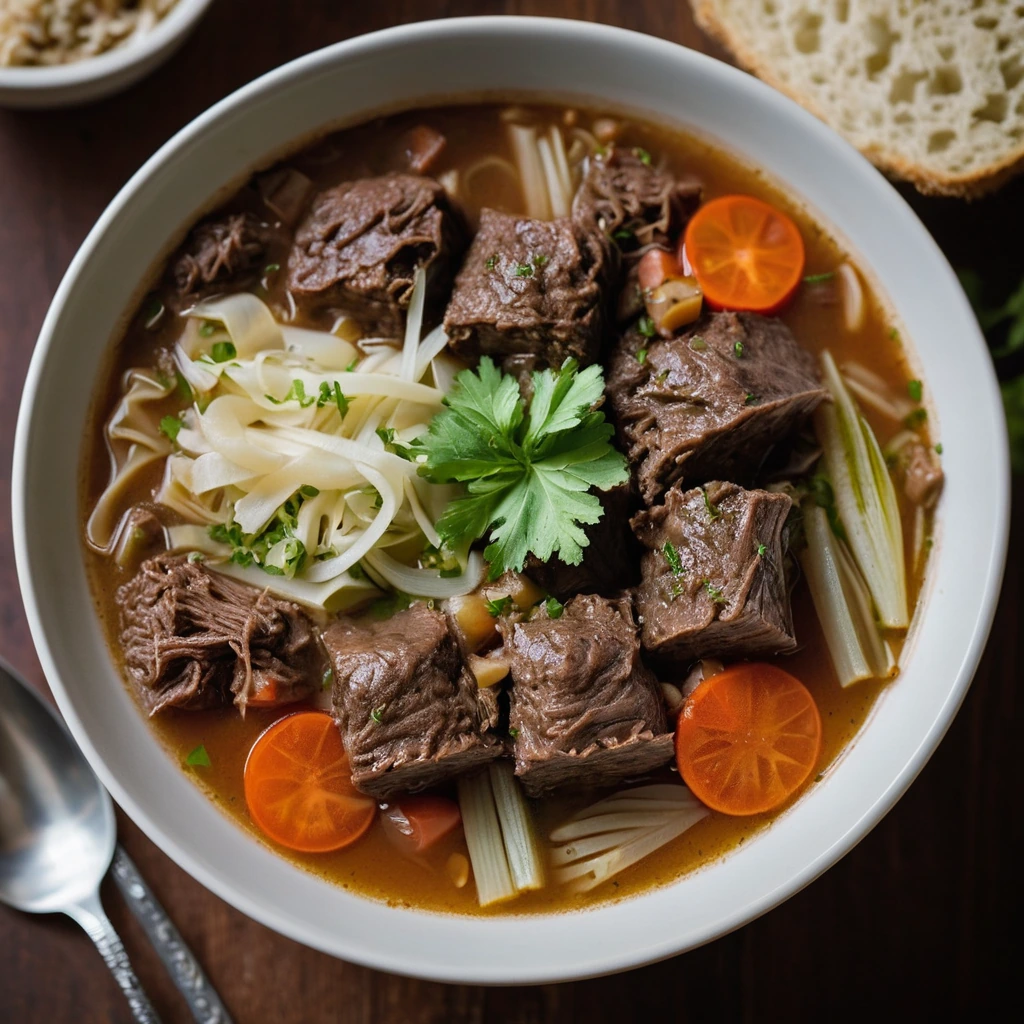
Stuffed Cabbage Roll Inspired Beef Soup
Warm up with this hearty soup that nods to classic stuffed cabbage rolls, brimming with tender beef and savory broth.
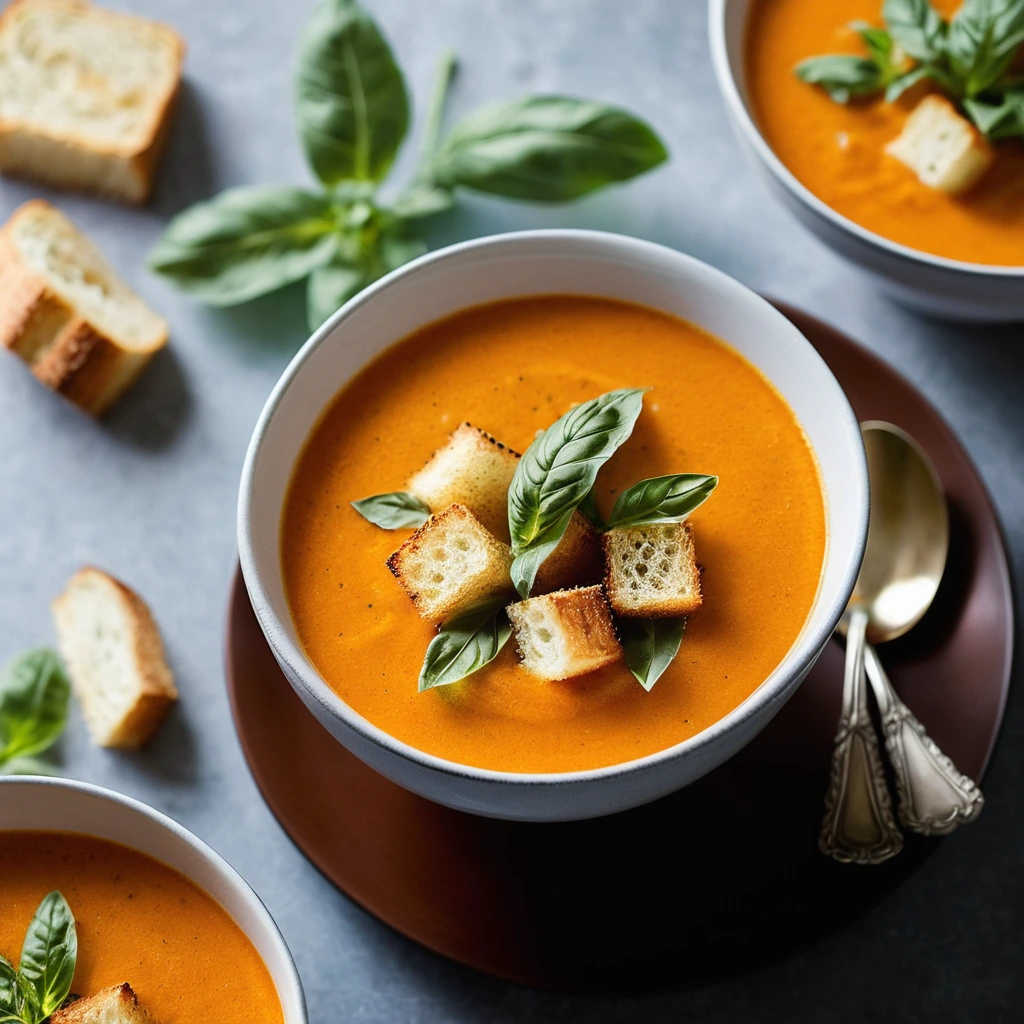
Roasted Garlic and Tomato Basil Soup with Croutons
Creamy, fragrant, and bursting with roasted garlic sweetness, this soup is comfort in a bowl, crowned with golden, crunchy croutons.