Grain Technique: Cooking Steel-Cut Oats Creamy on the Stovetop
Achieving creamy steel-cut oats on the stovetop is both an art and a science. Steel-cut oats, with their nutty flavor and chewy texture, are a beloved breakfast staple for many. Unlike rolled oats, steel-cut oats are chopped into small pieces, which means they require more time and attention to cook properly. The key to creamy perfection lies in the balance of liquid, heat, and stirring. This technique ensures your oats are neither mushy nor undercooked, but just right. Begin by understanding the importance of the right ratio of oats to liquid—typically a 1:3 ratio works well. Next, consider the gradual introduction of heat to prevent the oats from sticking and burning. Patience is crucial; steel-cut oats demand a slow simmer rather than a rapid boil. Stirring regularly helps to release the starches, contributing to that desirable creaminess. Additionally, incorporating a pinch of salt can enhance the natural flavors, while a touch of butter or cream at the end enriches the dish. This technique not only yields a hearty breakfast but also allows for endless customization with toppings like fresh fruit, nuts, or a drizzle of honey.
Notes
The science behind creamy steel-cut oats lies in the gradual release of starches from the oat groats during cooking. Stirring helps to break down these starches, creating a creamier texture. A common mistake is to cook steel-cut oats at too high a heat, which can lead to burning or uneven cooking. To avoid this, maintain a gentle simmer and stir regularly. For safety, be cautious when stirring hot oats to prevent burns. If you're planning ahead, you can cook the oats the night before and reheat them in the morning, adding a splash of milk for extra creaminess.
Steps
- 1 Rinse 1 cup of steel-cut oats under cold water.
- 2 In a medium saucepan, combine the rinsed oats with 3 cups of water or milk.
- 3 Add a pinch of salt to the mixture.
- 4 Place the saucepan over medium heat.
- 5 Bring the mixture to a gentle boil, stirring occasionally.
- 6 Once boiling, reduce the heat to low to maintain a steady simmer.
- 7 Simmer for 20-25 minutes, stirring frequently to prevent sticking and ensure even cooking.
- 8 If the mixture seems too dry, add a splash of water or milk.
- 9 After 20-25 minutes, check the texture; the oats should be tender but still have a slight bite.
- 10 Remove from heat and stir in 1 tablespoon of butter or cream for extra richness.
- 11 Cover the saucepan and let it sit for 5 minutes to absorb any remaining liquid.
- 12 Fluff the oats with a fork before serving.
- 13 Serve immediately with your favorite toppings.
- 14 Store leftovers in an airtight container in the fridge for up to 5 days.
Ingredients to explore
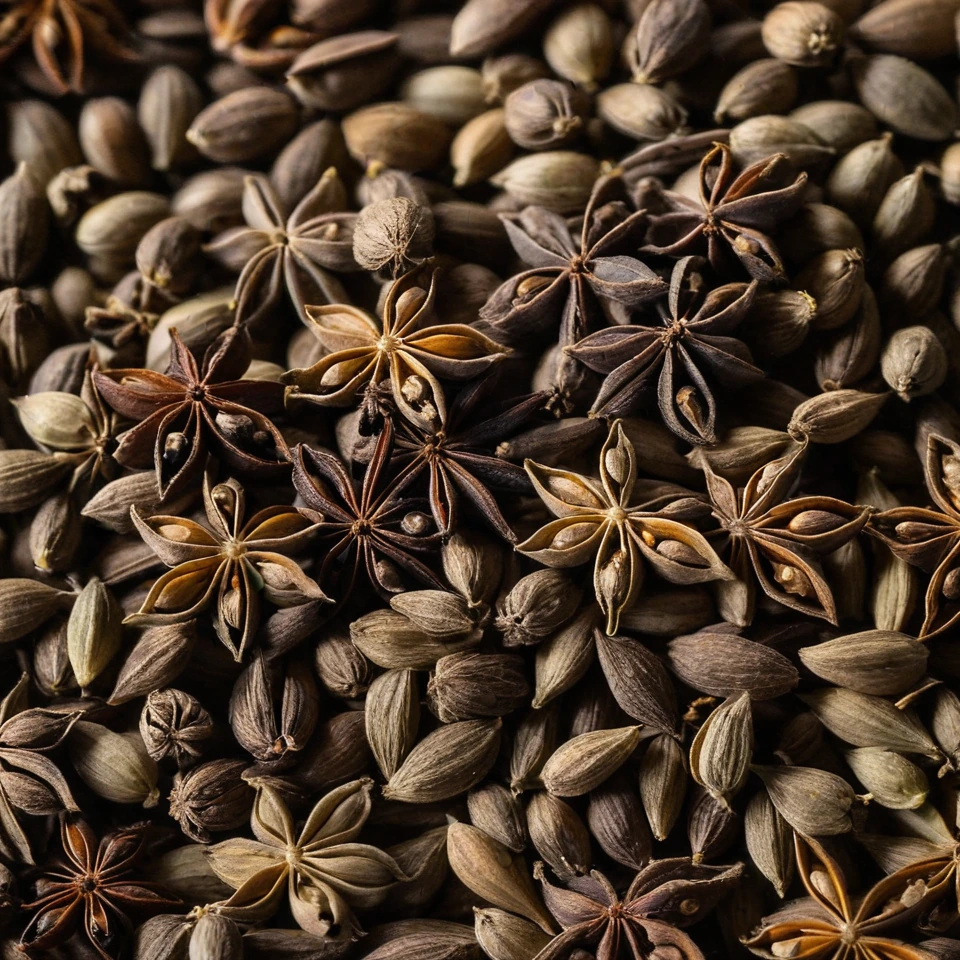
Anise Seeds
Anise seeds are small, oval seeds with a sweet, licorice-like flavor. They are commonly used in both sweet and savory dishes, offering a warm, aromatic taste.

Acorn Squash
Acorn squash is a winter squash variety known for its distinctive teardrop shape and deep ridges resembling the texture of an acorn shell. Originating in the Americas, it has been cultivated for centuries and is a staple in autumn cuisine. The flesh is sweet and nutty with a hint of earthiness, offering a delightful contrast to savory dishes. Its texture is dense yet tender when cooked, making it ideal for roasting or pureeing. In cooking, acorn squash holds its shape well and absorbs flavors from herbs and spices, enhancing both its taste and versatility in recipes.
Recipes to try

Stuffed Cabbage Roll Inspired Beef Soup
Warm up with this hearty soup that nods to classic stuffed cabbage rolls, brimming with tender beef and savory broth.

Sausage and Potato Breakfast Casserole
This hearty casserole combines savory sausage, crispy potatoes, and melty cheese into a golden, bubbly brunch masterpiece.