Dessert Finishes: Toasting Meringue with a Torch
Achieving the perfect toasted meringue is an art that can elevate any dessert from ordinary to extraordinary. This technique involves using a culinary torch to caramelize the sugar on the surface of a meringue, creating a delightful contrast between the crisp, golden exterior and the soft, airy interior. Whether you're finishing off a lemon meringue pie, a pavlova, or a baked Alaska, mastering the art of toasting meringue will ensure your desserts are restaurant-worthy. The key is to control the heat and move the torch in a consistent, even manner to avoid scorching. Understanding the science behind the caramelization process will also help you troubleshoot and perfect your technique. Patience is essential; rushing the process can lead to an uneven finish or worse, a burnt meringue. Let’s dive into the precise steps and tips to achieve that coveted golden-brown crust that will make your desserts shine.
Notes
The science behind toasting meringue lies in caramelization, where sugar breaks down under heat, creating complex flavor compounds. To avoid common mistakes, ensure your torch's flame is adjusted properly—too large a flame can lead to burning. Chilling the meringue before torching helps stabilize it, preventing cracks and ensuring an even finish. Safety is crucial when using a culinary torch; always work in a well-ventilated area and keep a fire extinguisher nearby. For make-ahead desserts, toast the meringue just before serving to maintain the crisp texture. Store un-toasted meringue desserts in the refrigerator to preserve freshness.
Steps
- 1 Preheat your oven to 300°F if your meringue is part of a baked dessert.
- 2 Ensure your meringue is chilled before torching to prevent cracking.
- 3 Light your culinary torch and allow the flame to stabilize.
- 4 Hold the torch at a 45-degree angle, about 4 inches away from the meringue surface.
- 5 Use even, sweeping motions to toast the meringue, starting from the outer edges.
- 6 Watch for the sugar to turn a golden-brown color, indicating caramelization.
- 7 Avoid lingering in one spot too long to prevent scorching.
- 8 Rotate the dessert as needed to ensure even browning.
- 9 If using for a pie, shield the crust with foil to avoid over-browning.
- 10 For pavlova, focus on the peaks for a dramatic effect.
- 11 For baked Alaska, ensure the meringue fully covers the ice cream.
- 12 Turn off the torch once the desired color is achieved.
- 13 Allow the meringue to cool slightly before serving to set the toasted surface.
- 14 Serve immediately for optimal texture and flavor.
Ingredients to explore
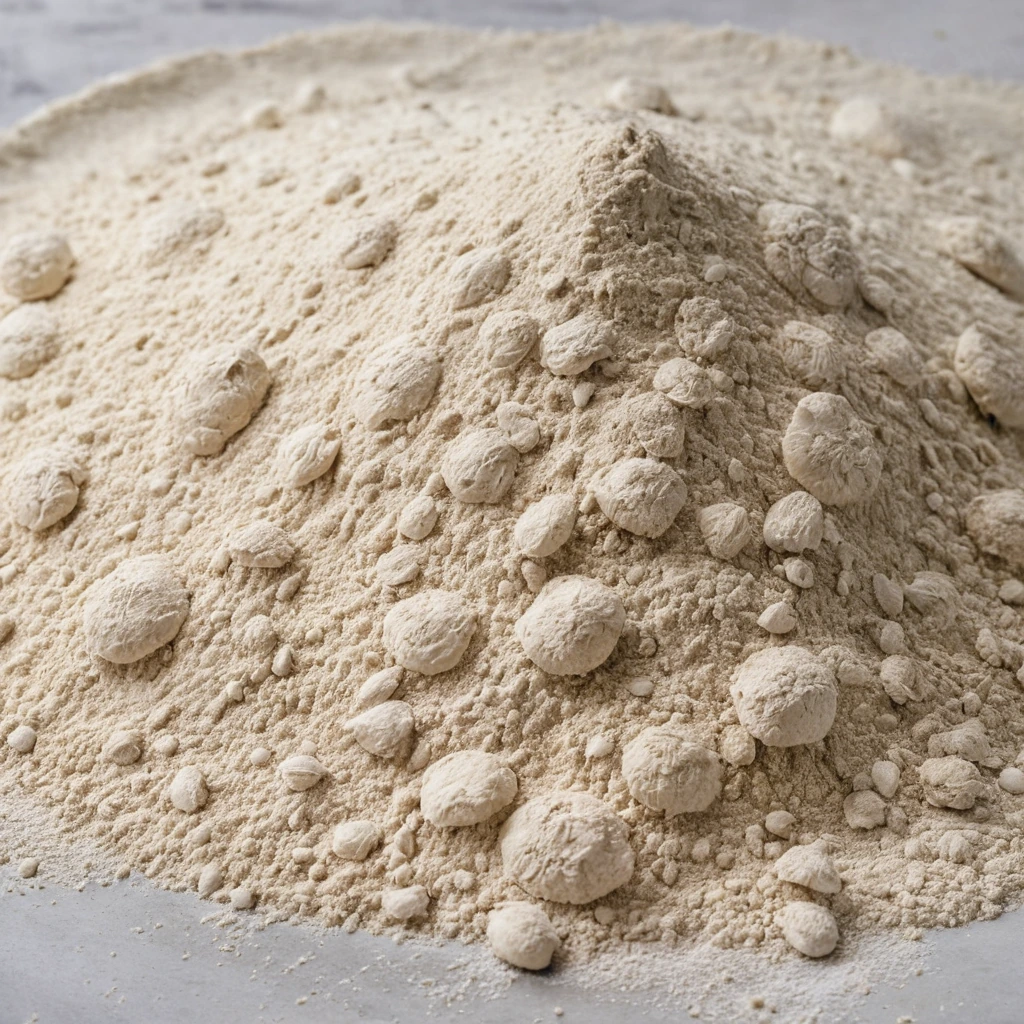
00 Pizza Flour
00 pizza flour is a finely milled Italian flour prized for its versatility in creating authentic Neapolitan-style pizza crusts. Originating from Italy, it is milled to a very fine consistency, which is reflected in its name, 'doppio zero,' indicating its fine grind. This flour has a balanced flavor profile, offering a mild, slightly sweet taste with a subtle nuttiness. Its texture is silky and smooth, contributing to a tender yet chewy crust when used in pizza making. In cooking, 00 pizza flour is known for its ability to hydrate quickly and develop a desirable gluten structure, resulting in a light and airy crust that can withstand high-heat cooking without becoming overly crispy or hard.
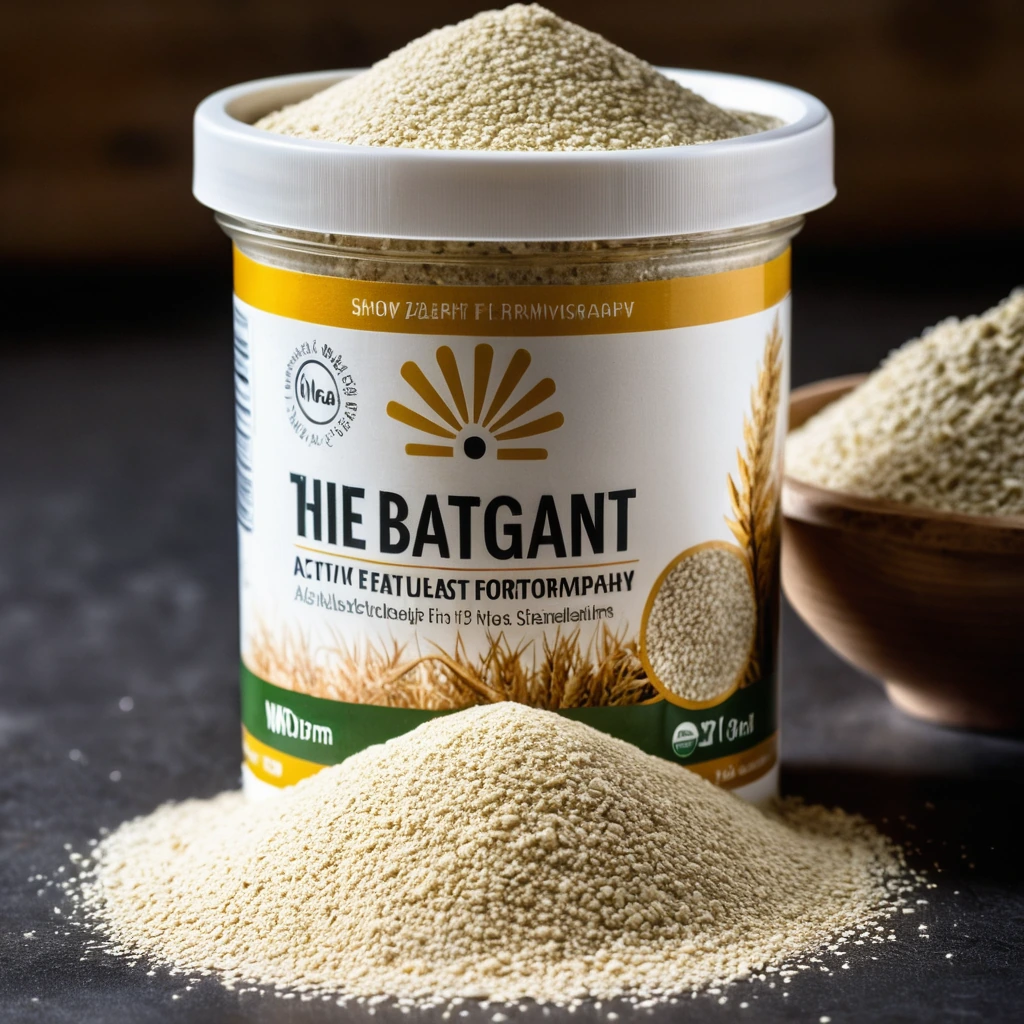
Active Dry Yeast
A fine, granulated leavening agent that brings baked goods to life with its gentle fermentation magic.
Recipes to try
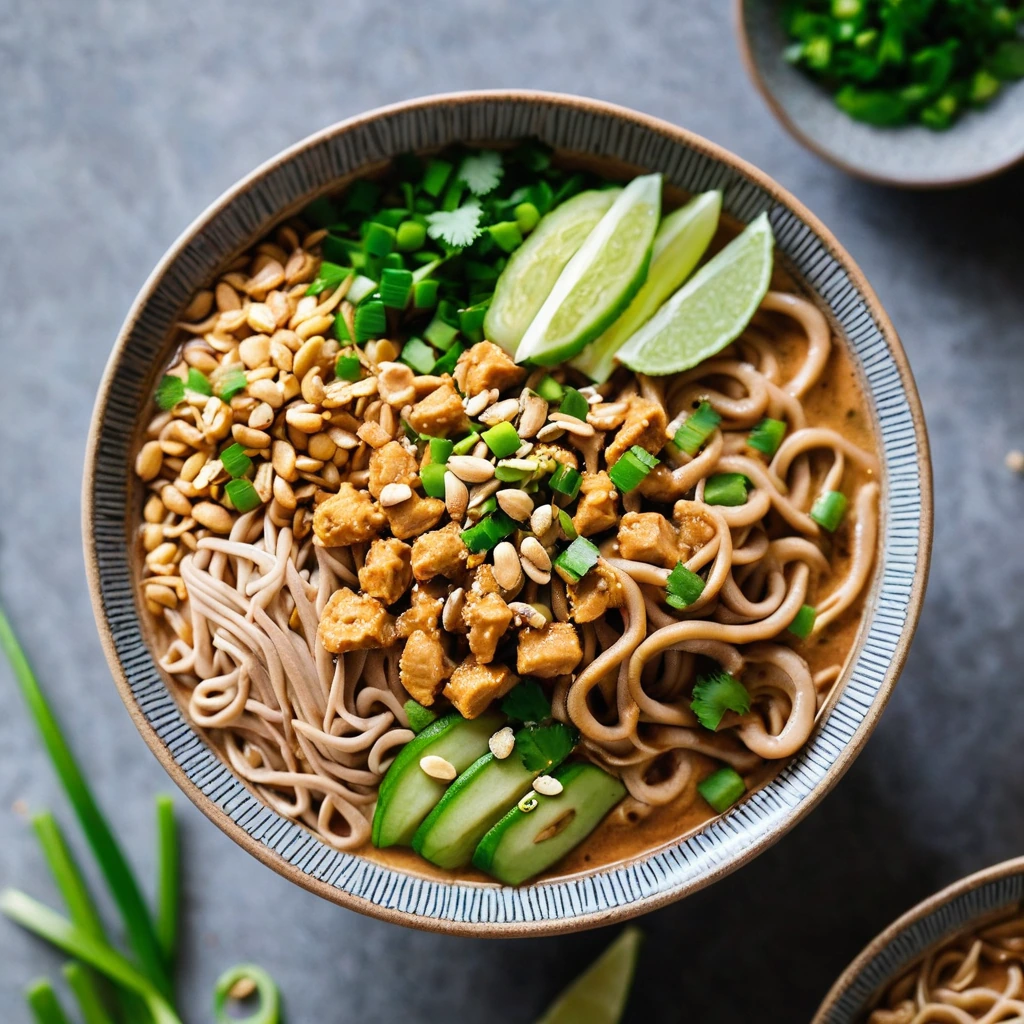
Spicy Peanut Chicken Noodle Bowls
Creamy peanut sauce clings to tender chicken and chewy noodles in a vibrant, fiery bowl that's comfort food on steroids.
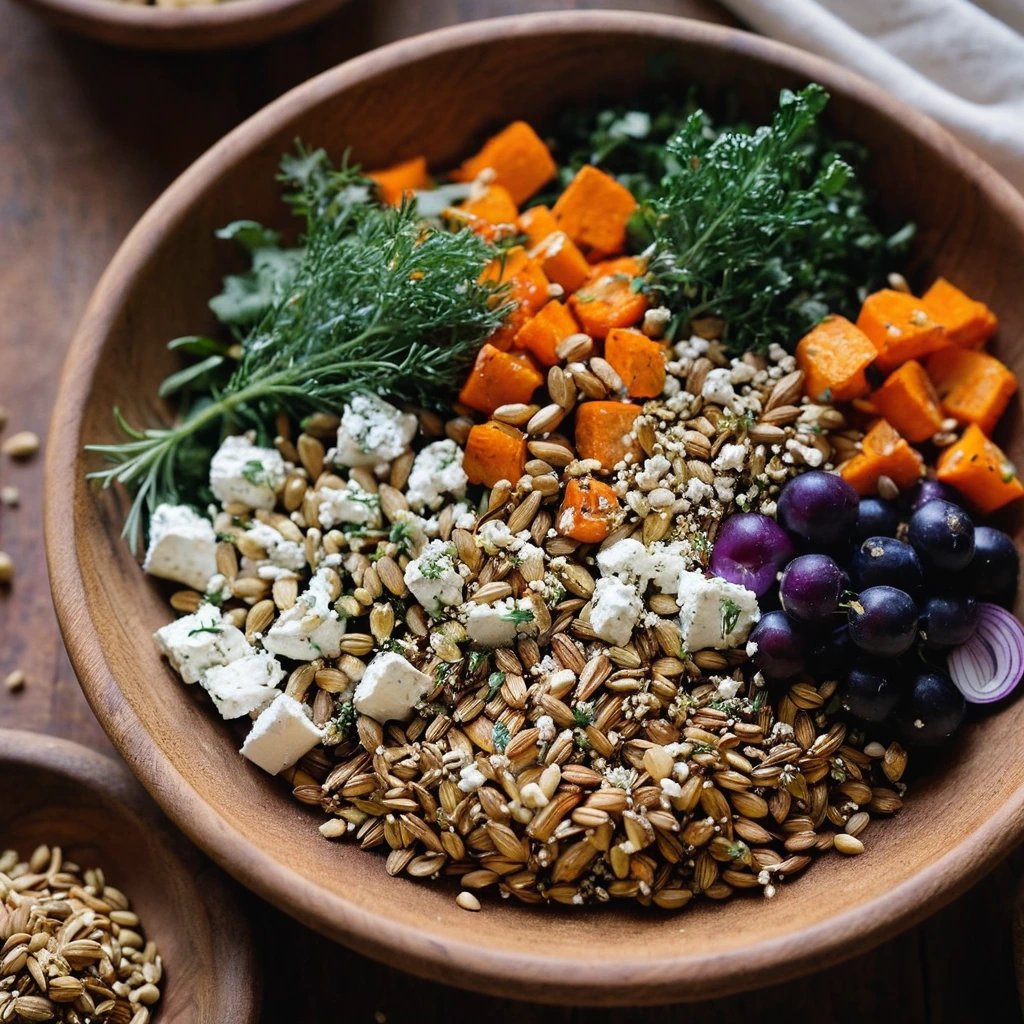
Roasted Vegetable and Goat Cheese Grain Bowls
Warm, roasted veggies mingle with creamy goat cheese over a bed of nutty grains for a comforting yet vibrant meal.