Dessert Finishes: Swirling Sauces on Dessert Plates
Creating a stunning swirl of sauce on a dessert plate is both an art and a technique that can elevate your dessert presentation to the next level. It's a simple yet effective way to impress your guests and add a professional touch to your plating. This technique requires a bit of practice, but once mastered, it can become a signature move in your culinary repertoire. The key is to work quickly and confidently, ensuring the sauce is at the right consistency for swirling. Too thick, and it won't spread smoothly; too thin, and it will run off the plate. The sauce's temperature also plays a crucial role, as warm sauces are more pliable and easier to manipulate. Let's dive into the steps and tips to achieve a restaurant-worthy swirl every time. First, consider the type of sauce you're using—chocolate, caramel, berry compote—each behaves differently, so tailor your approach accordingly. Secondly, having the right tools, like a squeeze bottle or a spoon, is essential. Lastly, don't underestimate the power of visual cues; knowing when to stop is as important as how you start.
Notes
The science behind swirling sauces lies in the sauce's viscosity and surface tension. A sauce with the right balance will spread smoothly yet hold its shape. To troubleshoot, if your sauce is too thick, warm it slightly; if too thin, let it cool or add a thickening agent like cornstarch. Always test your sauce on a separate plate before applying it to your final presentation. Safety is minimal here, but ensure your workspace is clean and free from hazards. For make-ahead storage, prepare your sauce in advance but swirl it just before serving to maintain its appearance. Leftovers can be stored in an airtight container in the fridge for up to a week, reheating gently before use.
Steps
- 1 Select a sauce that complements your dessert and adjust its consistency if necessary.
- 2 Warm the sauce gently to make it easier to work with, ensuring it's not too hot.
- 3 Place your dessert plate on a flat, stable surface.
- 4 Transfer the sauce to a squeeze bottle or a piping bag for controlled application.
- 5 Start by placing a dot of sauce in the center of the plate.
- 6 Using a spoon or the back of a ladle, drag it from the center outward in a smooth motion to create a thin layer.
- 7 Continue dragging the spoon through the sauce in different directions to create swirls.
- 8 For intricate patterns, lift and move the spoon quickly to guide the sauce into desired shapes.
- 9 Work swiftly to maintain the sauce's fluidity before it sets.
- 10 Once satisfied with the pattern, gently place your dessert on the plate to avoid disrupting the swirl.
- 11 Use a toothpick to make minor adjustments if needed.
- 12 Ensure the sauce is evenly distributed and visually appealing.
- 13 Serve immediately to maintain the integrity of the design.
Ingredients to explore
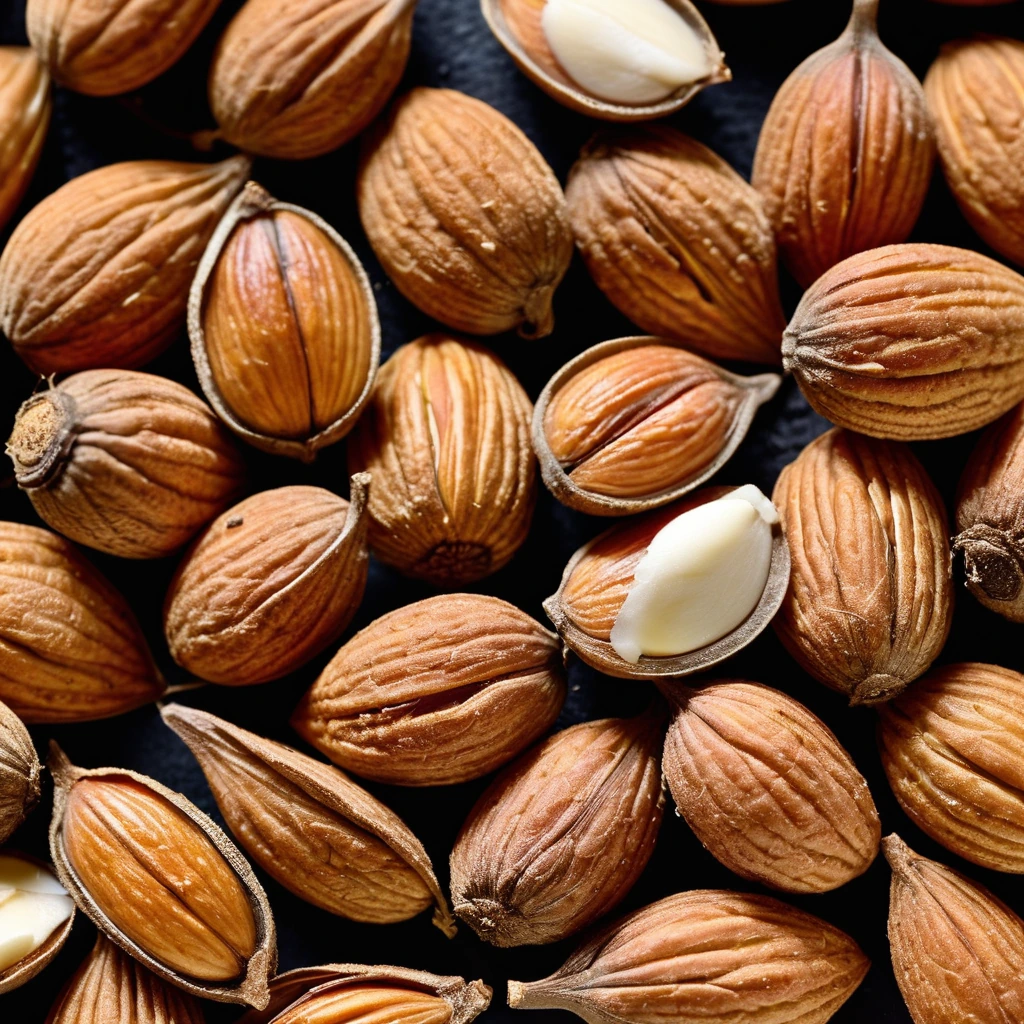
Almond Extract
A fragrant, golden elixir that captures the essence of freshly ground almonds, almond extract is a pantry staple that brings a rich, nutty aroma to your culinary creations.
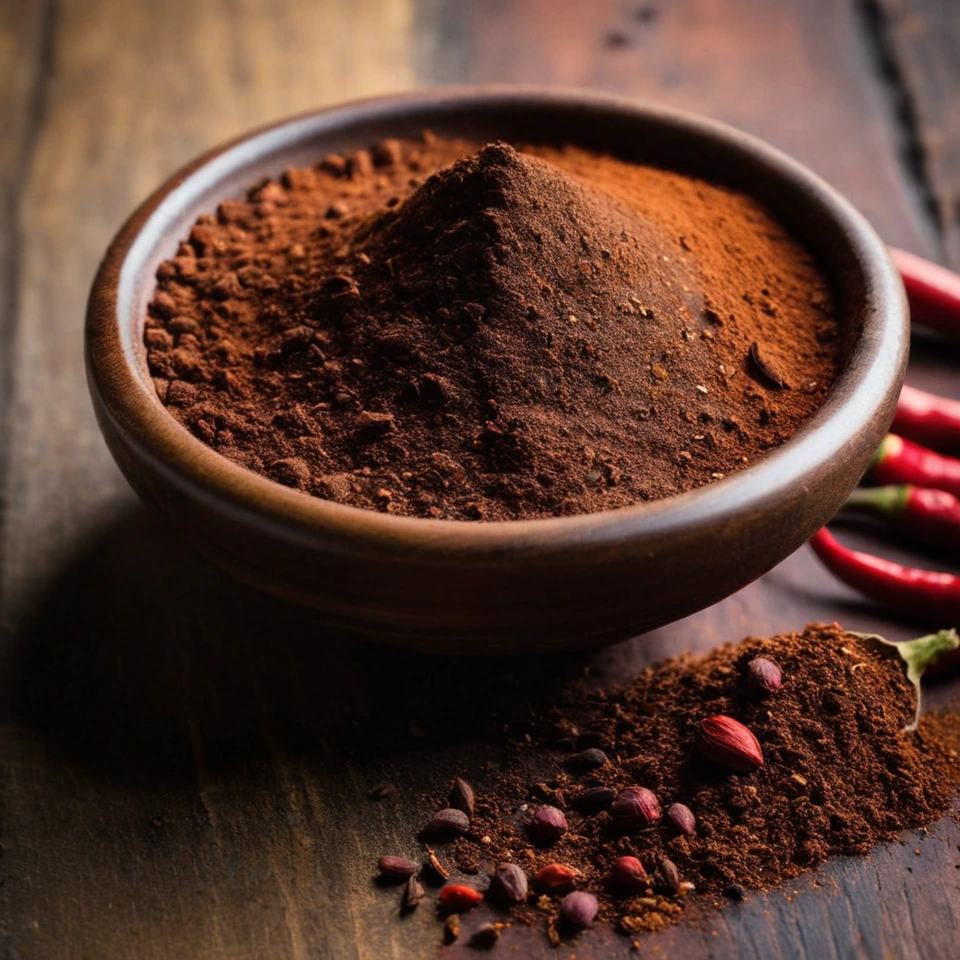
Ancho Chili Powder
Ancho chili powder offers a deep, smoky sweetness with hints of dried fruit and cocoa, reminiscent of its origin as dried poblano peppers from Mexico. Its aroma is warm and inviting, with a mild heat that lingers gently. The texture is fine and velvety, making it easy to incorporate into a variety of dishes. This powder is prized for its ability to add complexity without overwhelming spice, ideal for enriching both traditional Mexican moles and contemporary global cuisines.