Dairy: Yogurt Making and Straining Basics
Making yogurt at home is a delightful journey into the world of fermentation. It's a simple process that transforms plain milk into a creamy, tangy delight. The key to success lies in harnessing the power of live bacterial cultures, which convert lactose into lactic acid, thickening the milk and giving yogurt its signature tang. Once you've mastered basic yogurt making, straining it takes it to the next level, creating Greek-style yogurt with a thicker texture and concentrated flavor. This technique is all about patience and precision. Start by selecting high-quality milk; whole milk yields the creamiest results, though low-fat options work too. You'll need a yogurt starter or a bit of store-bought yogurt with live cultures. Maintaining the correct temperature is crucial—too hot or too cold, and the bacteria won't thrive. After incubation, straining yogurt through cheesecloth or a fine mesh strainer removes whey, resulting in a velvety texture perfect for everything from breakfast parfaits to savory dips. We'll walk you through each step, offering tips to ensure your homemade yogurt is a success every time.
Notes
The science behind yogurt making is fascinating: the bacteria in the starter culture feed on lactose, producing lactic acid which curdles the milk proteins. Achieving and maintaining the correct temperature is critical—too high, and you risk killing the cultures; too low, and fermentation won’t occur properly. Common mistakes include not heating the milk enough, which can lead to a thin yogurt, or allowing the mixture to cool too quickly before adding the starter. To ensure safety, always use clean equipment and ensure your milk is fresh. If you’re pressed for time, you can make yogurt ahead and store it in the fridge. Straining can also be done ahead of time, just make sure to cover and refrigerate the strained yogurt promptly.
Steps
- 1 Heat 1 quart of milk in a saucepan to 180°F, stirring occasionally.
- 2 Remove from heat and let cool to 110°F.
- 3 Whisk in 2 tablespoons of yogurt starter or plain yogurt with live cultures.
- 4 Pour the mixture into a clean, warm container.
- 5 Cover and insulate the container with a towel or place it in an insulated bag.
- 6 Maintain a consistent temperature of 110°F for 6 to 8 hours.
- 7 After incubation, refrigerate the yogurt for at least 2 hours.
- 8 Line a strainer with cheesecloth or a fine mesh strainer and place it over a bowl.
- 9 Transfer the yogurt to the strainer and let it drain for 2 to 4 hours.
- 10 Check the texture; longer draining yields thicker yogurt.
- 11 Once desired thickness is reached, transfer to a storage container.
- 12 Refrigerate for up to 2 weeks.
- 13 Enjoy your homemade yogurt as is or with toppings of your choice.
Ingredients to explore

Andouille Sausage
Andouille sausage is a coarse-grained, smoked pork sausage with a rich history rooted in French cuisine, particularly from the Alsace region. It was adapted in Louisiana, where it became a staple in Cajun and Creole cooking. The sausage is known for its robust, smoky flavor with hints of garlic, pepper, and other spices, creating a spicy and savory profile. Its texture is firm yet slightly chewy, making it a hearty addition to dishes. When cooked, andouille sausage maintains its shape well and infuses dishes with its distinctive smoky essence, enhancing stews, soups, and rice dishes.
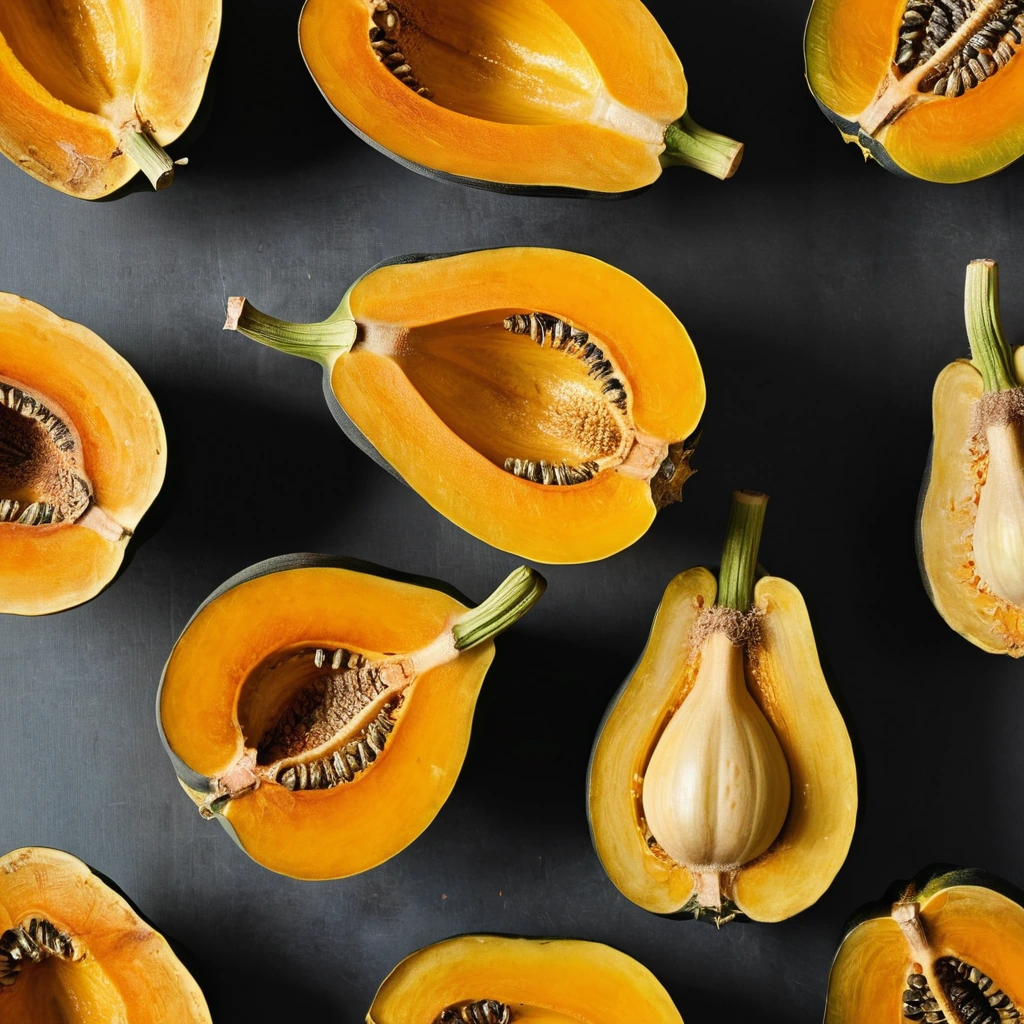
Acorn Squash
Acorn squash is a winter squash variety known for its distinctive teardrop shape and deep ridges resembling the texture of an acorn shell. Originating in the Americas, it has been cultivated for centuries and is a staple in autumn cuisine. The flesh is sweet and nutty with a hint of earthiness, offering a delightful contrast to savory dishes. Its texture is dense yet tender when cooked, making it ideal for roasting or pureeing. In cooking, acorn squash holds its shape well and absorbs flavors from herbs and spices, enhancing both its taste and versatility in recipes.
Recipes to try
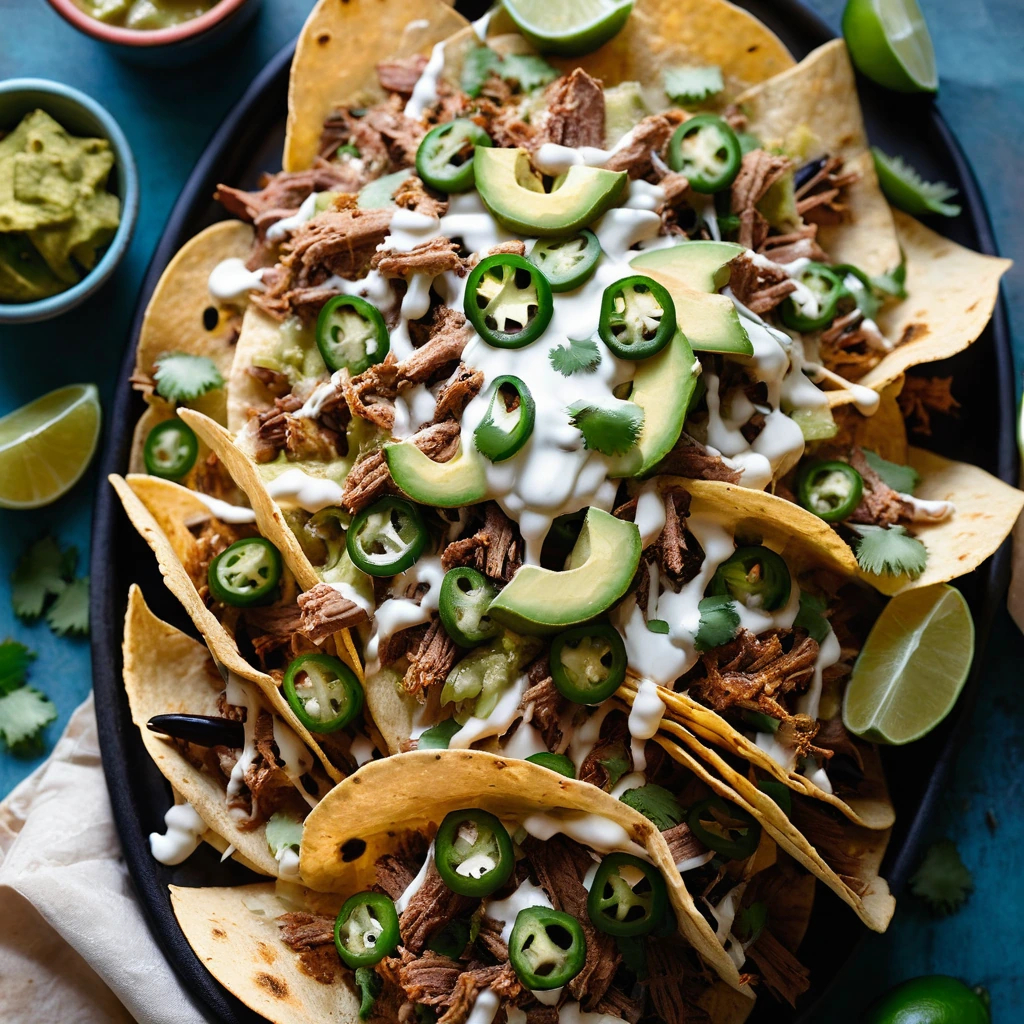
Pork Carnitas Nachos with Queso and Jalapeños
Crispy tortilla chips smothered in tender pork carnitas, melty queso, and zesty jalapeños for a fiesta in your mouth.
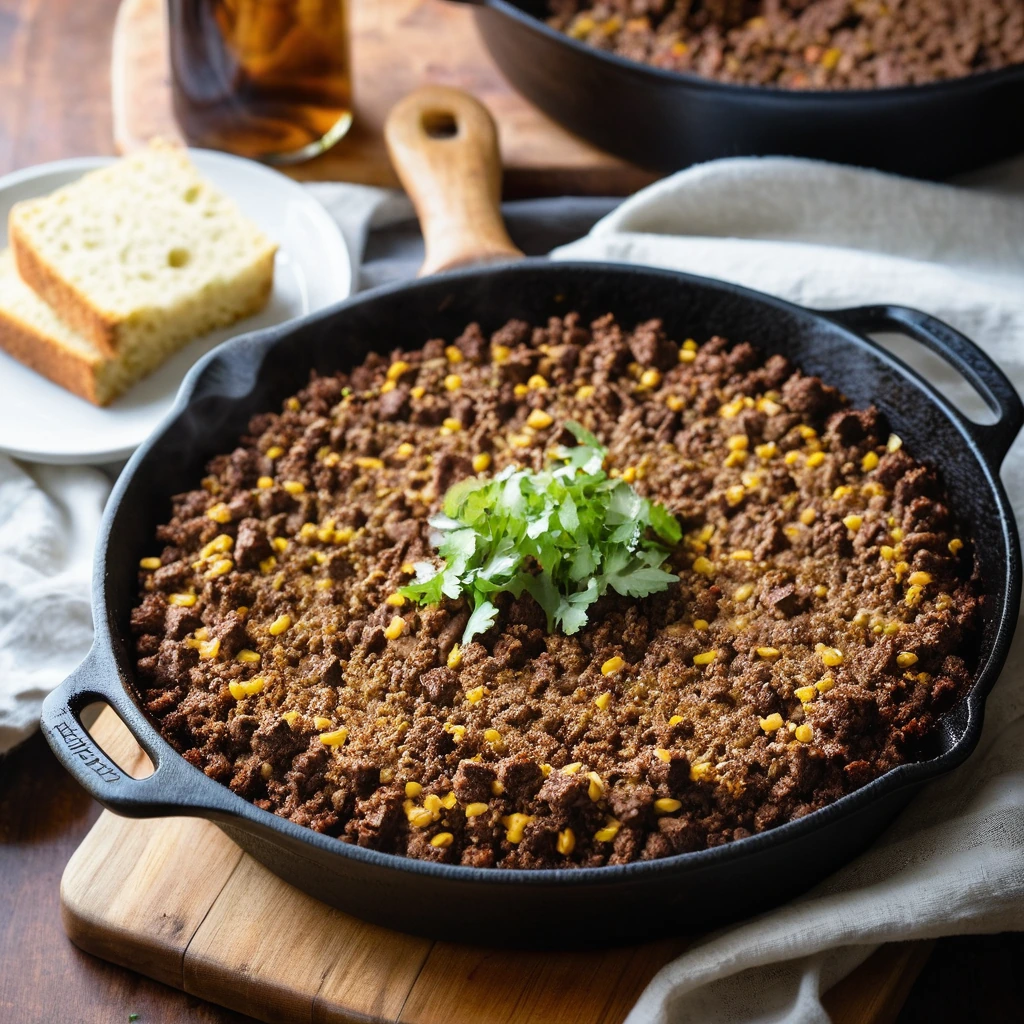
Smoky BBQ Ground Beef and Cornbread Skillet
Imagine the rich smokiness of BBQ sauce mingling with tender ground beef atop golden, crumbly cornbread in a skillet.