Dairy: Stabilizing Whipped Cream with Gelatin
Whipped cream is a delightful topping, but it can deflate all too quickly, leaving your desserts looking less than their best. Enter gelatin, a secret weapon for stabilizing whipped cream to ensure it holds its shape for hours. This technique is perfect for piping intricate designs, creating mousse layers, or simply ensuring your cream stays fluffy until the last bite. Here, we dive into the science behind why gelatin works, how to properly incorporate it, and tips to avoid common pitfalls. Stabilizing whipped cream with gelatin is a game-changer for any home cook looking to elevate their dessert game.
Notes
The science behind this technique lies in gelatin's ability to form a network of proteins that trap air bubbles, providing structure without altering the cream's taste. Common mistakes include overheating the gelatin, which can destroy its structure, or adding it too quickly to the cream, causing it to deflate. Always ensure the gelatin mixture is cool before adding to the cream. Safety-wise, there are no major concerns, but ensure your utensils and bowls are clean and dry to avoid contamination. For storage, keep the stabilized whipped cream refrigerated and use within 24 hours for optimal texture and flavor.
Steps
- 1 Bloom 1 teaspoon of unflavored gelatin in 2 tablespoons of cold water for 5 minutes.
- 2 Gently heat the gelatin mixture in a small saucepan over low heat until it dissolves completely, about 1-2 minutes.
- 3 Remove from heat and let cool to room temperature.
- 4 In a chilled mixing bowl, pour 1 cup of heavy cream and beat on medium speed until soft peaks form.
- 5 Gradually drizzle the cooled gelatin mixture into the whipped cream while beating on low speed.
- 6 Increase the speed to medium and continue beating until stiff peaks form.
- 7 Transfer the stabilized whipped cream to a piping bag or airtight container immediately.
- 8 Refrigerate until ready to use, ideally within 24 hours for best texture.
Ingredients to explore
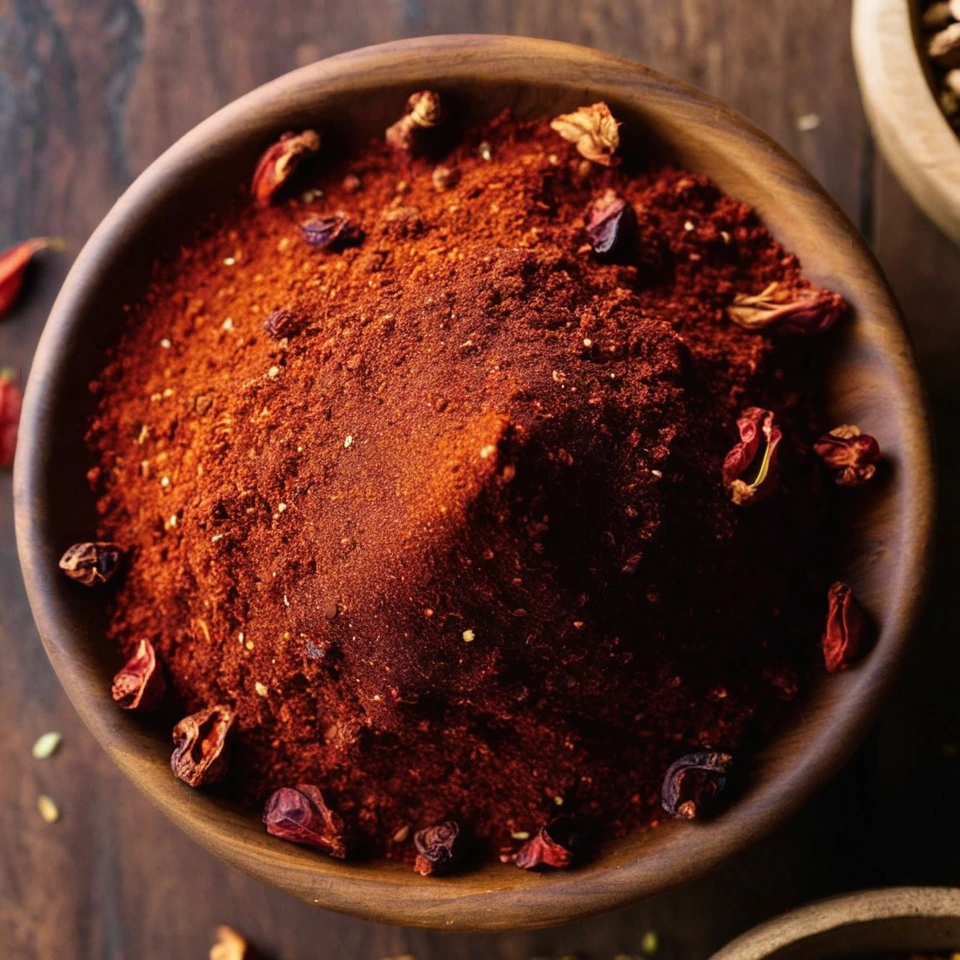
Aleppo Pepper
Aleppo pepper offers a harmonious balance of heat and sweetness, with a subtle fruity aroma reminiscent of sun-dried tomatoes and currants. Originating from the region around Aleppo, Syria, it has a fine, slightly coarse texture that shatters easily between fingers. Its mild yet complex flavor profile makes it a prized seasoning for enhancing dishes without overwhelming them. Valued for its versatility, it bridges the gap between spice and seasoning, bringing a touch of warmth and depth to a variety of cuisines.
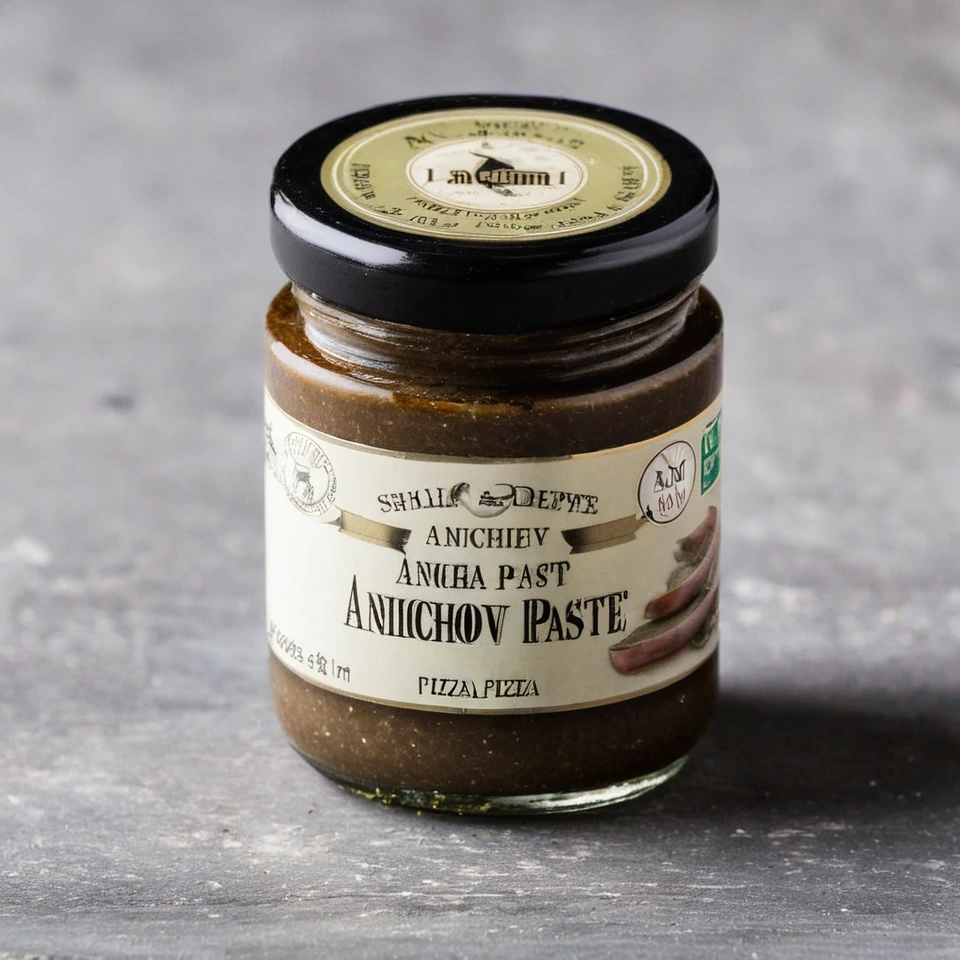
Anchovy Paste
Anchovy paste is a rich, salty spread made from finely ground anchovies, salt, and sometimes olive oil. It offers a deep umami flavor that enhances a variety of dishes.
Recipes to try
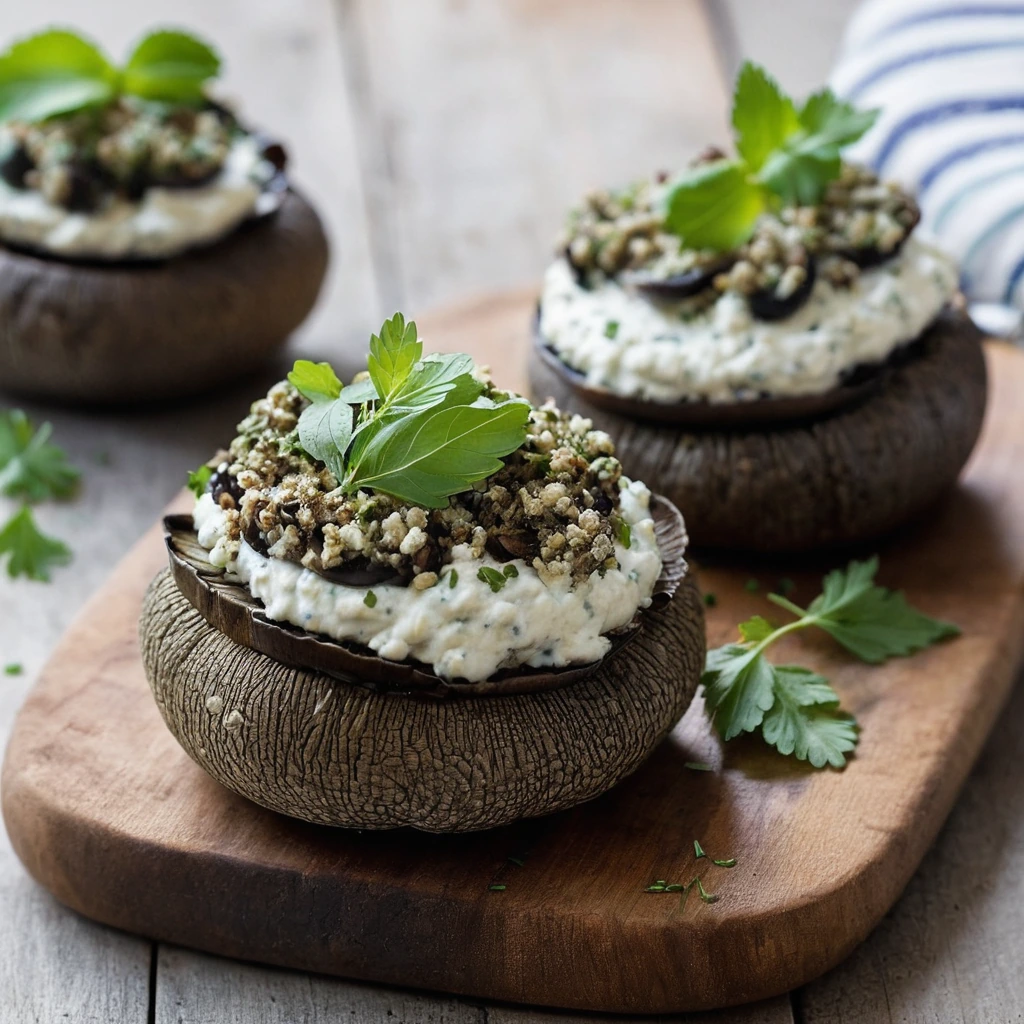
Stuffed Portobello Mushrooms with Herbed Ricotta
These earthy portobello mushrooms are stuffed with a creamy, herbed ricotta mixture, offering a satisfying vegetarian delight that's both elegant and easy.

Sausage and Feta Stuffed Mini Peppers
These adorable mini peppers are packed with a savory blend of sausage and creamy feta, delivering a burst of flavor in every bite.