Dairy: Clarifying Butter into Ghee
Clarifying butter into ghee is a transformative technique that separates the pure golden fat from the milk solids and water, resulting in a nutty-flavored fat with a higher smoke point. This process is particularly cherished in Indian cuisine but has gained global popularity for its rich flavor and extended shelf life. Ghee is not only a cooking staple but also a versatile ingredient used in baking, sautéing, and even as a spread. The clarification process involves gently heating butter to separate its components, skimming off the foam, and then straining out the milk solids. The result is a clarified butter that can withstand high heat without burning, making it ideal for frying and roasting. Understanding the science behind ghee-making helps demystify the process and ensures success in your kitchen. By mastering this technique, you’ll unlock a world of culinary possibilities and elevate your cooking with this golden elixir.
Notes
The science behind clarifying butter into ghee is straightforward: heat causes the butter to separate into its components – water, milk solids, and fat. As the water evaporates and the milk solids caramelize, they are removed, leaving pure fat with a higher smoke point. This makes ghee ideal for high-heat cooking methods like frying and roasting. Common mistakes include overheating the butter, which can lead to burning the milk solids and creating a bitter taste. To avoid this, maintain a gentle heat and monitor the butter closely. Ghee is shelf-stable due to the absence of milk solids, which can spoil. Store it in a cool, dark place for up to several months. For longer storage, refrigeration is recommended. Make-ahead tip: Ghee can be prepared well in advance and stored at room temperature until needed.
Steps
- 1 Measure 2 cups of unsalted butter and place it in a heavy-bottomed saucepan.
- 2 Heat the butter over medium-low heat.
- 3 As the butter melts, watch for the foam that rises to the surface; this is the milk solids.
- 4 Use a large spoon to skim off and discard the foam as it forms.
- 5 Continue cooking gently, allowing the milk solids to settle at the bottom of the pan.
- 6 Once the butter stops foaming and emits a nutty aroma, reduce the heat to low.
- 7 Let the butter simmer for about 10-15 minutes, monitoring to prevent burning.
- 8 Prepare a fine-mesh strainer lined with cheesecloth over a heatproof container.
- 9 Carefully pour the liquid butter through the strainer to separate it from the milk solids.
- 10 Discard the milk solids left in the strainer.
- 11 Allow the ghee to cool to room temperature.
- 12 Pour the ghee into a clean, dry jar.
- 13 Cover the jar with a lid, leaving a small gap for air to escape initially.
- 14 Once cooled completely, seal the jar tightly.
Ingredients to explore
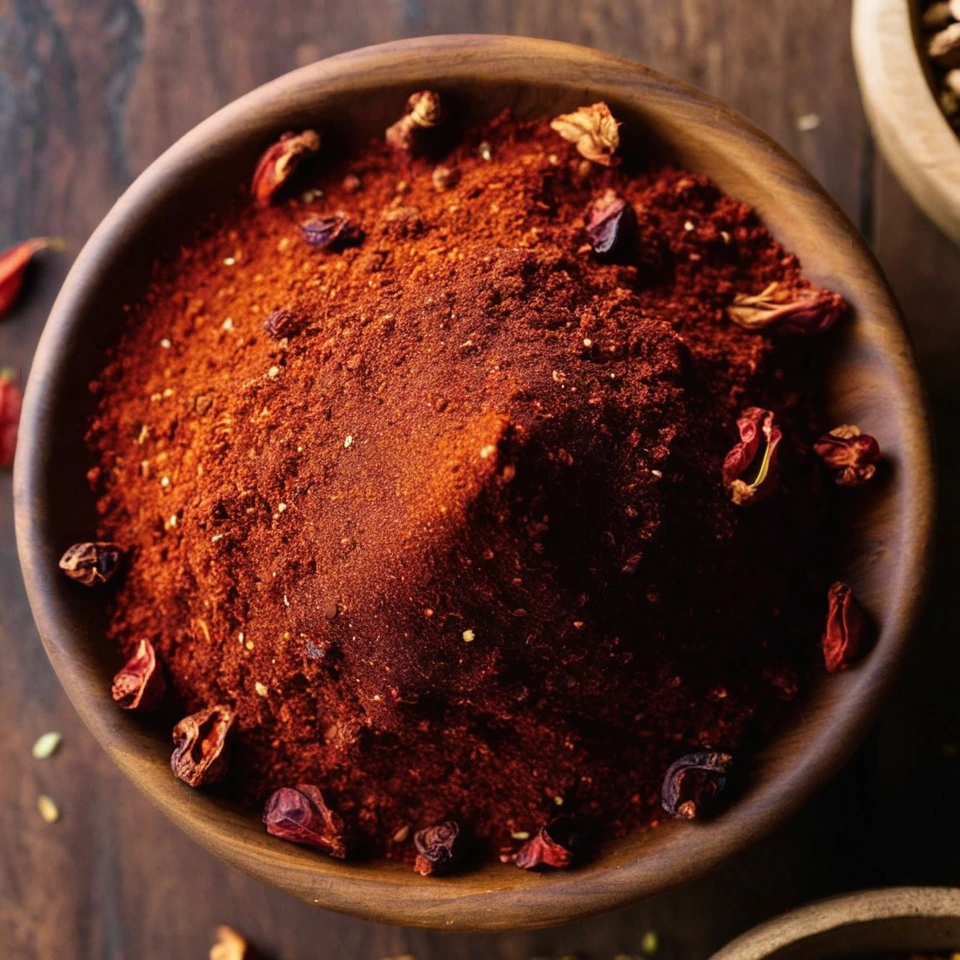
Aleppo Pepper
Aleppo pepper offers a harmonious balance of heat and sweetness, with a subtle fruity aroma reminiscent of sun-dried tomatoes and currants. Originating from the region around Aleppo, Syria, it has a fine, slightly coarse texture that shatters easily between fingers. Its mild yet complex flavor profile makes it a prized seasoning for enhancing dishes without overwhelming them. Valued for its versatility, it bridges the gap between spice and seasoning, bringing a touch of warmth and depth to a variety of cuisines.

Anaheim Peppers
Anaheim peppers are a mild chili pepper variety named after Anaheim, California, where they were first cultivated commercially. Originating from the New Mexico region, these peppers are celebrated for their versatility and gentle heat. They possess a flavor that is mildly sweet with a subtle tang, and a pleasant vegetal note reminiscent of green bell peppers, but with a hint of spice. Their texture is firm and crisp when fresh, becoming tender and slightly smoky when roasted or cooked. In cooking, Anaheim peppers behave well across a range of techniques, from grilling and roasting to stuffing and sautéing, contributing a nuanced depth without overwhelming other ingredients with heat.
Recipes to try

Tomato Tortellini Soup with Spinach
Warm up with this hearty, vibrant soup that's brimming with juicy tomatoes, tender tortellini, and a lush swirl of spinach.
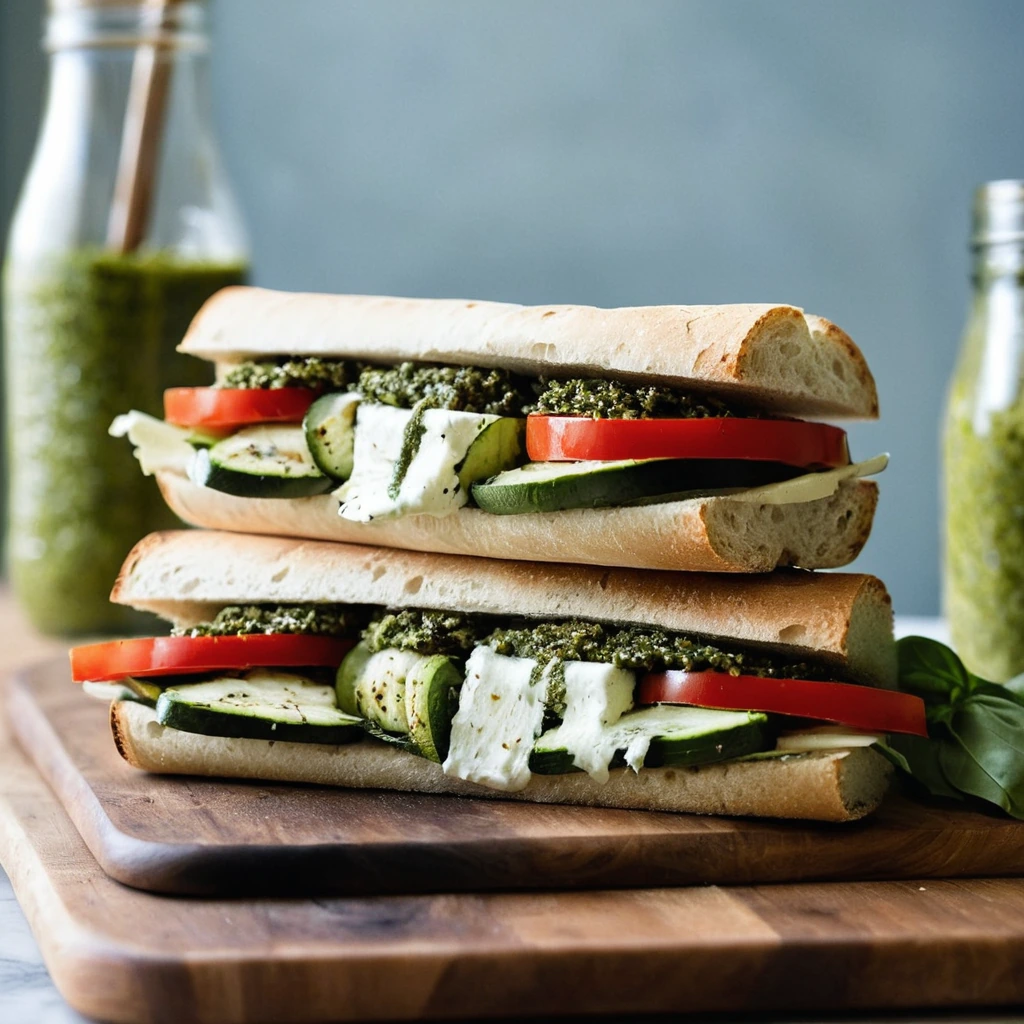
Pesto Roasted Veggie Sandwiches with Mozzarella
Warm, toasty ciabatta cradles a medley of roasted veggies, vibrant pesto, and melty mozzarella for a sandwich that's as hearty as it is fresh.