Bread Technique: Refreshing and Storing a Sourdough Starter
Creating and maintaining a sourdough starter is a rewarding journey into the world of bread baking. A sourdough starter is a living culture of yeast and bacteria that needs regular care to stay vibrant and active. Refreshing, or feeding, your starter is essential to keep it alive and ready to use. This technique dives into the intricacies of refreshing your sourdough starter, ensuring it's bubbly and active for your next baking adventure. Additionally, we'll explore how to store your starter properly, whether for short-term use or long-term hibernation. Understanding the balance of flour, water, temperature, and timing is crucial for success. This guide will walk you through the process step-by-step, troubleshooting common issues, and offering insights into the science behind the fermentation that makes sourdough so unique and flavorful.
Notes
The science behind refreshing your starter is all about creating an environment where beneficial microorganisms thrive. Yeast and bacteria consume the sugars in the flour, producing carbon dioxide (which creates bubbles) and alcohol (which contributes to flavor). If your starter isn't bubbling after several feedings, check your flour and water quality, and ensure your environment is warm enough. Common mistakes include using chlorinated tap water (which can inhibit yeast growth) and failing to discard excess starter, which can lead to over-acidity. For safety, always use clean utensils and containers to prevent contamination. If you're planning ahead, a sourdough starter can be stored in the refrigerator for weeks or even months with weekly feedings. For long-term storage, you can also dehydrate or freeze portions of your starter.
Steps
- 1 Measure 1/2 cup of your existing sourdough starter into a clean jar.
- 2 Discard the remaining starter or save it for another use.
- 3 Add 1/2 cup of lukewarm water (around 70°F) to the jar.
- 4 Add 1/2 cup of all-purpose or whole wheat flour to the jar.
- 5 Stir the mixture thoroughly with a spoon until well combined.
- 6 Cover the jar with a breathable cloth or loose-fitting lid.
- 7 Let the starter rest at room temperature (ideally 70°F to 75°F) for 4 to 12 hours.
- 8 Check for signs of activity: bubbles, a pleasant sour aroma, and an increase in volume.
- 9 If active, your starter is ready to use or store. If not, repeat the feeding process.
- 10 For short-term storage, keep the starter in the refrigerator and feed it once a week.
- 11 To prepare for long-term storage, feed the starter and let it peak, then store it in the fridge.
- 12 Before using a refrigerated starter, bring it to room temperature and feed it daily for 2-3 days.
- 13 Always label your jar with the date of your last feeding for reference.
- 14 Maintain a routine to keep your starter healthy and active.
Ingredients to explore
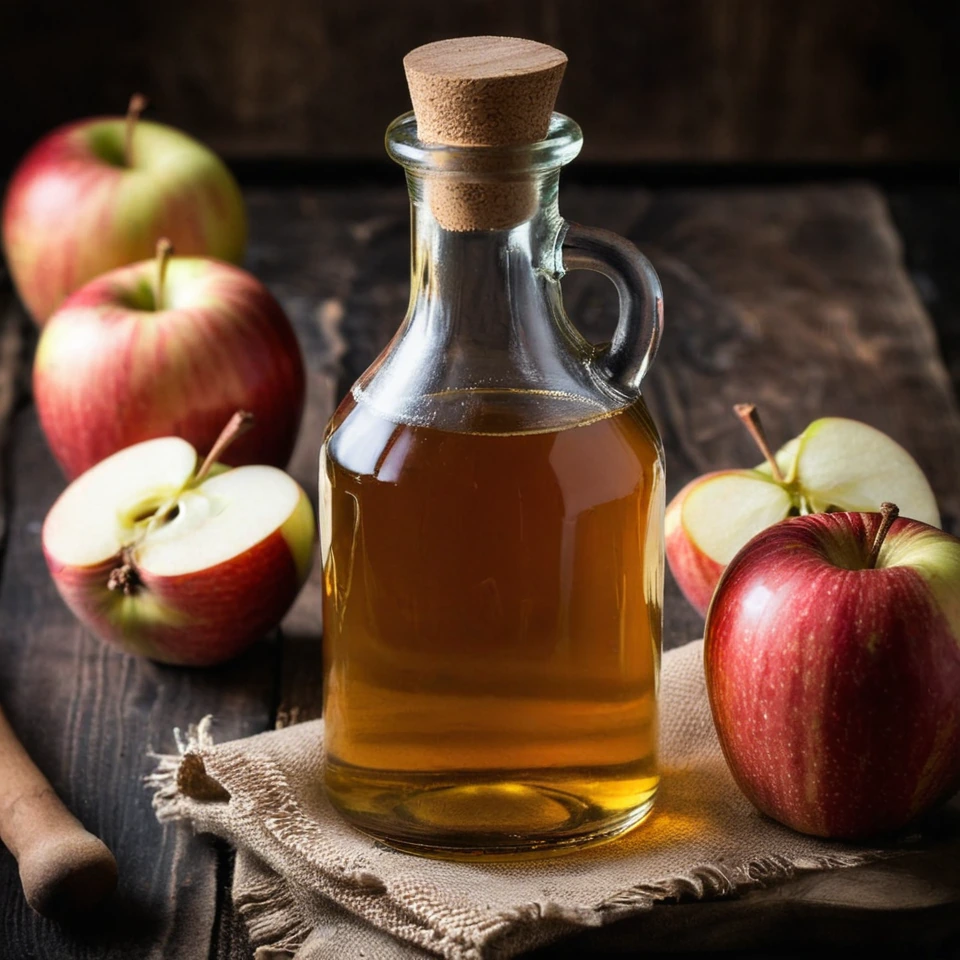
Apple Cider Vinegar
Apple cider vinegar is a type of vinegar made through the fermentation of apple cider, resulting in a tangy, slightly sweet liquid with a pale to medium amber color.

Andouille Sausage
Andouille sausage is a coarse-grained, smoked pork sausage with a rich history rooted in French cuisine, particularly from the Alsace region. It was adapted in Louisiana, where it became a staple in Cajun and Creole cooking. The sausage is known for its robust, smoky flavor with hints of garlic, pepper, and other spices, creating a spicy and savory profile. Its texture is firm yet slightly chewy, making it a hearty addition to dishes. When cooked, andouille sausage maintains its shape well and infuses dishes with its distinctive smoky essence, enhancing stews, soups, and rice dishes.
Recipes to try
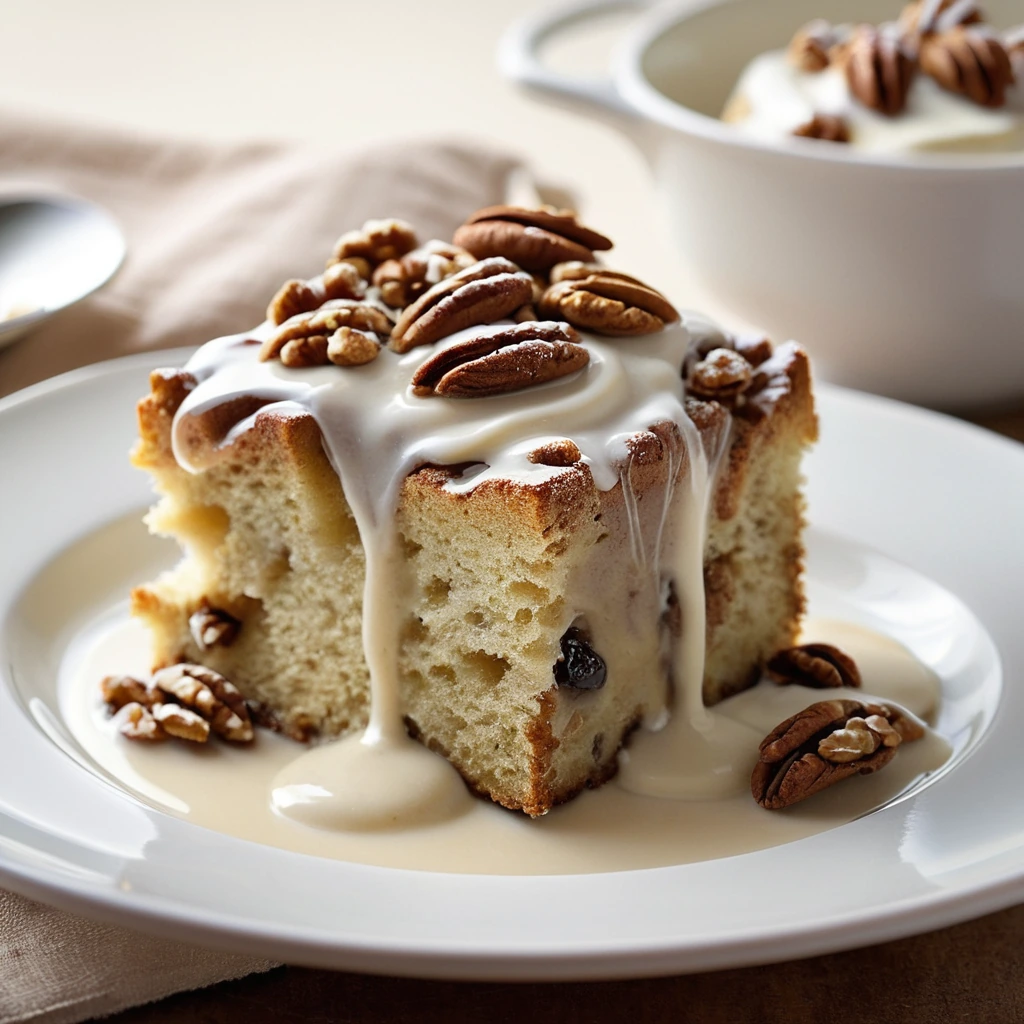
Maple Pecan Bread Pudding with Vanilla Sauce
Warm, spiced bread pudding drizzled with maple syrup and crunchy pecans, served with a silky vanilla sauce.

S’mores Cookie Bars with Marshmallow Swirl
Chocolatey, gooey, and utterly irresistible – these S’mores Cookie Bars are a campfire classic reimagined into a decadent dessert.