Bread Technique: Developing Gluten Through Proper Kneading
Creating the perfect loaf of bread starts with understanding how to develop gluten properly through kneading. Gluten is a network of proteins that gives bread its structure and elasticity. Without adequate gluten development, your bread may turn out dense and crumbly. The kneading process aligns and strengthens gluten strands, creating a stretchy dough that can hold gas bubbles during fermentation and baking. This technique dives into the importance of gluten, how kneading affects it, and the tactile cues to look for to ensure your dough is ready. Whether you're a novice baker or looking to refine your skills, mastering kneading is a game-changer. We'll explore the science behind gluten formation, the role of hydration and kneading time, and how to adjust your technique based on environmental factors like humidity and temperature. Achieving the ideal dough consistency requires attention and practice, but once you get it right, you'll be well on your way to baking artisanal-quality bread at home.
Notes
The science behind gluten development lies in the interaction of two proteins in wheat flour: gliadin and glutenin. When water is added and the dough is kneaded, these proteins form long, elastic strands. Proper hydration is key, as too little water can inhibit gluten development, while too much can make the dough slack. Kneading time can vary based on your strength and the flour's protein content, so always rely on tactile cues rather than a fixed timer. Common mistakes include over-kneading, which can lead to a tough bread, or under-kneading, resulting in a weak structure. To troubleshoot, adjust your kneading technique based on how the dough feels. For storage, place your kneaded dough in a lightly oiled bowl, cover, and let it rise in a warm spot until doubled in size. Refrigerate if making ahead, allowing for a slower, more flavorful fermentation.
Steps
- 1 Combine flour and water in a large bowl until a shaggy dough forms.
- 2 Turn the dough out onto a lightly floured surface.
- 3 Use the heels of your hands to push the dough away from you with force.
- 4 Fold the dough back onto itself with a firm pull.
- 5 Rotate the dough 90 degrees and repeat the push and fold.
- 6 Continue kneading for 8 to 10 minutes, or until the dough is smooth and elastic.
- 7 Perform the windowpane test by stretching a small piece of dough; it should thin without tearing.
- 8 If the dough passes the test, it's ready; if not, continue kneading in 1-minute increments.
- 9 Keep the dough covered with a bowl or towel to prevent drying out during the process.
- 10 Adjust flour or water if the dough is too sticky or dry, adding a little at a time.
- 11 Observe the dough's texture and resistance, aiming for a pliable yet firm structure.
- 12 Ensure consistent kneading pressure throughout to avoid uneven gluten development.
- 13 Once gluten is properly developed, shape your dough for proofing.
Ingredients to explore
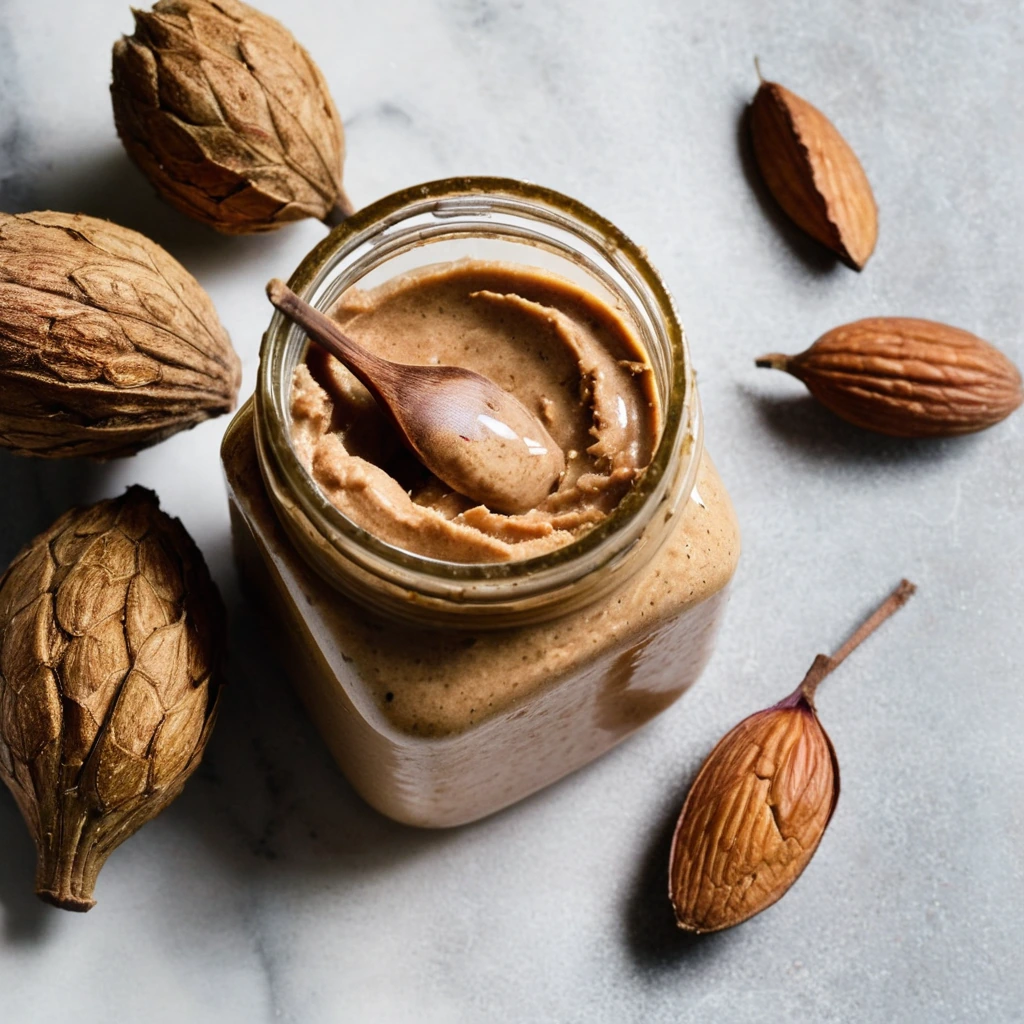
Almond Butter
A velvety, nutty spread crafted from finely ground almonds, offering a rich and satisfying flavor that's both comforting and indulgent.

Andouille Sausage
Andouille sausage is a coarse-grained, smoked pork sausage with a rich history rooted in French cuisine, particularly from the Alsace region. It was adapted in Louisiana, where it became a staple in Cajun and Creole cooking. The sausage is known for its robust, smoky flavor with hints of garlic, pepper, and other spices, creating a spicy and savory profile. Its texture is firm yet slightly chewy, making it a hearty addition to dishes. When cooked, andouille sausage maintains its shape well and infuses dishes with its distinctive smoky essence, enhancing stews, soups, and rice dishes.
Recipes to try
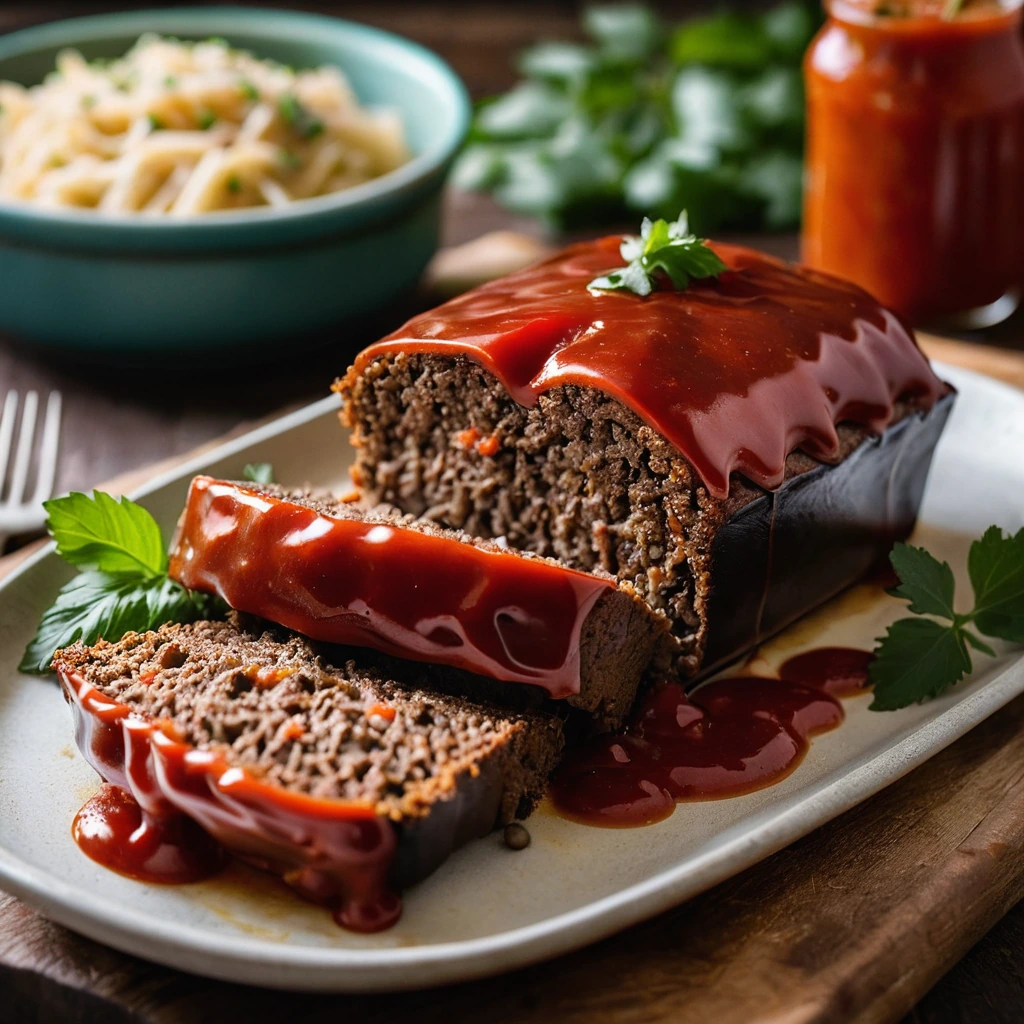
Pepper Jack Stuffed Meatloaf with Salsa Glaze
A savory meatloaf stuffed with gooey pepper jack cheese and topped with a tangy, zesty salsa glaze that'll have your taste buds doing a happy dance.
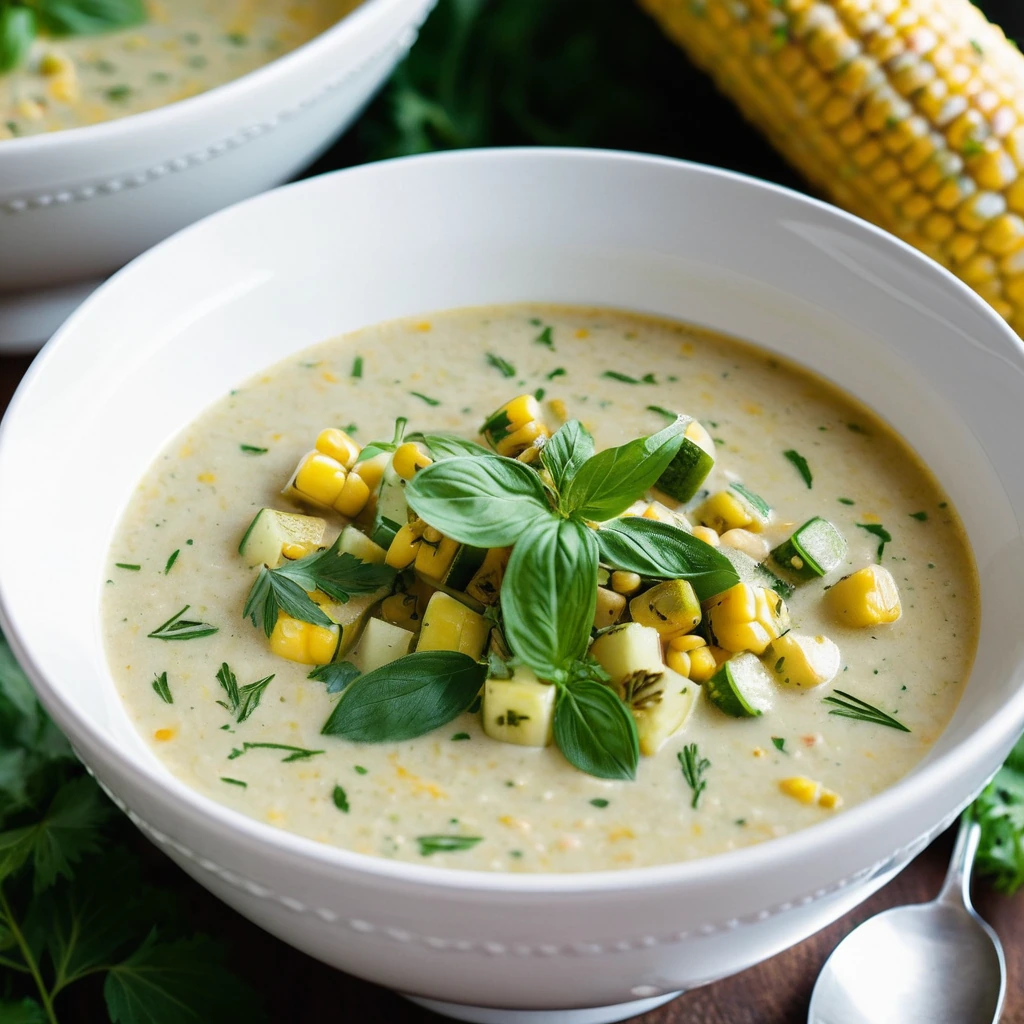
Roasted Corn and Zucchini Chowder
Creamy, comforting chowder with a roasted sweetness from corn and zucchini, finished with a sprinkle of fresh herbs.