Bread Technique: Braiding Challah and Decorative Loaves
Braiding challah is both an art and a technique that transforms simple dough into a stunning centerpiece for your Shabbat table or holiday feast. This method isn't just for challah; it can be applied to any decorative loaf, adding a touch of elegance to your baking repertoire. The braid not only looks impressive but also helps the loaf bake evenly, with a beautifully golden crust. Understanding the structure of the dough and the principles of braiding will elevate your bread-making skills. Whether you're making a traditional three-strand braid or experimenting with a more intricate six-strand design, patience and practice are key. Let's dive into the world of braided breads, exploring the techniques that will have your loaves turning out perfectly every time. We'll cover the importance of dough preparation, how to achieve the right consistency, and the step-by-step process of creating a beautiful braid. Plus, discover tips for ensuring your loaf rises properly and bakes to golden perfection.
Notes
Achieving the perfect braid starts with well-prepared dough. The gluten should be developed enough to hold its shape but remain pliable to avoid cracking. If your dough is too sticky, dust your work surface and hands lightly with flour. To prevent the braid from unraveling, ensure each strand is of equal thickness and well-sealed at the ends. For beginners, a three-strand braid is easiest, but don't shy away from experimenting with more strands for a complex look. Common mistakes include braiding too tightly, which can hinder rising, or letting the dough proof too long, leading to loss of structure. Store your challah in an airtight container for up to 2 days or freeze for longer storage.
Steps
- 1 Prepare your dough according to your recipe, ensuring it's smooth and elastic.
- 2 Divide the dough into equal portions depending on the number of strands you want for your braid.
- 3 Roll each portion into a rope approximately 16 to 20 inches long and 1 inch thick.
- 4 For a basic three-strand braid, lay the ropes parallel to each other, then lift the leftmost rope over the center.
- 5 Next, lift the rightmost rope over the new center rope.
- 6 Continue this pattern down the length of the ropes, alternating sides.
- 7 Once you reach the end, pinch the ends together to secure the braid.
- 8 Transfer the braid to a parchment-lined baking sheet, tucking the ends underneath.
- 9 Cover the braid with a clean kitchen towel and let it proof until nearly doubled in size, about 45 minutes to 1 hour.
- 10 Preheat your oven to 350°F.
- 11 Brush the braid with an egg wash made of one beaten egg and one tablespoon of water.
- 12 Bake in the preheated oven for 25-30 minutes, or until the loaf is golden brown.
- 13 Remove from the oven and let it cool on a wire rack before slicing.
Ingredients to explore
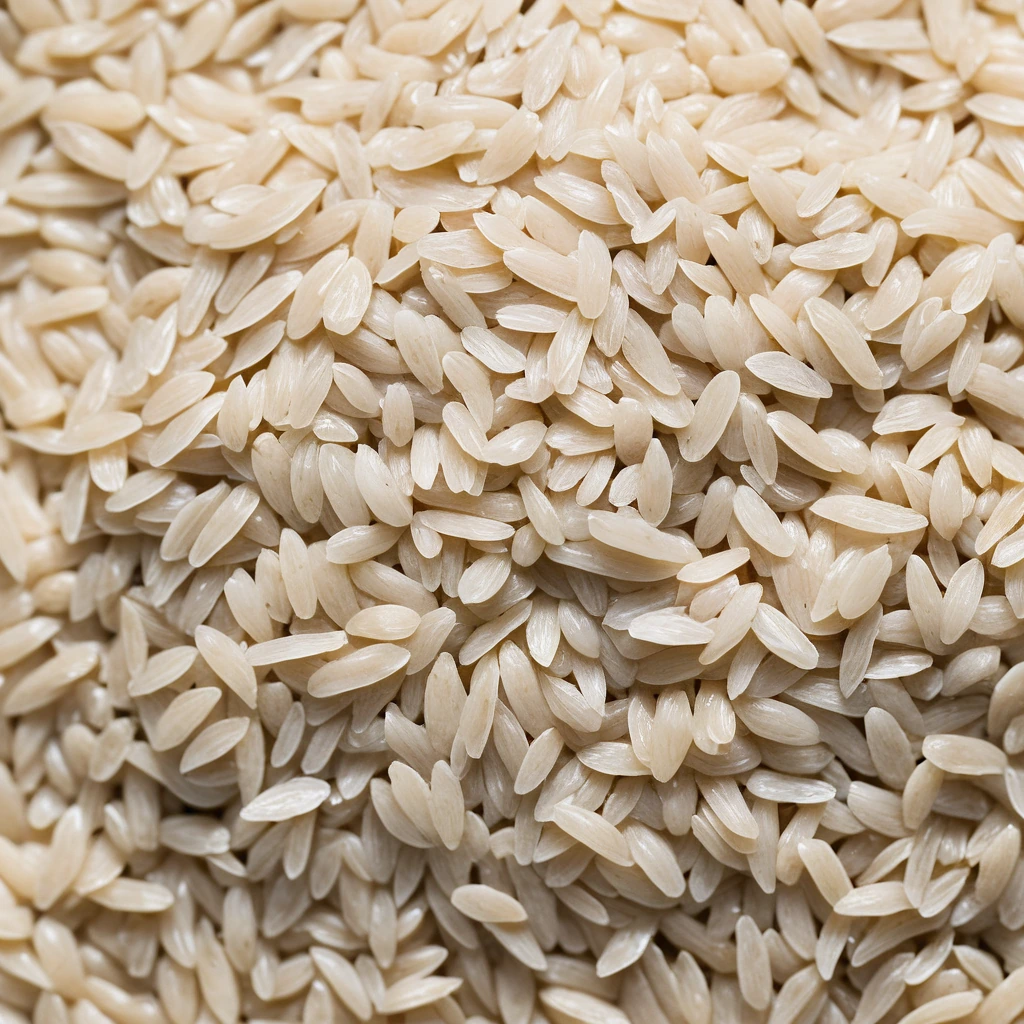
Arborio Rice
Arborio rice is a short-grain Italian rice variety renowned for its use in risotto. Originating from the Po Valley in Northern Italy, it is a staple in Italian cuisine. Its flavor is mild and nutty, with a pleasant creamy texture when cooked due to its high amylopectin content, which releases starch and creates a velvety consistency. The grains remain plump and firm to the bite, offering a satisfying chewiness. In cooking, Arborio rice excels at absorbing flavors from broths and seasonings while maintaining its shape, making it ideal for dishes that require both creaminess and structure.

All-Purpose Flour
All-purpose flour is a versatile wheat flour that contains a moderate level of protein and gluten, making it suitable for a wide range of baking and cooking needs.
Recipes to try
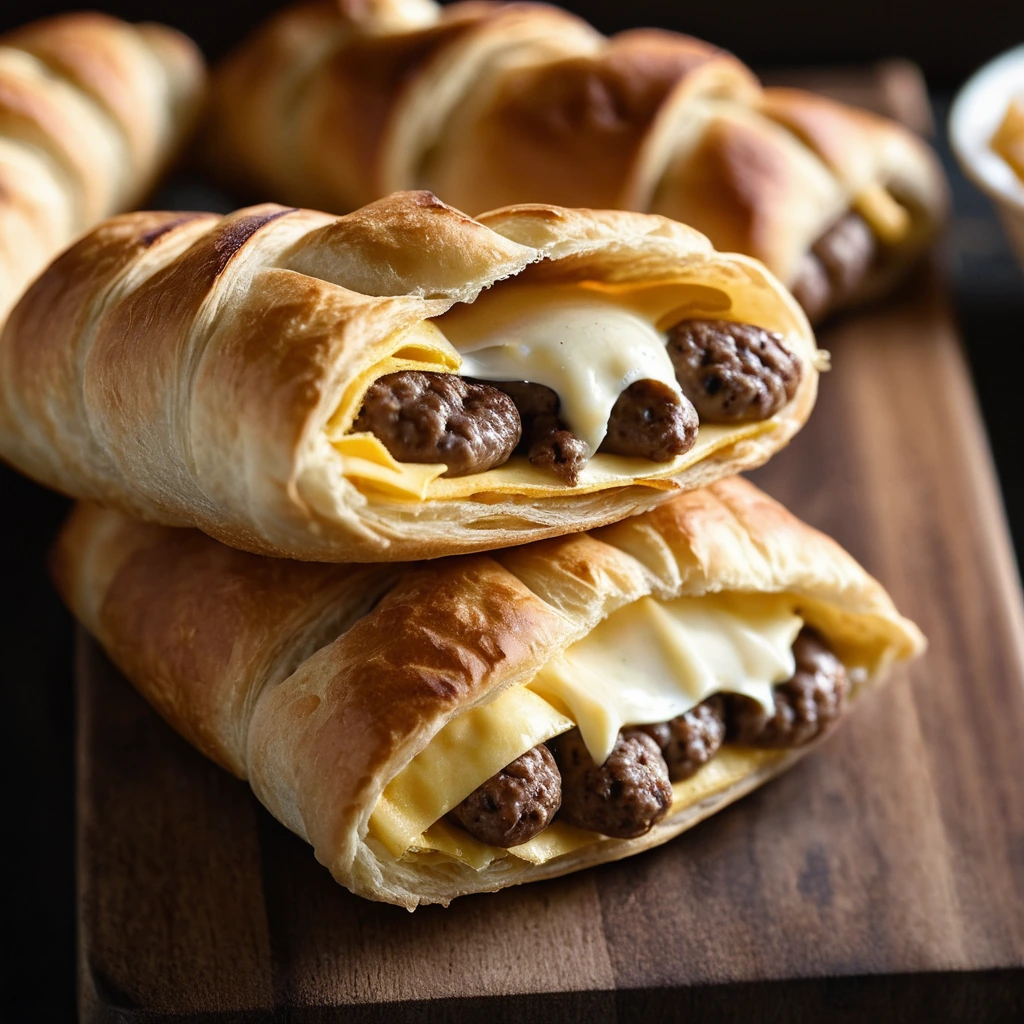
Sausage, Egg, and Cheese Croissant Pockets
Buttery croissants envelop a warm, savory trio of sausage, fluffy scrambled eggs, and melty cheese for a breakfast pocket that's pure bliss.

Tomato Basil Parmesan Farro Risotto
Creamy farro risotto kissed with fresh basil and sun-ripened tomatoes, topped with a generous sprinkle of Parmesan.