Bread: Mixing No-Knead Bread Dough
The no-knead bread technique is a game-changer for home bakers seeking simplicity and stellar results. This method, popularized by Jim Lahey, relies on a long fermentation period rather than vigorous kneading to develop gluten. The dough is mixed quickly, then left to rest and rise, creating a bread with a crisp crust and chewy interior. Mixing no-knead dough is straightforward and requires just a bowl, flour, water, yeast, and a pinch of salt. The key is to create a shaggy, wet dough that will transform during its rest. This technique is perfect for beginners and seasoned bakers alike, offering flexibility and ease. The long fermentation not only enhances flavor but also makes the bread easier to digest. By understanding the science behind gluten development and fermentation, you can master this method and enjoy artisanal loaves from the comfort of your home.
Notes
The no-knead method works because the long fermentation period allows gluten strands to develop slowly, resulting in a strong structure without manual kneading. The wet dough ensures a tender crumb. Common mistakes include using too much flour, which can lead to a dense loaf, or not allowing enough resting time, which affects texture and flavor. To troubleshoot, ensure your yeast is active and your environment is warm enough to encourage fermentation. For safety, always use clean equipment and store your dough in the refrigerator if not using immediately. Prepared dough can be stored in the fridge for up to 5 days, allowing for convenient make-ahead planning. When ready to bake, simply let it come to room temperature.
Steps
- 1 In a large bowl, whisk together 3 cups of all-purpose or bread flour and 1/4 teaspoon of instant yeast.
- 2 Add 1 1/4 teaspoons of salt to the flour mixture and stir to combine.
- 3 Pour in 1 5/8 cups of water at room temperature.
- 4 Mix with a wooden spoon or your hands until no dry flour remains, forming a wet and shaggy dough.
- 5 Cover the bowl loosely with plastic wrap or a clean kitchen towel.
- 6 Let the dough rest at room temperature for about 12 to 18 hours. It should spread and rise, collapsing in the middle.
- 7 After resting, the dough will appear bubbly and slightly more cohesive.
- 8 Proceed with shaping and baking as per your recipe instructions.
Ingredients to explore
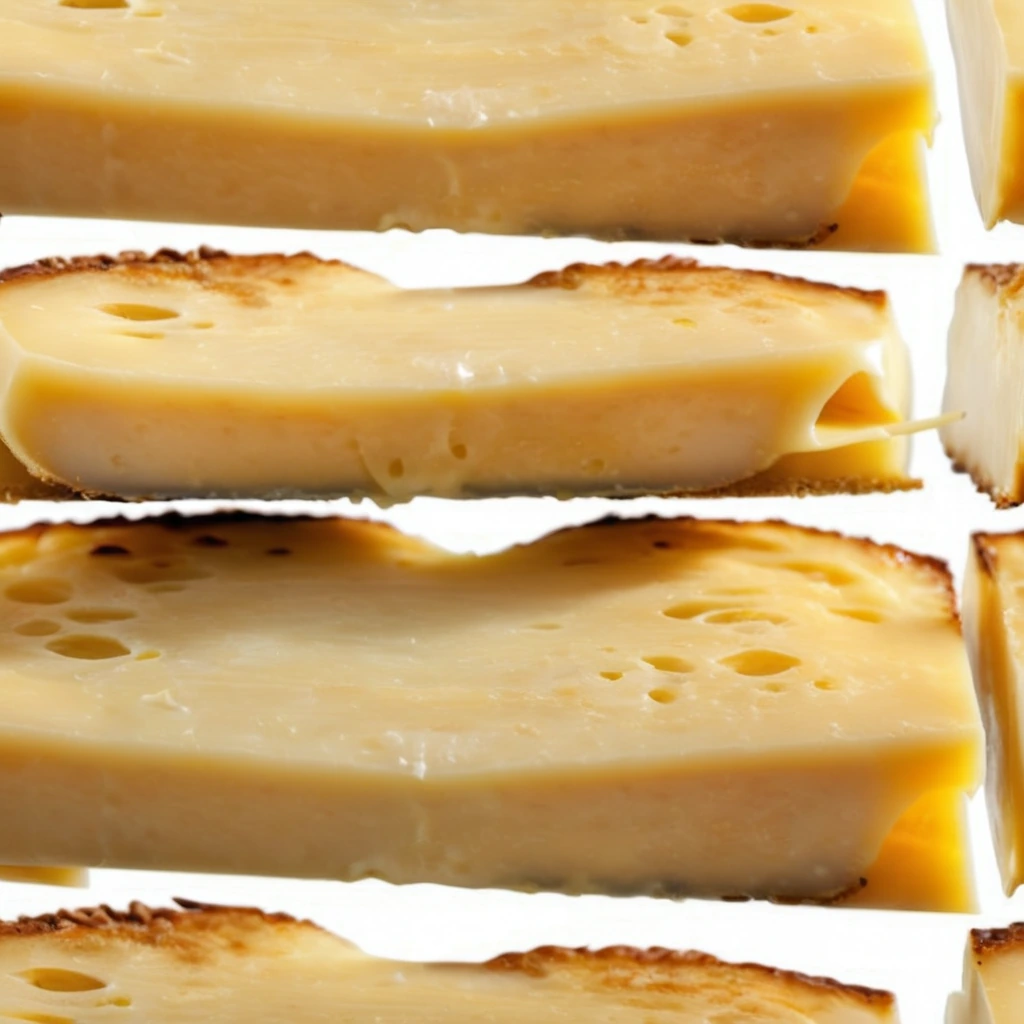
American Cheese Slices
Those iconic, perfectly pliable slices of creamy, mild American cheese. Each slice boasts a smooth, melt-in-your-mouth texture that brings comfort to any dish.
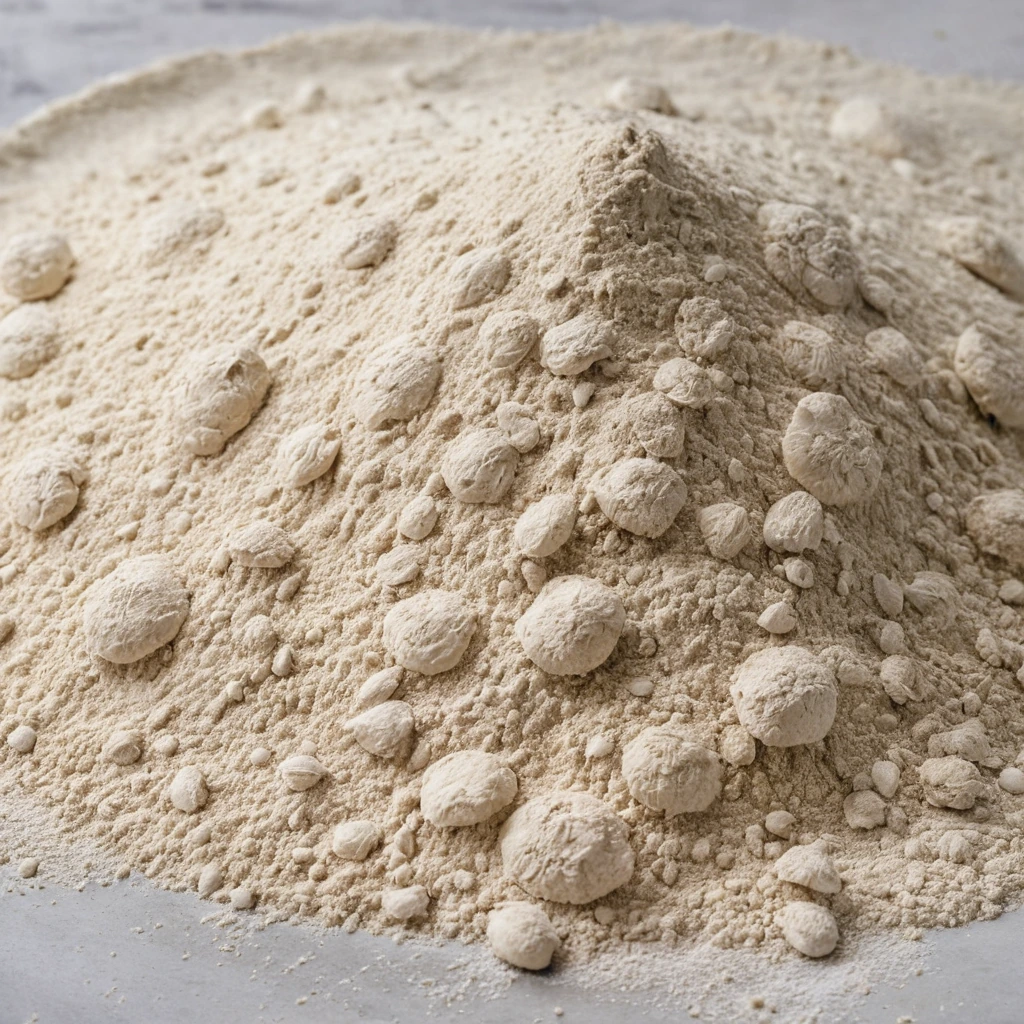
00 Pizza Flour
00 pizza flour is a finely milled Italian flour prized for its versatility in creating authentic Neapolitan-style pizza crusts. Originating from Italy, it is milled to a very fine consistency, which is reflected in its name, 'doppio zero,' indicating its fine grind. This flour has a balanced flavor profile, offering a mild, slightly sweet taste with a subtle nuttiness. Its texture is silky and smooth, contributing to a tender yet chewy crust when used in pizza making. In cooking, 00 pizza flour is known for its ability to hydrate quickly and develop a desirable gluten structure, resulting in a light and airy crust that can withstand high-heat cooking without becoming overly crispy or hard.
Recipes to try

Pork Carnitas Nachos with Queso and Jalapeños
Crispy tortilla chips smothered in tender pork carnitas, melty queso, and zesty jalapeños for a fiesta in your mouth.

Sweet Potato and Black Bean Loaded Nachos
Crispy tortilla chips piled high with roasted sweet potatoes, black beans, and melty cheese, all topped with fresh cilantro and a zesty lime kick.