Baking Technique: Swirling Batters for Marbled Effects
Creating marbled effects in baked goods is an art that adds visual appeal and delightful surprises with each bite. This technique involves combining two or more batters of different colors or flavors in a single pan, creating a pattern that resembles marble. The key to success lies in gentle handling to maintain distinct swirls rather than a uniform mix. Whether you're making cakes, brownies, or even cookies, mastering this technique can elevate your baking from ordinary to extraordinary. Start by selecting batters with contrasting colors or flavors, such as chocolate and vanilla, for the most striking effects. The process requires patience and precision, as overmixing can lead to a muddled appearance. Understanding how batters behave and interact will help you achieve the desired marbled look. Factors like batter density, temperature, and the tools used for swirling all play a role in the final outcome. With practice, you can control the degree of marbling to suit your preference, from delicate wisps to bold, dramatic strokes. This technique is perfect for special occasions or simply when you want to impress with your baking prowess.
Notes
The science behind marbling lies in the contrast of densities and temperatures between batters. To achieve striking swirls, ensure both batters are at room temperature and have similar consistencies. Troubleshooting common mistakes includes avoiding overmixing, which can lead to a uniform color, and ensuring batters are poured gently to prevent air bubbles. Safety is paramount, so use oven mitts when handling hot pans. For make-ahead and storage, wrap cooled marbled baked goods tightly in plastic wrap and store at room temperature for up to two days or in the refrigerator for longer freshness.
Steps
- 1 Preheat your oven to 350°F and prepare your baking pan with parchment paper or grease.
- 2 Prepare your first batter according to your recipe, ensuring it is smooth and lump-free.
- 3 Prepare your second batter with a contrasting color or flavor, following the same care.
- 4 Pour the first batter into the prepared pan, spreading it evenly with a spatula.
- 5 Gently dollop spoonfuls of the second batter over the first, distributing them evenly.
- 6 Using a toothpick, skewer, or butter knife, create swirls by dragging through the batters.
- 7 Avoid overmixing to maintain distinct marbled patterns.
- 8 Bake in the preheated oven according to your recipe's instructions, checking for doneness with a toothpick.
- 9 Once baked, allow the marbled creation to cool in the pan for 10 minutes before transferring to a wire rack to cool completely.
Ingredients to explore
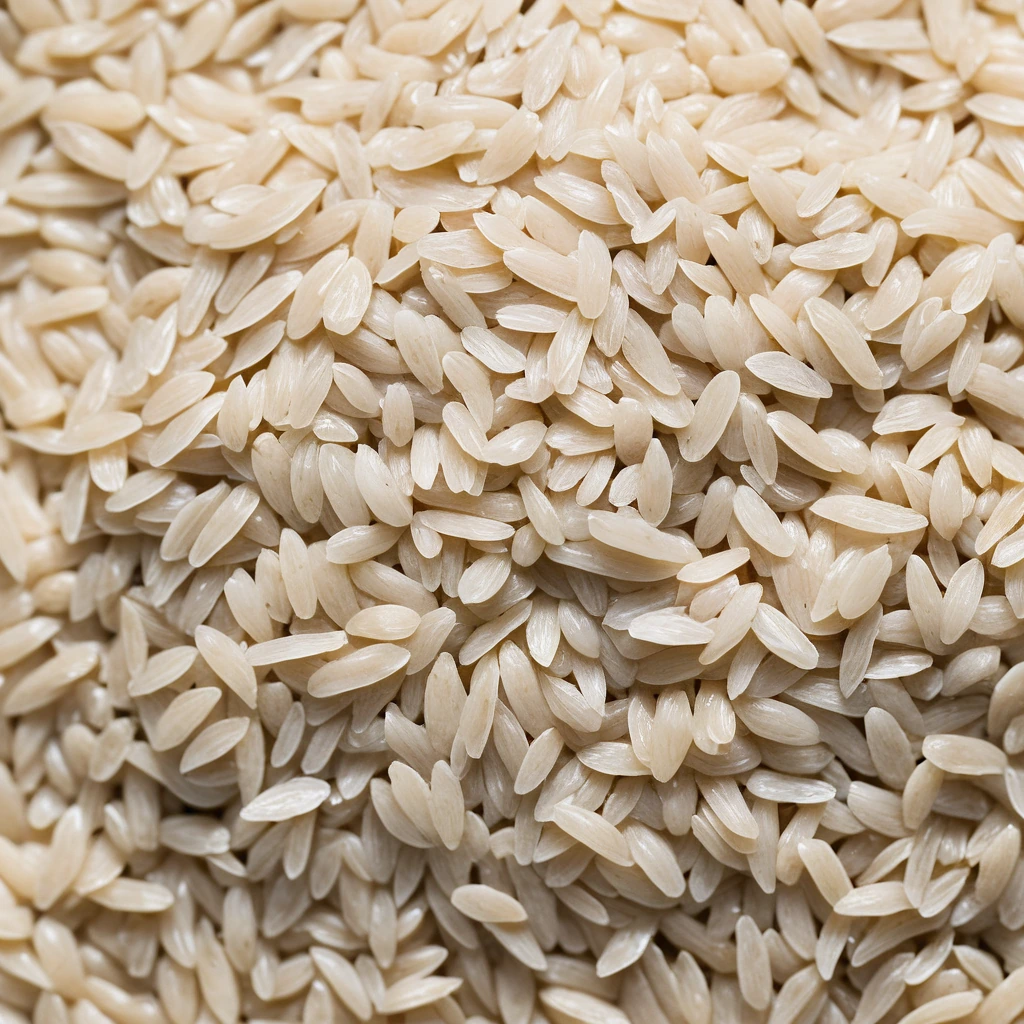
Arborio Rice
Arborio rice is a short-grain Italian rice variety renowned for its use in risotto. Originating from the Po Valley in Northern Italy, it is a staple in Italian cuisine. Its flavor is mild and nutty, with a pleasant creamy texture when cooked due to its high amylopectin content, which releases starch and creates a velvety consistency. The grains remain plump and firm to the bite, offering a satisfying chewiness. In cooking, Arborio rice excels at absorbing flavors from broths and seasonings while maintaining its shape, making it ideal for dishes that require both creaminess and structure.

All-Purpose Flour
All-purpose flour is a versatile wheat flour that contains a moderate level of protein and gluten, making it suitable for a wide range of baking and cooking needs.
Recipes to try

Teriyaki Glazed Salmon and Veggie Bowls
Sweet and savory teriyaki glaze coats succulent salmon fillets atop a vibrant medley of colorful veggies, creating a symphony of flavors in every bite.
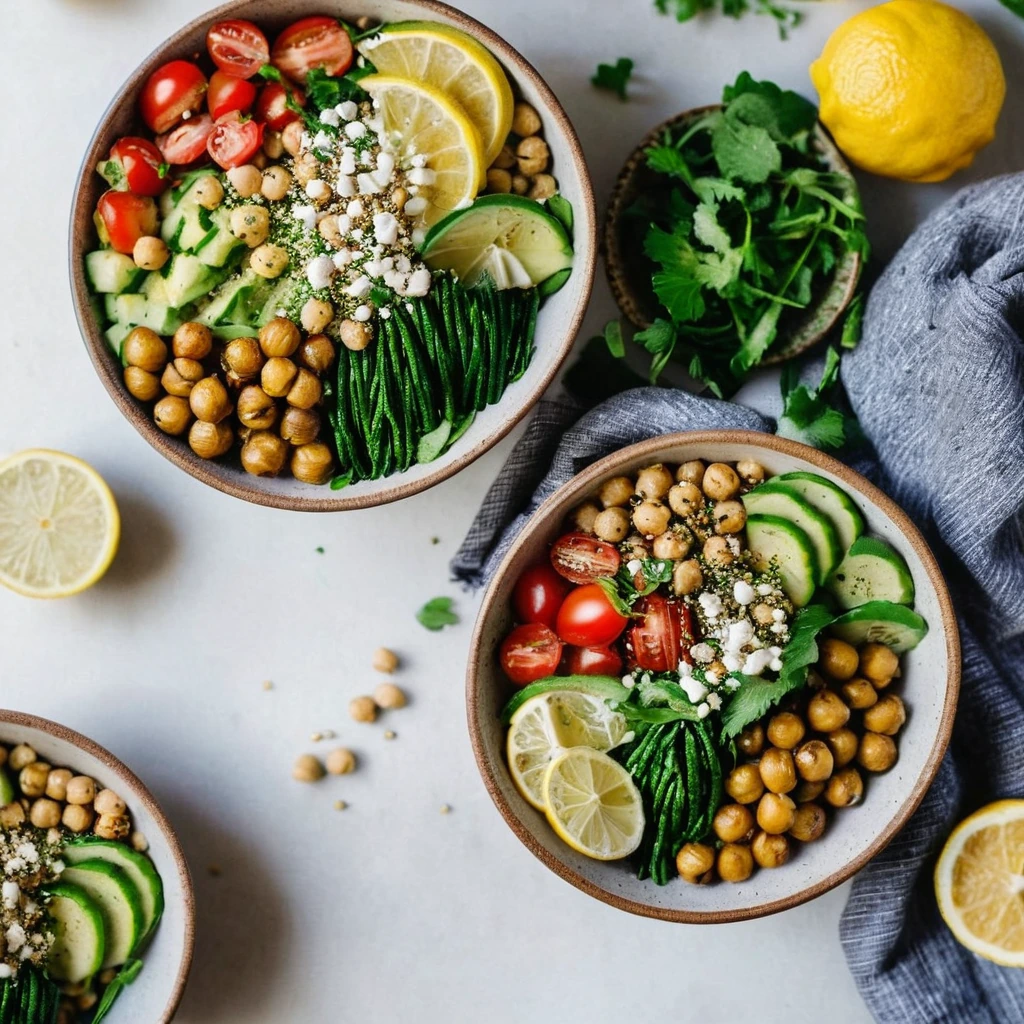
Mediterranean Chickpea Bowls with Lemon Tahini
A vibrant medley of textures and flavors, these bowls are packed with lemony tahini drizzle and fresh Mediterranean herbs.