Air Fryer: Preheating and Basket Shaking Basics
Mastering your air fryer starts with understanding two fundamental practices: preheating and shaking the basket. Preheating ensures that your air fryer reaches the optimal cooking temperature, guaranteeing that your food starts cooking immediately upon insertion. This initial burst of heat is crucial for achieving that sought-after crispy exterior. Meanwhile, shaking the basket is an often-overlooked step that ensures even cooking and prevents sticking. By mastering these techniques, you can elevate your air-fried dishes from merely good to downright delectable. First, let's delve into preheating. Just like a traditional oven, an air fryer needs time to reach its set temperature. Skipping this step can lead to uneven cooking and extended cooking times. The ideal preheat time can vary by model, but a general rule is to allow 3 to 5 minutes. During this period, the air fryer's heating mechanism and fan circulate hot air, creating the perfect environment for your culinary creations. Now, onto shaking the basket. This simple act is vital for ensuring that your food cooks evenly. As hot air circulates, food can sometimes settle or stick to the basket, leading to uneven browning or even burning. Shaking the basket midway through cooking redistributes the food, allowing all sides to be exposed to the hot air. It's especially important for smaller items like French fries or chicken wings, which can easily clump together. However, it's not just about shaking; it's also about doing it correctly. Use oven mitts to protect your hands from the heat, and gently shake the basket to avoid spilling. Some air fryers come with a built-in shake reminder, but if yours doesn't, set a timer to remind yourself. This attention to detail can make all the difference between a mediocre meal and a memorable one. Furthermore, understanding these techniques allows you to adapt recipes designed for traditional frying methods. The air fryer's efficiency in circulating hot air means that food cooks faster and often requires less oil, making it a healthier alternative without sacrificing taste. This method is ideal for a wide range of foods, from crispy vegetables to juicy proteins. In summary, preheating your air fryer and shaking the basket are critical steps that should not be skipped. They ensure even cooking, promote crispiness, and help prevent sticking. By following these practices, you'll unlock the full potential of your air fryer and enjoy consistently excellent results. Whether you're a seasoned air fryer aficionado or a curious beginner, these basics will serve as the foundation for all your future air-fried masterpieces.
Notes
The science behind preheating is simple: it jumpstarts the cooking process by ensuring your air fryer is at the correct temperature from the outset. Skipping preheating can lead to undercooked or soggy results. As for shaking, it disrupts the natural tendency of food to stick together or to the basket, promoting even browning and crisping. Common mistakes include not preheating long enough or forgetting to shake the basket, which can lead to uneven cooking. Safety is paramount, so always use oven mitts when handling the air fryer. For storage, allow your air fryer to cool completely before cleaning, and store it in a dry place. While air fryers are versatile, they work best with foods that have some surface area exposed to the hot air for optimal crisping.
Steps
- 1 Plug in your air fryer and set the desired temperature.
- 2 Allow the air fryer to preheat for 3 to 5 minutes.
- 3 While preheating, prepare your ingredients and lightly coat them with oil.
- 4 Open the air fryer basket and add the food in a single layer.
- 5 Close the air fryer and start the cooking cycle.
- 6 Set a timer for half of the total cook time.
- 7 Wear oven mitts, open the air fryer, and gently shake the basket.
- 8 Close the air fryer and continue cooking until the timer goes off.
- 9 Check for doneness using visual cues or a food thermometer if necessary.
- 10 Carefully remove the basket using oven mitts to avoid burns.
Ingredients to explore
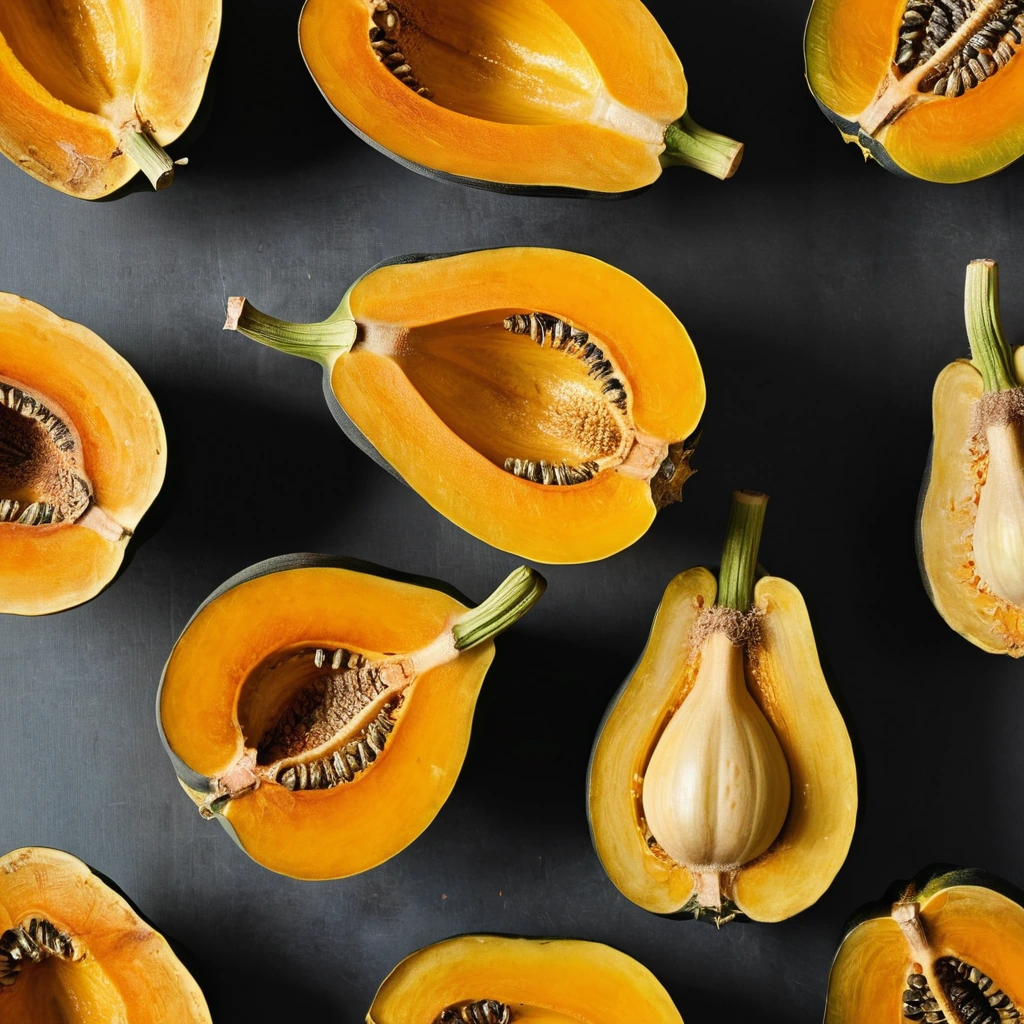
Acorn Squash
Acorn squash is a winter squash variety known for its distinctive teardrop shape and deep ridges resembling the texture of an acorn shell. Originating in the Americas, it has been cultivated for centuries and is a staple in autumn cuisine. The flesh is sweet and nutty with a hint of earthiness, offering a delightful contrast to savory dishes. Its texture is dense yet tender when cooked, making it ideal for roasting or pureeing. In cooking, acorn squash holds its shape well and absorbs flavors from herbs and spices, enhancing both its taste and versatility in recipes.

Aleppo Pepper
Aleppo pepper offers a harmonious balance of heat and sweetness, with a subtle fruity aroma reminiscent of sun-dried tomatoes and currants. Originating from the region around Aleppo, Syria, it has a fine, slightly coarse texture that shatters easily between fingers. Its mild yet complex flavor profile makes it a prized seasoning for enhancing dishes without overwhelming them. Valued for its versatility, it bridges the gap between spice and seasoning, bringing a touch of warmth and depth to a variety of cuisines.
Recipes to try

Sweet Chili Glazed Meatball Lettuce Wraps
Juicy meatballs cloaked in a sticky-sweet chili glaze, nestled in crisp lettuce cups for a flavor explosion with every bite.
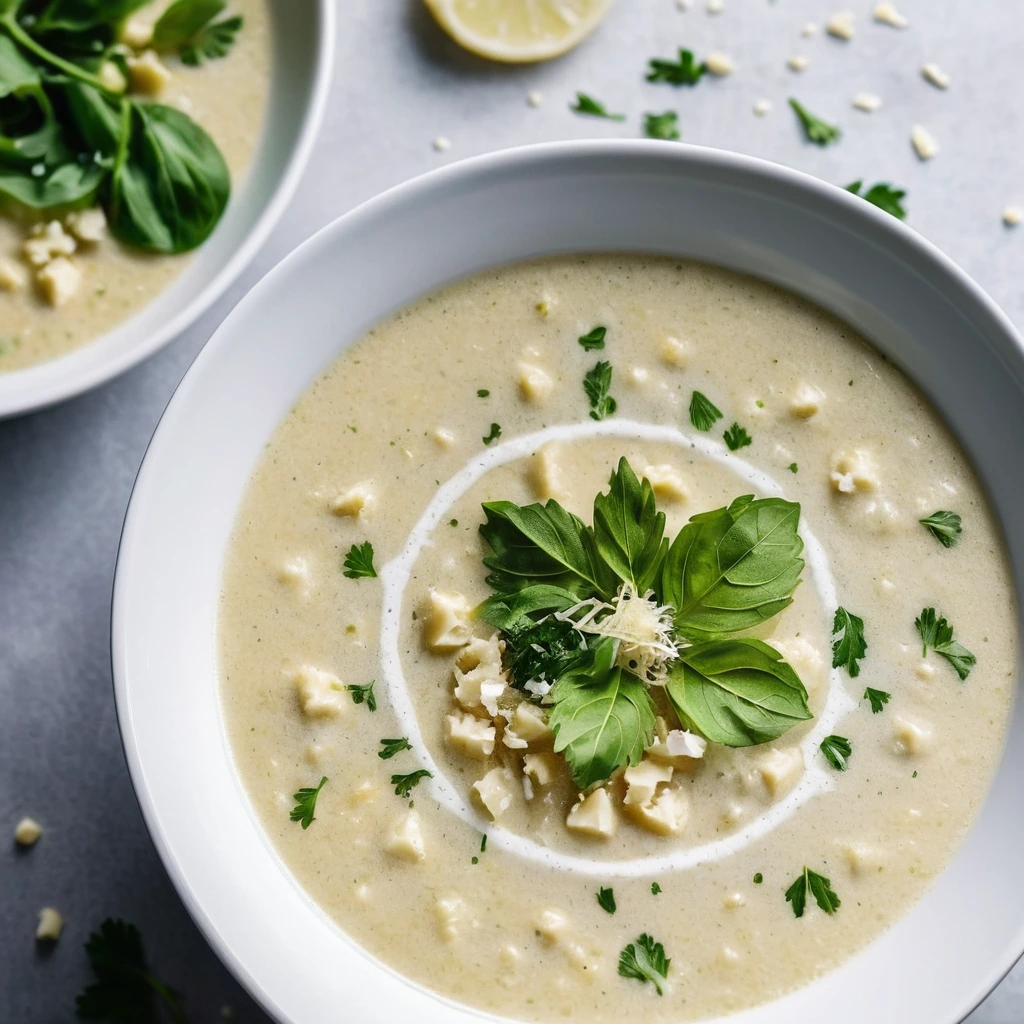
Roasted Cauliflower and Garlic Soup with Parmesan
This velvety soup is a symphony of roasted cauliflower and garlic, kissed with nutty Parmesan for a cozy, crave-worthy bowl.