Small Appliances: Setting Up a Sheet Pan Under a Cooling Rack
Unlock the full potential of your kitchen with this simple yet transformative technique: setting up a sheet pan under a cooling rack. This setup is a game-changer for roasting, baking, and even drying herbs. By elevating your food on a rack above a sheet pan, you allow air to circulate freely, ensuring even cooking and a crispy exterior. Whether you're roasting a succulent chicken, baking golden-brown cookies, or drying aromatic herbs, this method prevents soggy bottoms and promotes uniform browning. It's a versatile approach that maximizes efficiency and results in professional-quality dishes from your home oven. The sheet pan catches any drippings, making clean-up a breeze, while the cooling rack ensures your food isn't sitting in its juices, which can lead to steaming rather than roasting. This technique is especially useful for larger cuts of meat, where even cooking is crucial. By understanding how to properly set up this system, you'll elevate your cooking skills and achieve consistent, restaurant-worthy outcomes.
Notes
This technique works because the cooling rack elevates your food, allowing heat to circulate all around it, leading to even cooking and a delightful crispness. Remember, overcrowding can defeat the purpose, so give each piece ample space. Common mistakes include using a flimsy cooling rack that might bend under weight or forgetting to grease the rack, leading to sticking. For safety, always use oven mitts when handling hot pans and racks. To make ahead, you can prepare your food items and assemble them on the rack before cooking time, storing them in the fridge. After cooking, store leftovers in an airtight container to maintain freshness.
Steps
- 1 Preheat your oven to the desired temperature for your recipe.
- 2 Select a sturdy, flat sheet pan with sides tall enough to catch drippings.
- 3 Choose a cooling rack that fits snugly within the dimensions of your sheet pan.
- 4 Place the cooling rack centered on top of the sheet pan.
- 5 Lightly grease the cooling rack with cooking spray or oil to prevent sticking.
- 6 Arrange your food items in a single layer on the cooling rack, leaving space between each piece for air circulation.
- 7 Ensure food is not overcrowded to avoid steaming and promote even cooking.
- 8 Transfer the sheet pan with the cooling rack carefully into the preheated oven.
- 9 Bake according to your recipe's instructions, checking for doneness with visual cues.
- 10 Use oven mitts to remove the sheet pan from the oven to avoid burns.
- 11 Allow food to rest on the rack for a few minutes before serving.
- 12 Discard any drippings from the sheet pan or reserve for gravy.
- 13 Clean the sheet pan and cooling rack immediately to prevent stuck-on residue.
- 14 Store your setup properly for future use.
Ingredients to explore

2% Milk
Creamy and just a touch lighter than whole milk, 2% milk offers a perfect balance of richness and reduced fat. Its smooth texture and subtle sweetness make it a delightful choice for sipping or cooking.
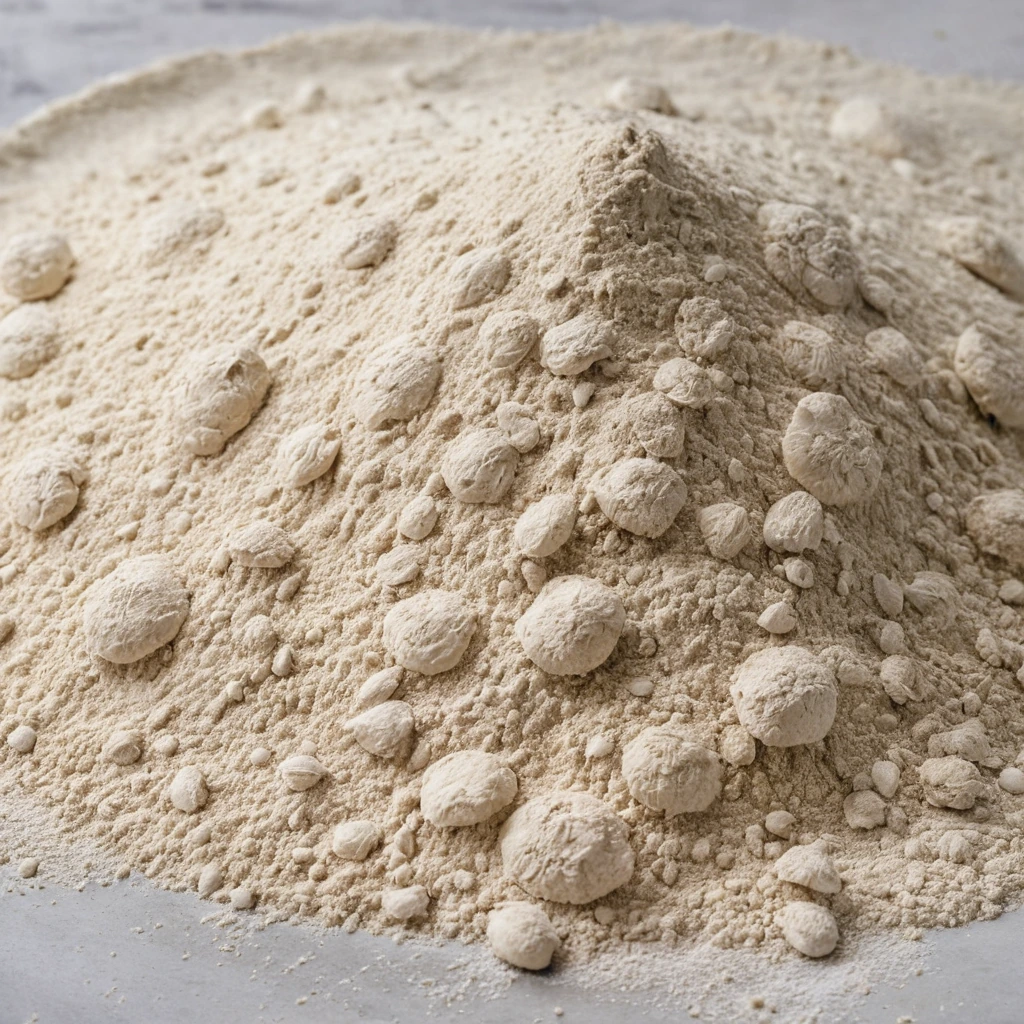
00 Pizza Flour
00 pizza flour is a finely milled Italian flour prized for its versatility in creating authentic Neapolitan-style pizza crusts. Originating from Italy, it is milled to a very fine consistency, which is reflected in its name, 'doppio zero,' indicating its fine grind. This flour has a balanced flavor profile, offering a mild, slightly sweet taste with a subtle nuttiness. Its texture is silky and smooth, contributing to a tender yet chewy crust when used in pizza making. In cooking, 00 pizza flour is known for its ability to hydrate quickly and develop a desirable gluten structure, resulting in a light and airy crust that can withstand high-heat cooking without becoming overly crispy or hard.
Recipes to try
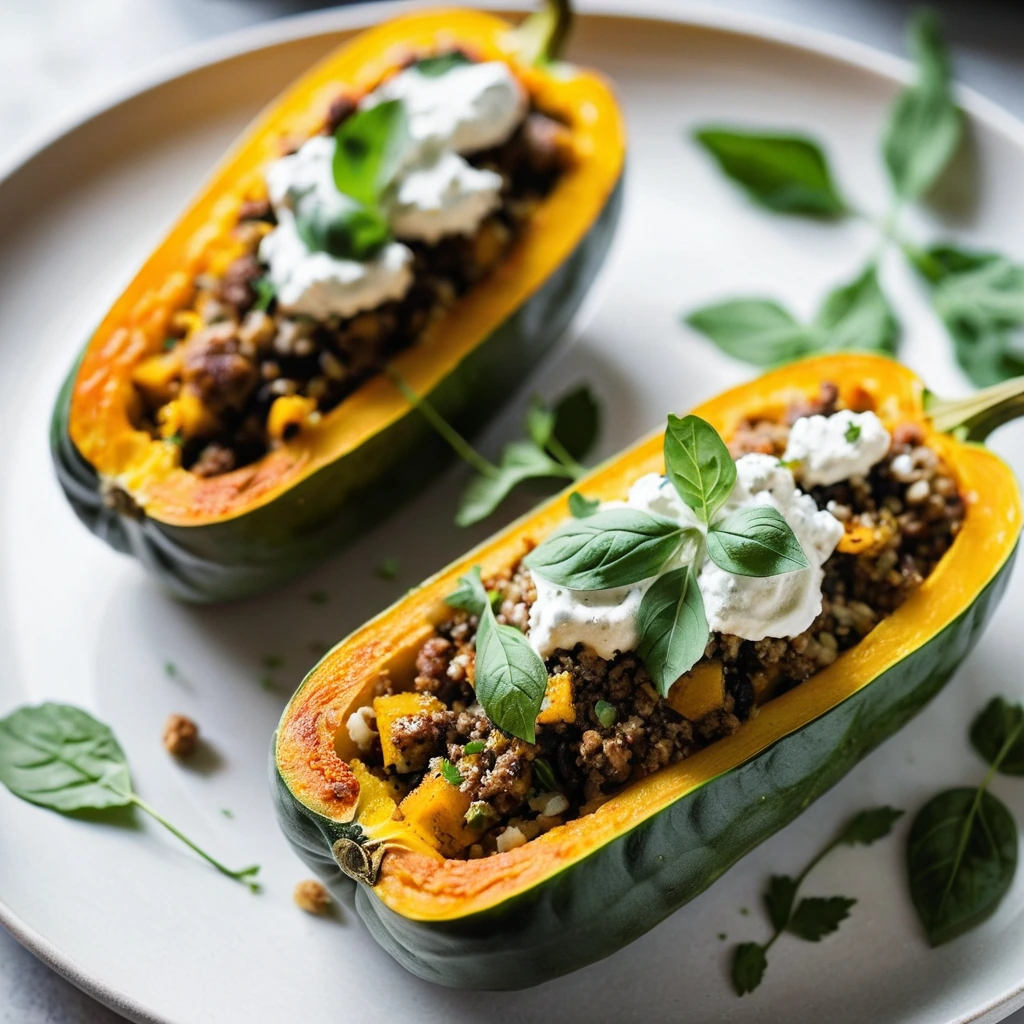
Sausage and Ricotta Stuffed Squash Boats
Tender roasted squash halves are stuffed with a savory mix of Italian sausage and creamy ricotta, making for a comforting and hearty meal.
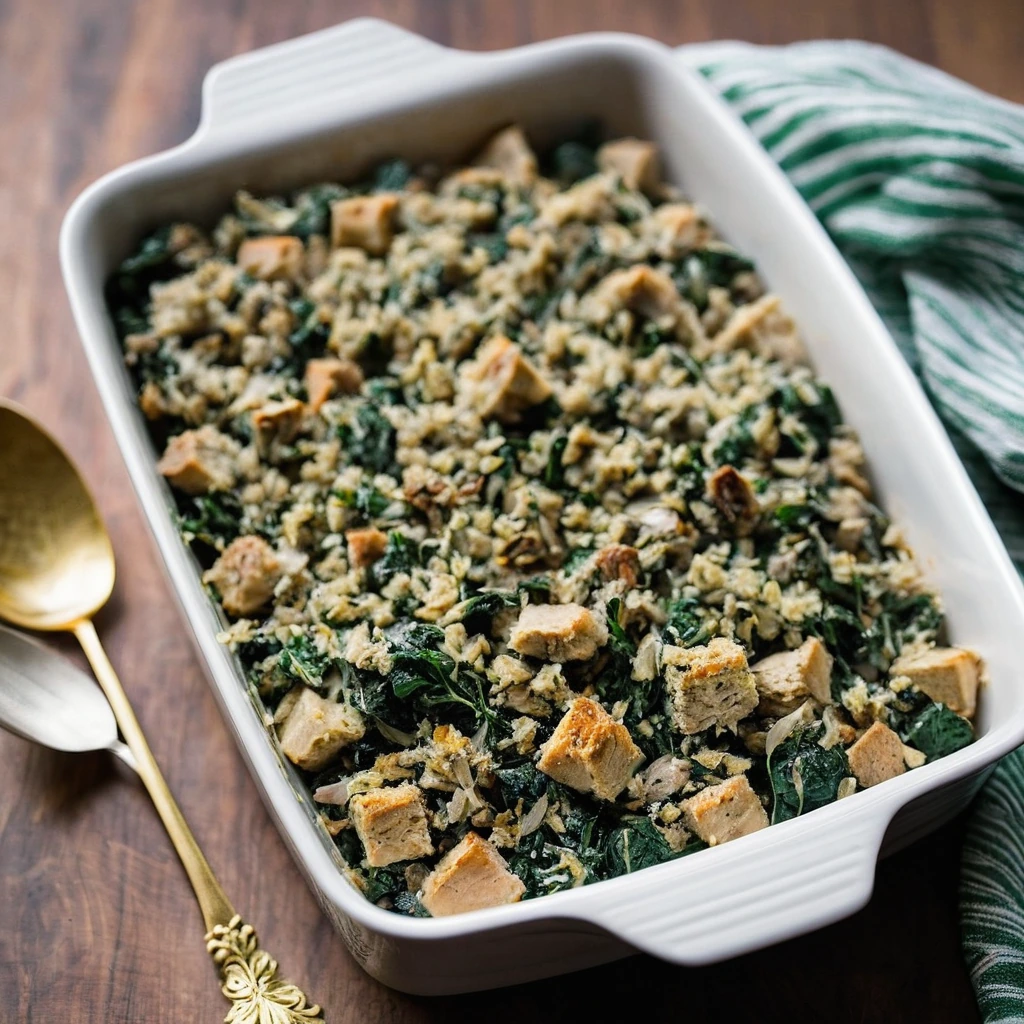
Turkey, Spinach, and Stuffing Casserole
A cozy, golden casserole brimming with tender turkey, vibrant spinach, and savory stuffing.