Meat Technique: Searing Without Smoking Out Your Kitchen
Searing meat is a classic cooking technique that creates a flavorful crust, but it can quickly turn your kitchen into a smoky mess. Fear not, home cooks! With a few strategic tweaks, you can achieve that perfect sear without setting off your smoke alarm or airing out your home for hours. First, understanding the science behind searing is key: the Maillard reaction, which occurs when amino acids and reducing sugars react in the presence of heat, is responsible for that coveted brown crust and rich flavor. However, if the heat is too high or the pan isn't properly preheated, you risk burning the sugars and creating smoke. This technique focuses on controlling heat, selecting the right pan, and managing oil to minimize smoke while maximizing flavor. We'll explore how to preheat your pan correctly, choose the right cut of meat, and use oil with a high smoke point to prevent flare-ups. Additionally, we'll discuss the importance of patting your meat dry and ensuring your kitchen setup is conducive to safe and efficient searing. By following these steps, you'll master the art of searing without the smoky aftermath.
Notes
This technique works by controlling the heat to avoid reaching the oil's smoke point, which is when oil starts to break down and produce smoke. Using a pan with a thick base helps distribute heat evenly and prevent hot spots that can cause flare-ups. Common mistakes include overcrowding the pan, which lowers the temperature and creates steam instead of a sear, and not preheating the pan long enough. Always use oils with high smoke points like canola, vegetable, or peanut oil. For safety, ensure your smoke detector is functioning but consider temporarily disabling it if necessary. Seared meats can be made ahead and stored in the refrigerator for up to 3 days; reheat gently in a warm oven to maintain texture.
Steps
- 1 Preheat your pan on medium-high heat for 5 minutes.
- 2 Pat your meat dry with paper towels to remove excess moisture.
- 3 Season the meat generously with salt and pepper.
- 4 Add 1-2 tablespoons of high smoke-point oil (like canola or vegetable oil) to the pan.
- 5 Wait until the oil shimmers but does not smoke before adding the meat.
- 6 Place the meat in the pan, ensuring it doesn't crowd the surface.
- 7 Sear undisturbed for 2-3 minutes for a 1-inch thick cut, or until a deep brown crust forms.
- 8 Flip the meat using tongs and sear the other side for an additional 2-3 minutes.
- 9 Continue searing any remaining sides if needed, adjusting heat to maintain a steady sizzle.
- 10 Transfer the seared meat to a plate and let it rest for 5 minutes before serving.
- 11 Immediately deglaze the pan with a splash of liquid to clean it for the next batch.
- 12 If cooking multiple batches, wait for the pan to return to temperature before adding more oil.
- 13 Keep a lid nearby to smother any unexpected flare-ups.
Ingredients to explore

Anaheim Peppers
Anaheim peppers are a mild chili pepper variety named after Anaheim, California, where they were first cultivated commercially. Originating from the New Mexico region, these peppers are celebrated for their versatility and gentle heat. They possess a flavor that is mildly sweet with a subtle tang, and a pleasant vegetal note reminiscent of green bell peppers, but with a hint of spice. Their texture is firm and crisp when fresh, becoming tender and slightly smoky when roasted or cooked. In cooking, Anaheim peppers behave well across a range of techniques, from grilling and roasting to stuffing and sautéing, contributing a nuanced depth without overwhelming other ingredients with heat.

2% Milk
Creamy and just a touch lighter than whole milk, 2% milk offers a perfect balance of richness and reduced fat. Its smooth texture and subtle sweetness make it a delightful choice for sipping or cooking.
Recipes to try
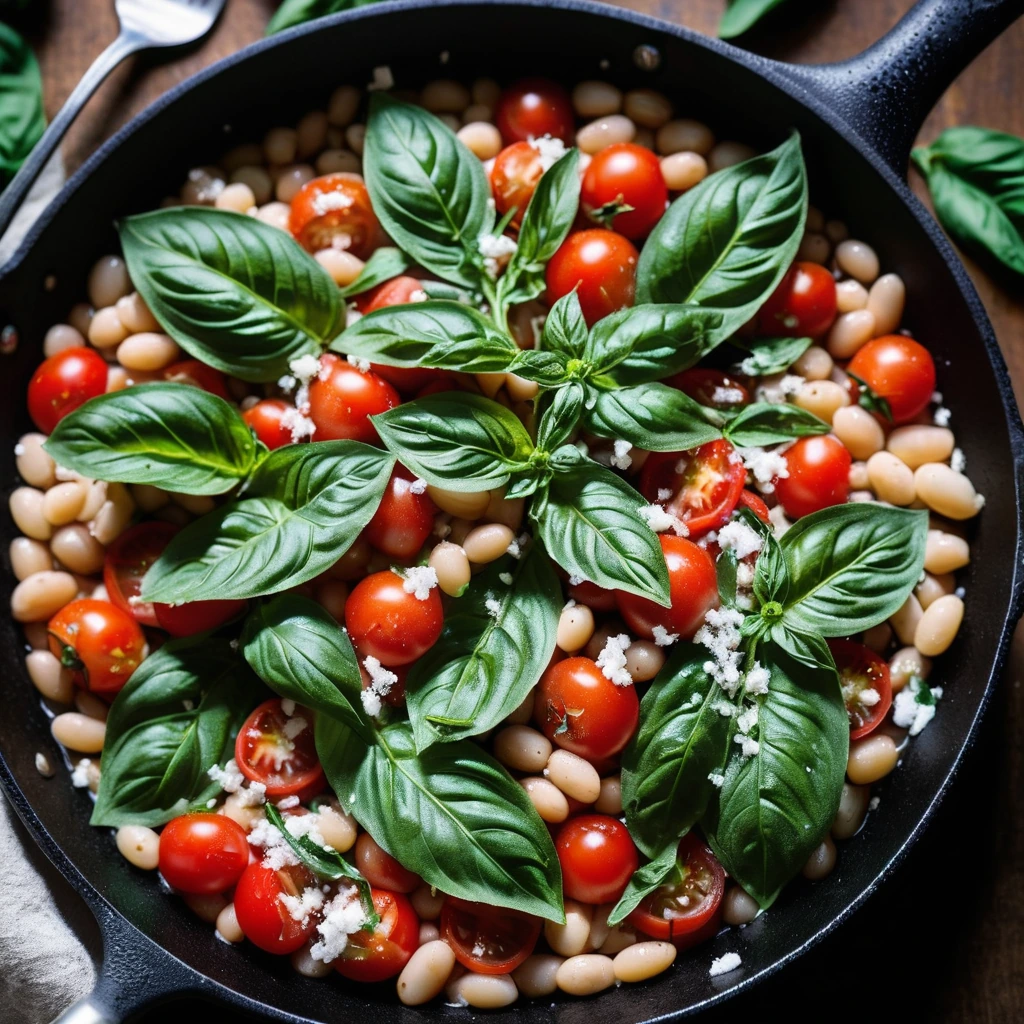
Tomato Basil White Bean Skillet with Parmesan
A comforting skillet packed with creamy white beans, ripe tomatoes, and fragrant basil, all topped with a generous sprinkle of Parmesan.
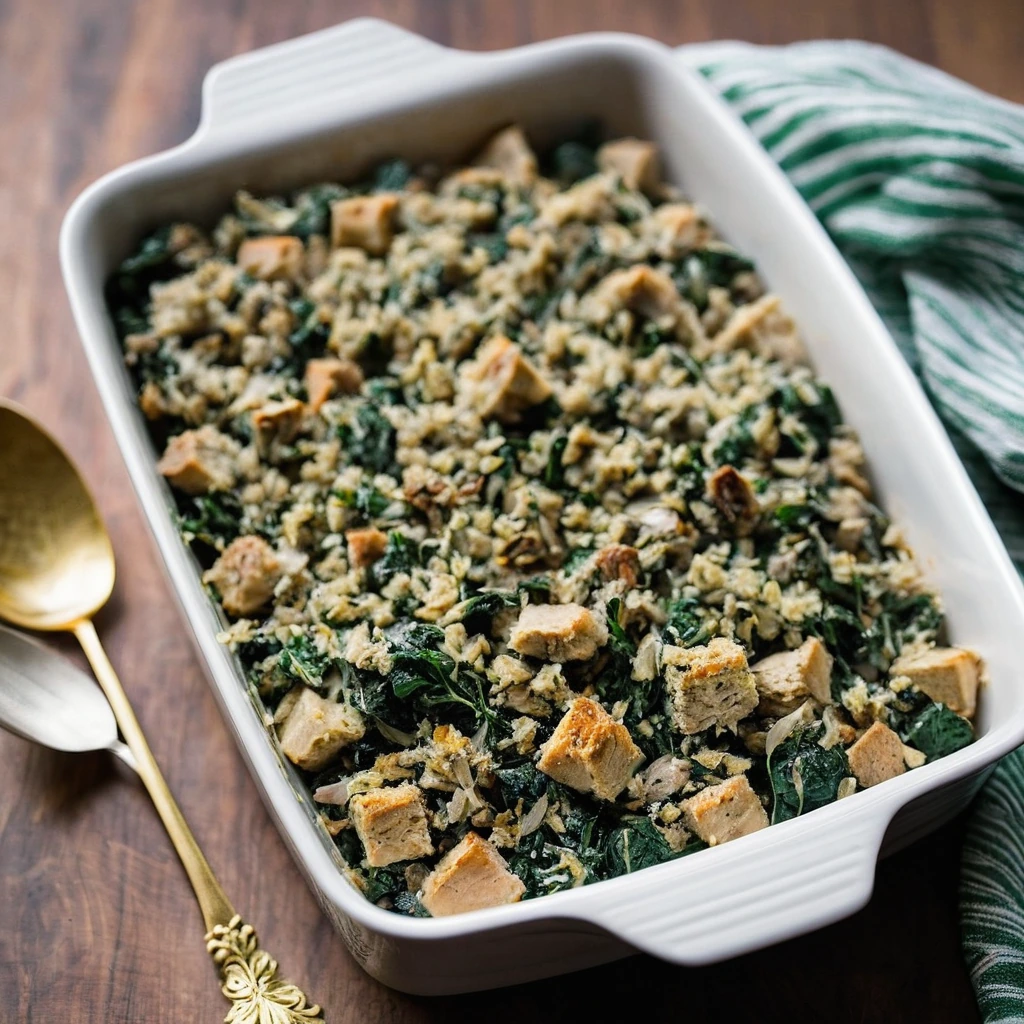
Turkey, Spinach, and Stuffing Casserole
A cozy, golden casserole brimming with tender turkey, vibrant spinach, and savory stuffing.