Bread Technique: Handling Sticky Dough with Minimal Flour
Handling sticky dough can be a daunting task for many home bakers, but with the right technique, you can work with it like a seasoned pro. The key is to minimize the amount of extra flour you use, keeping your bread with a perfect texture and not overly dense. This technique is essential for creating artisanal loaves with a soft, airy crumb. Sticky doughs are common in high hydration breads, like ciabatta or sourdough, where the dough's moisture content makes it cling to your hands and surfaces. By mastering this technique, you'll not only enhance your bread's quality but also make the process less messy and more enjoyable. The secret lies in leveraging surface tension, using just enough flour to prevent sticking, and employing proper hand techniques to shape and knead the dough. This approach ensures that the gluten structure develops correctly, leading to a better rise and a delightful texture. Additionally, we'll explore how to maintain cleanliness and efficiency in your workspace, minimizing waste and maximizing your baking experience. With patience and practice, handling sticky dough will become second nature, and you'll be rewarded with professional-quality loaves from your home oven.
Notes
Understanding the science behind sticky dough can make all the difference. High hydration doughs require more water, which develops gluten strands that make the dough sticky. Wetting your hands reduces surface tension, allowing the dough to glide rather than cling. Common mistakes include overflouring, which can lead to a tough crust and dense crumb. To avoid this, always use the least amount of flour possible. Safety is paramount; ensure your workspace is clean to avoid cross-contamination. For storage, shaped dough can be proofed in the refrigerator overnight, allowing for a make-ahead approach. When ready to bake, let it come to room temperature for consistent results.
Steps
- 1 Lightly wet your hands with water to prevent dough from sticking.
- 2 Gently lift and fold the dough using a dough scraper for support.
- 3 Use a bench scraper to guide the dough when shaping.
- 4 Turn the dough with a scraper rather than your hands to avoid adding excess flour.
- 5 Place dough on a lightly floured surface, using minimal flour for dusting.
- 6 Knead the dough with a gentle, folding motion to incorporate minimal flour.
- 7 Rest the dough periodically to allow gluten to relax naturally.
- 8 Shape the dough with wet hands to maintain moisture and minimize sticking.
- 9 Transfer the shaped dough to a well-floured banneton or bowl for proofing.
Ingredients to explore

2% Milk
Creamy and just a touch lighter than whole milk, 2% milk offers a perfect balance of richness and reduced fat. Its smooth texture and subtle sweetness make it a delightful choice for sipping or cooking.
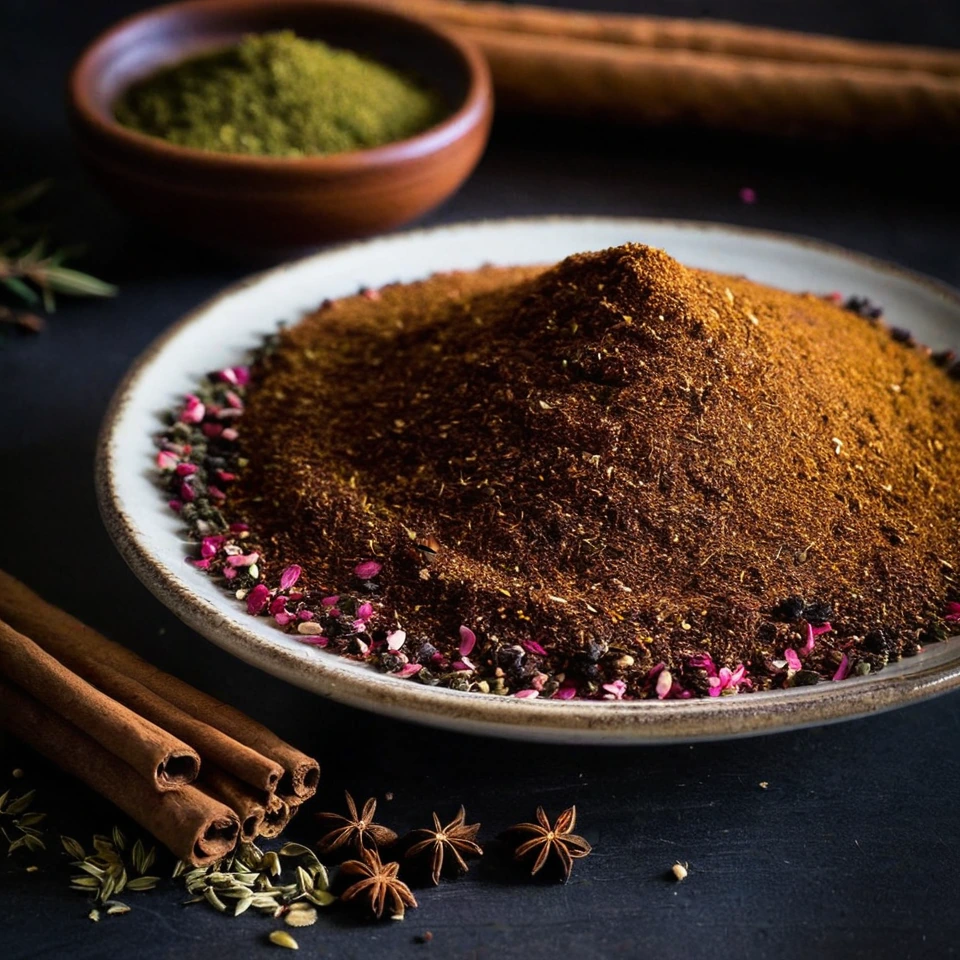
Advieh (Persian Spice Blend)
Advieh is a fragrant Persian spice blend that boasts a complex aroma of warm cinnamon, earthy cumin, and floral hints of rose and saffron. Its texture is finely ground, making it easy to incorporate into dishes. Originating from the rich culinary traditions of Iran, advieh adds depth and sophistication to both savory and sweet recipes. Its unique combination of spices reflects the historical spice trade routes that influenced Persian cuisine.
Recipes to try
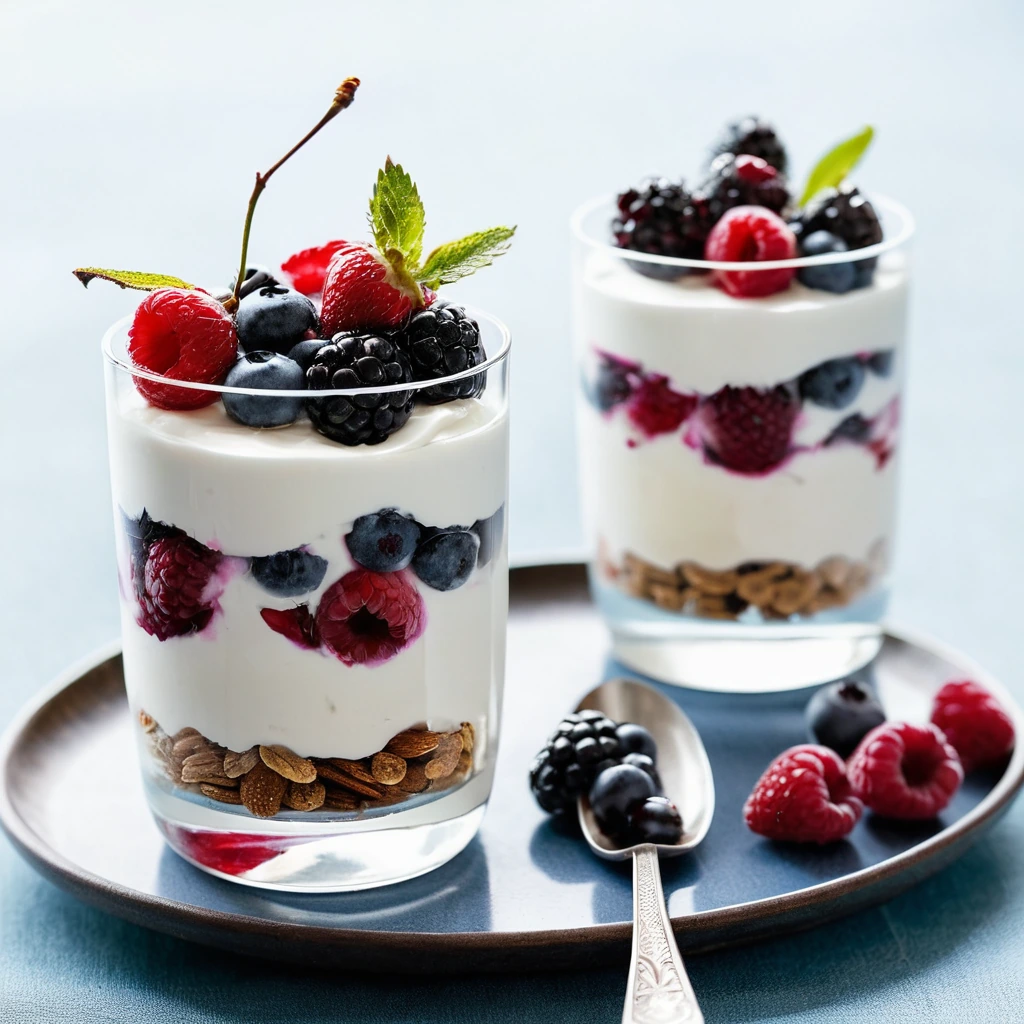
Vanilla Yogurt Parfaits with Roasted Berries
Creamy vanilla yogurt layers kissed by sweet, smoky roasted berries create a parfait that's both comforting and refreshing.
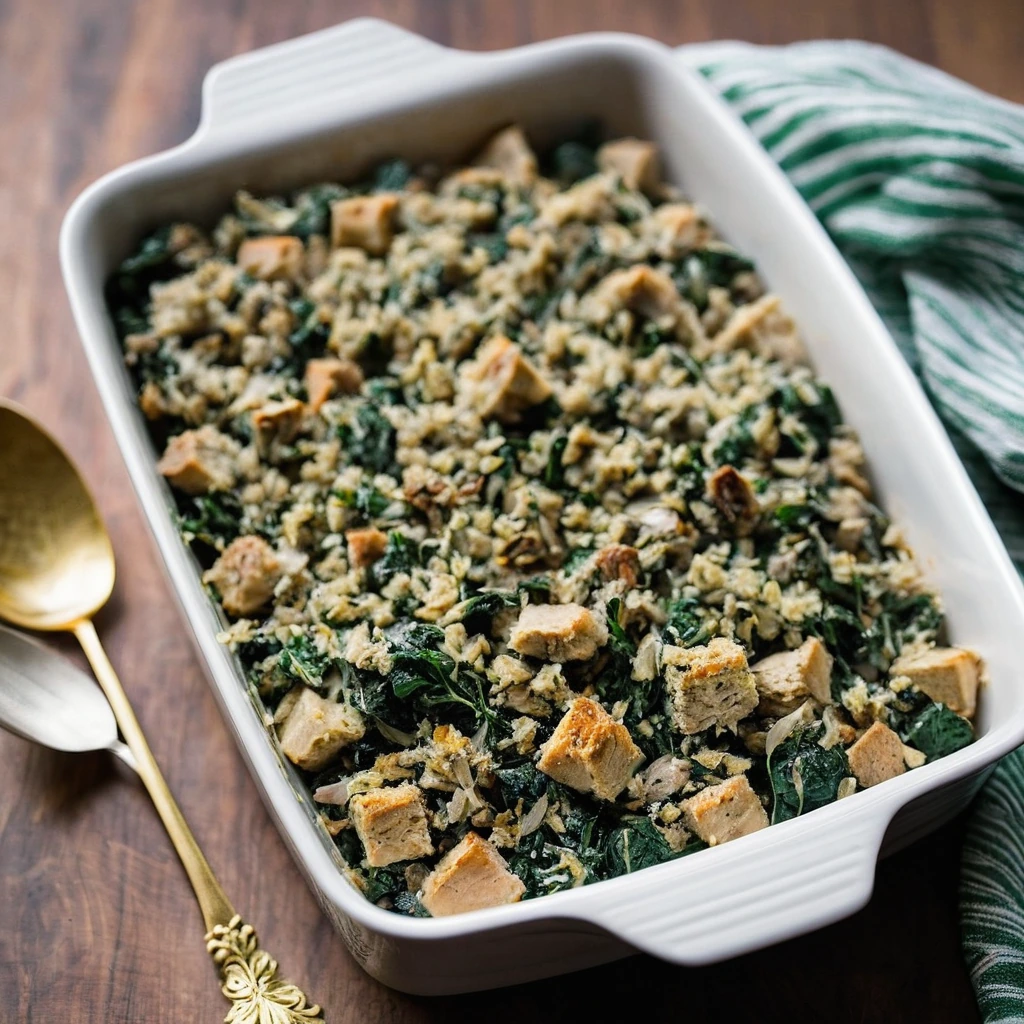
Turkey, Spinach, and Stuffing Casserole
A cozy, golden casserole brimming with tender turkey, vibrant spinach, and savory stuffing.