Baking Technique: Testing Yeast Activity with a Sponge Starter
Testing yeast activity is a crucial step in ensuring your bread rises properly. A sponge starter is a simple yet effective method to gauge whether your yeast is alive and kicking. This technique involves mixing a portion of your recipe's flour, water, and yeast ahead of time to create a 'pre-ferment.' The sponge starter not only tests yeast viability but also enhances the flavor and texture of your final baked goods. By understanding the science behind yeast fermentation, you can troubleshoot any issues before they affect your entire batch. This method is particularly handy when using older yeast packets or yeast that has been stored for a while. The process is straightforward and doesn't require any special equipment. It's an excellent way to build confidence in your baking, ensuring that your dough will rise predictably and beautifully. Let's dive into the steps and nuances of creating a sponge starter to test yeast activity.
Notes
The science behind this technique lies in yeast's ability to ferment sugars into carbon dioxide and alcohol, which creates bubbles and leavens your dough. If your yeast is inactive, you won't see this fermentation process occur. Troubleshooting common mistakes includes ensuring the water isn't too hot, which can kill the yeast, or too cold, which can inhibit activity. For safety, always use clean equipment to prevent contaminating your sponge. You can prepare the sponge starter ahead of time, storing it in the refrigerator for up to 24 hours before use, allowing it to return to room temperature before incorporating into your dough.
Steps
- 1 Measure 1 cup of warm water (105°F to 115°F).
- 2 Add 1 teaspoon of sugar to the water.
- 3 Sprinkle 1 packet (2 1/4 teaspoons) of active dry yeast over the water.
- 4 Stir gently to dissolve the yeast and sugar.
- 5 Let the mixture sit for 10 minutes.
- 6 Observe for bubbles and a yeasty aroma, indicating active yeast.
- 7 If active, mix in 2 cups of flour until smooth.
- 8 Cover the bowl with a clean towel and let it rest in a warm place for 4 to 6 hours.
- 9 Check for visible growth and air bubbles throughout the mixture.
- 10 Proceed with your recipe if the sponge has doubled in size.
- 11 If no activity is seen, discard and use fresh yeast.
- 12 Incorporate the sponge into your dough as per your recipe.
- 13 Adjust the remaining flour and liquid amounts in your recipe to account for the sponge.
Ingredients to explore

Anaheim Peppers
Anaheim peppers are a mild chili pepper variety named after Anaheim, California, where they were first cultivated commercially. Originating from the New Mexico region, these peppers are celebrated for their versatility and gentle heat. They possess a flavor that is mildly sweet with a subtle tang, and a pleasant vegetal note reminiscent of green bell peppers, but with a hint of spice. Their texture is firm and crisp when fresh, becoming tender and slightly smoky when roasted or cooked. In cooking, Anaheim peppers behave well across a range of techniques, from grilling and roasting to stuffing and sautéing, contributing a nuanced depth without overwhelming other ingredients with heat.
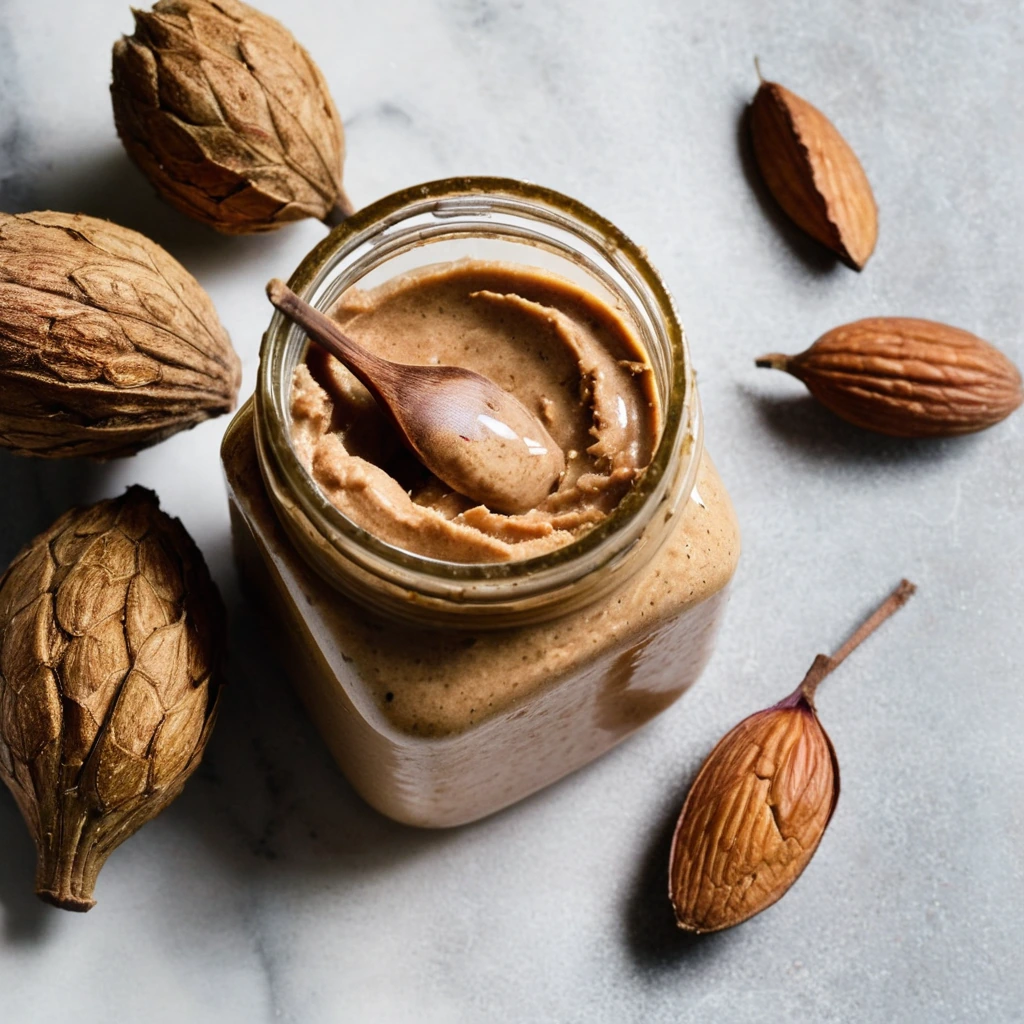
Almond Butter
A velvety, nutty spread crafted from finely ground almonds, offering a rich and satisfying flavor that's both comforting and indulgent.
Recipes to try
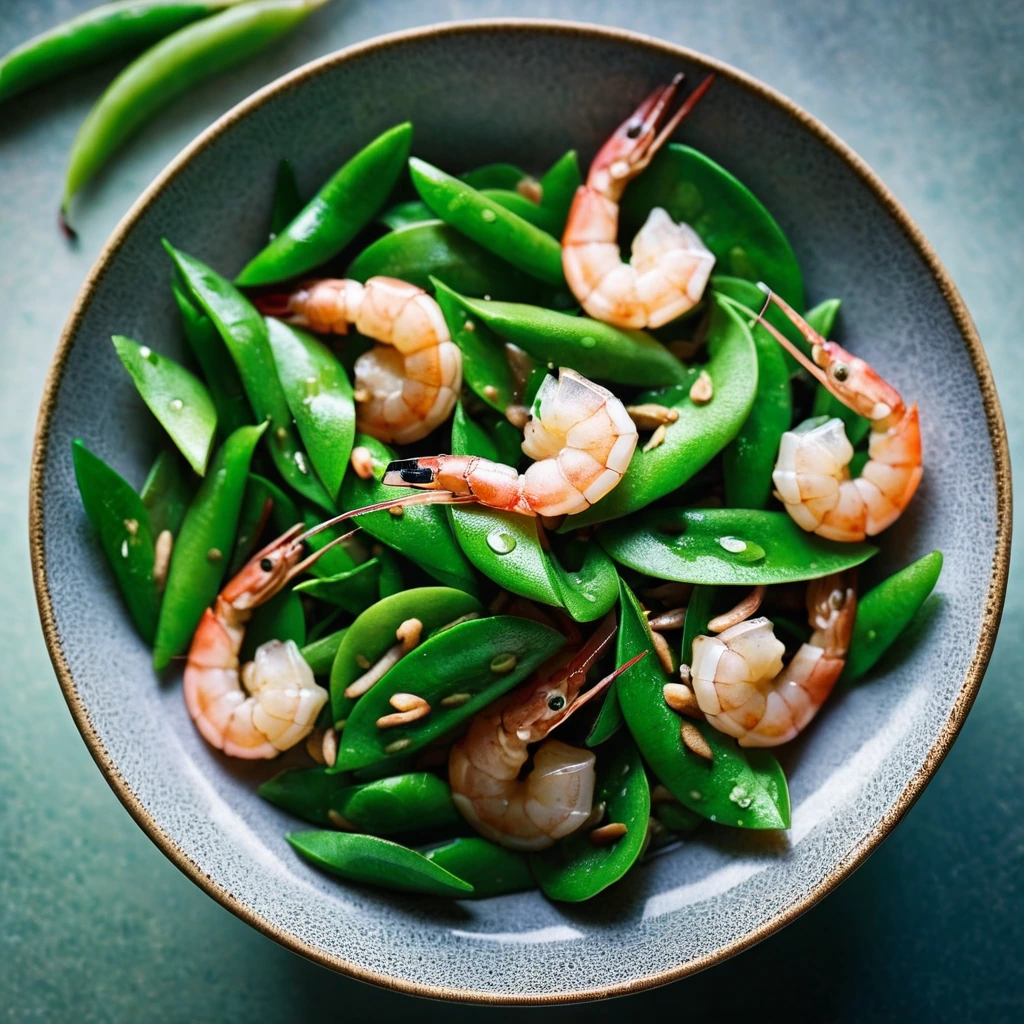
Shrimp and Snow Pea Stir Fry with Ginger
Succulent shrimp and crisp snow peas dance together in a fragrant, ginger-infused stir fry that's quick, zesty, and utterly satisfying.
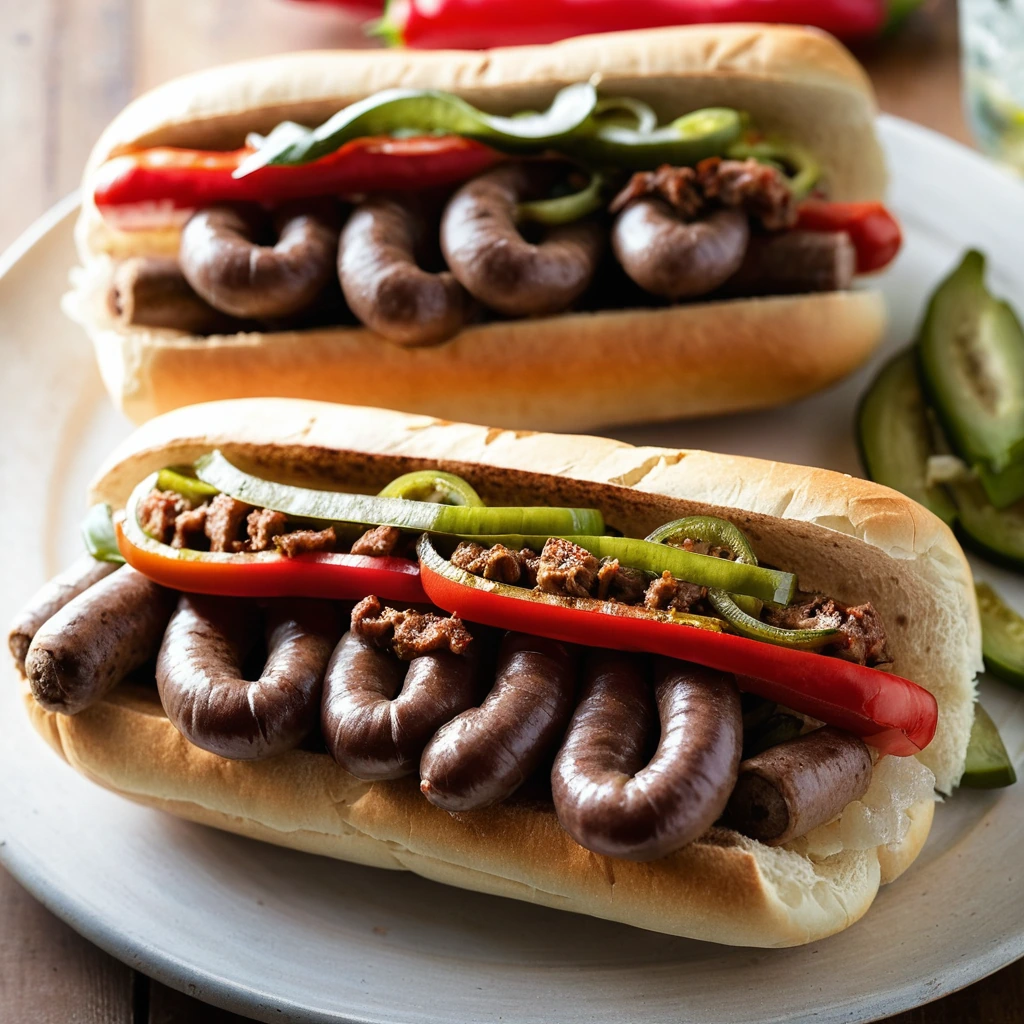
Sausage, Pepper, and Onion Hoagies
Juicy Italian sausages nestled in soft hoagie rolls with a sweet and smoky medley of peppers and onions.