Baking Technique: Blind-Baking Pie Crusts Without Shrinkage
Blind-baking is a crucial skill for any pie enthusiast, ensuring your crust is perfectly pre-cooked before adding a filling that doesn't require further baking. This technique is particularly important for creamy or custard-based fillings, which could turn into a gooey mess if baked in a raw crust. The key to blind-baking success is preventing the crust from shrinking, which can lead to unsightly edges and an ill-fitting pie shell. Achieving this requires attention to dough preparation, chilling, and the use of pie weights or beans to hold the crust in place while it bakes. First, let's discuss the science behind shrinkage. When pie dough is rolled out, the gluten strands and fat structure stretch. Without proper handling, these structures can retract during baking, causing shrinkage. By following precise steps and understanding the nuances of dough behavior, you can master the art of blind-baking and produce a pie crust that is both structurally sound and beautifully golden. This technique builds confidence in home bakers, allowing them to tackle any pie recipe with ease. In this guide, we'll walk through each step carefully, from prepping the dough to finishing touches, ensuring your crust maintains its shape and integrity.
Notes
The science behind blind-baking lies in controlling gluten and fat structures in the dough. Chilling the dough before and after rolling it out is essential, as it allows the gluten to relax, minimizing shrinkage. Using weights keeps the crust from puffing up and losing its shape. If you notice any shrinkage after removing the weights, gently adjust the crust while it's still warm. A common mistake is not chilling the dough long enough, leading to a shrunken crust. Always ensure your oven is preheated to the correct temperature to avoid uneven baking. Safety tip: Use oven mitts when handling hot pie dishes. For make-ahead, blind-bake your crust and let it cool completely before covering and refrigerating for up to two days. Reheat slightly before filling if refrigerated.
Steps
- 1 Roll out your chilled pie dough to the desired thickness on a floured surface.
- 2 Gently transfer the dough to your pie dish, pressing it evenly into the bottom and sides.
- 3 Trim the edges of the dough, leaving a slight overhang for crimping later.
- 4 Prick the bottom and sides of the crust all over with a fork to prevent air bubbles.
- 5 Chill the lined pie dish in the refrigerator for at least 30 minutes to relax the gluten.
- 6 Preheat your oven to 375°F.
- 7 Line the chilled crust with parchment paper or aluminum foil, ensuring it covers the entire surface.
- 8 Fill the crust with pie weights, dried beans, or uncooked rice to weigh it down.
- 9 Bake the crust for 20 minutes, then carefully remove the weights and parchment.
- 10 Return the crust to the oven and bake for another 10-15 minutes until lightly golden.
- 11 Remove from the oven and let cool on a wire rack.
- 12 Check for any areas that may have shrunk and gently press back into place if necessary.
- 13 Once cooled, fill with your desired pie filling and proceed with your recipe.
- 14 For a decorative touch, you can brush the edges with an egg wash before baking.
Ingredients to explore

Andouille Sausage
Andouille sausage is a coarse-grained, smoked pork sausage with a rich history rooted in French cuisine, particularly from the Alsace region. It was adapted in Louisiana, where it became a staple in Cajun and Creole cooking. The sausage is known for its robust, smoky flavor with hints of garlic, pepper, and other spices, creating a spicy and savory profile. Its texture is firm yet slightly chewy, making it a hearty addition to dishes. When cooked, andouille sausage maintains its shape well and infuses dishes with its distinctive smoky essence, enhancing stews, soups, and rice dishes.
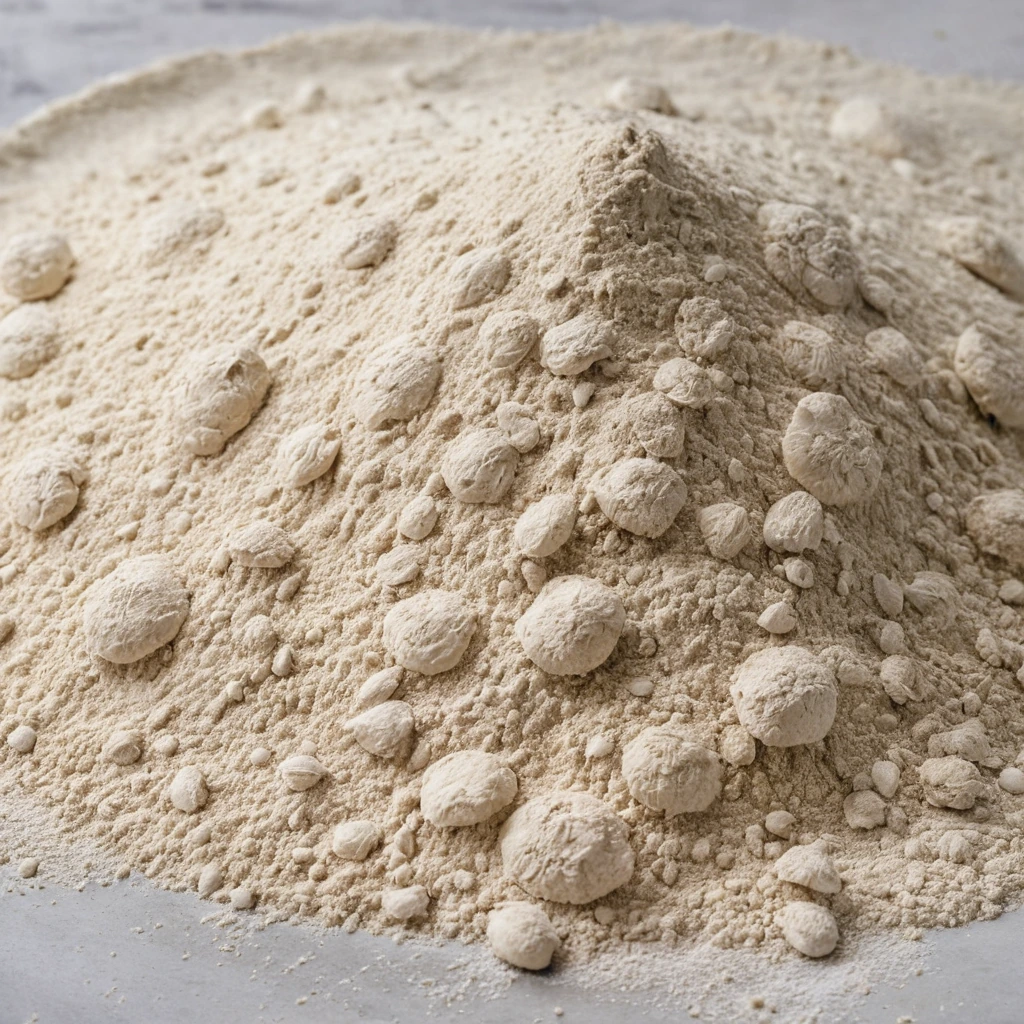
00 Pizza Flour
00 pizza flour is a finely milled Italian flour prized for its versatility in creating authentic Neapolitan-style pizza crusts. Originating from Italy, it is milled to a very fine consistency, which is reflected in its name, 'doppio zero,' indicating its fine grind. This flour has a balanced flavor profile, offering a mild, slightly sweet taste with a subtle nuttiness. Its texture is silky and smooth, contributing to a tender yet chewy crust when used in pizza making. In cooking, 00 pizza flour is known for its ability to hydrate quickly and develop a desirable gluten structure, resulting in a light and airy crust that can withstand high-heat cooking without becoming overly crispy or hard.
Recipes to try
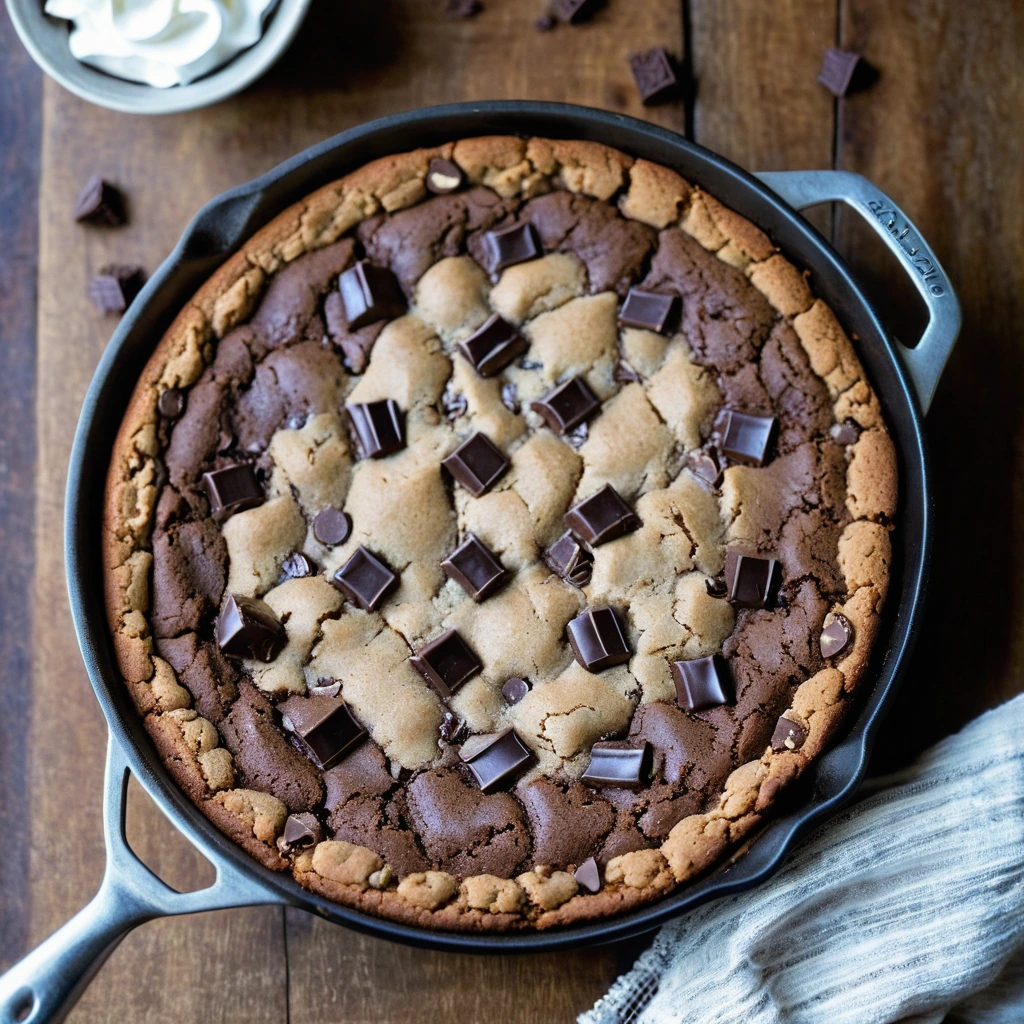
Triple Chocolate Chunk Skillet Cookie
This skillet cookie is a gooey, decadent delight with chunks of dark, milk, and white chocolate that will make you swoon.
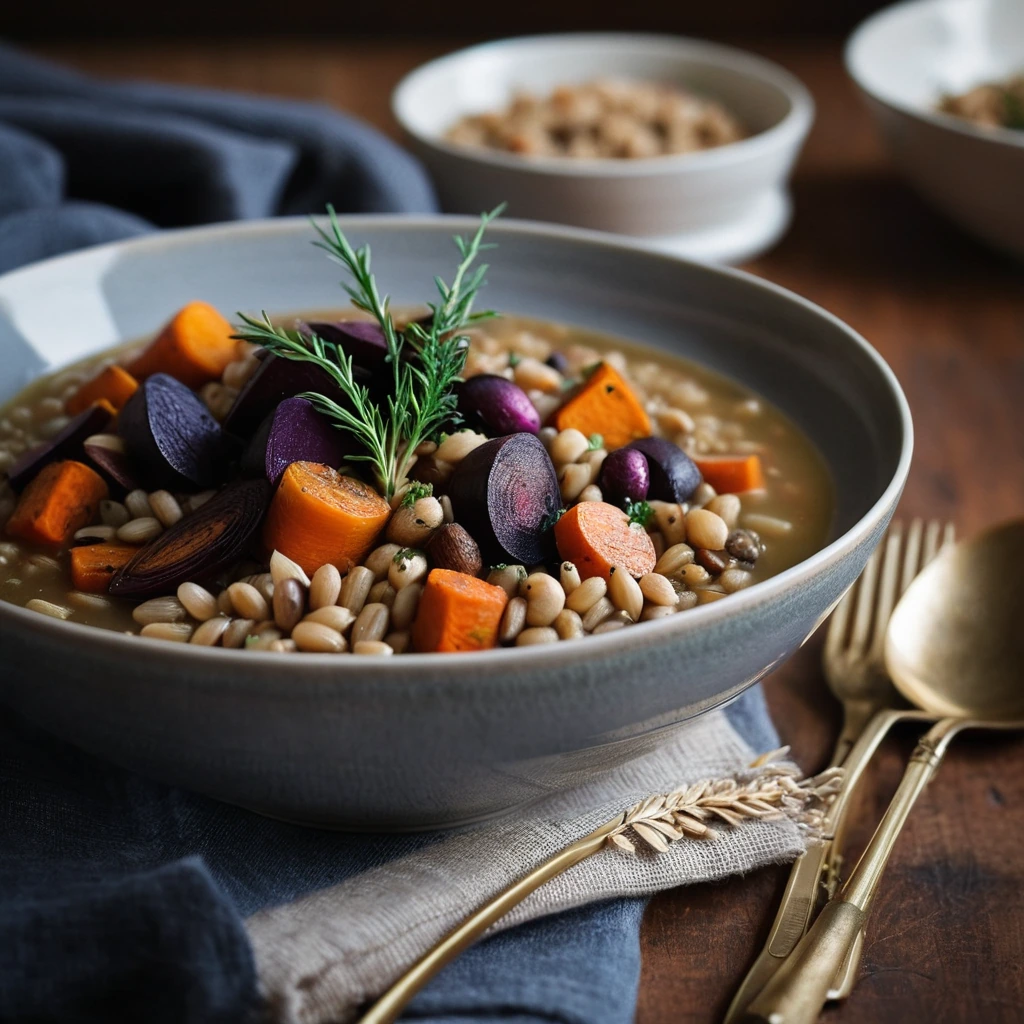
Roasted Root Vegetable and Barley Stew
Hearty and deeply flavorful, this stew marries caramelized root veggies with chewy barley for a comforting bowlful of warmth.